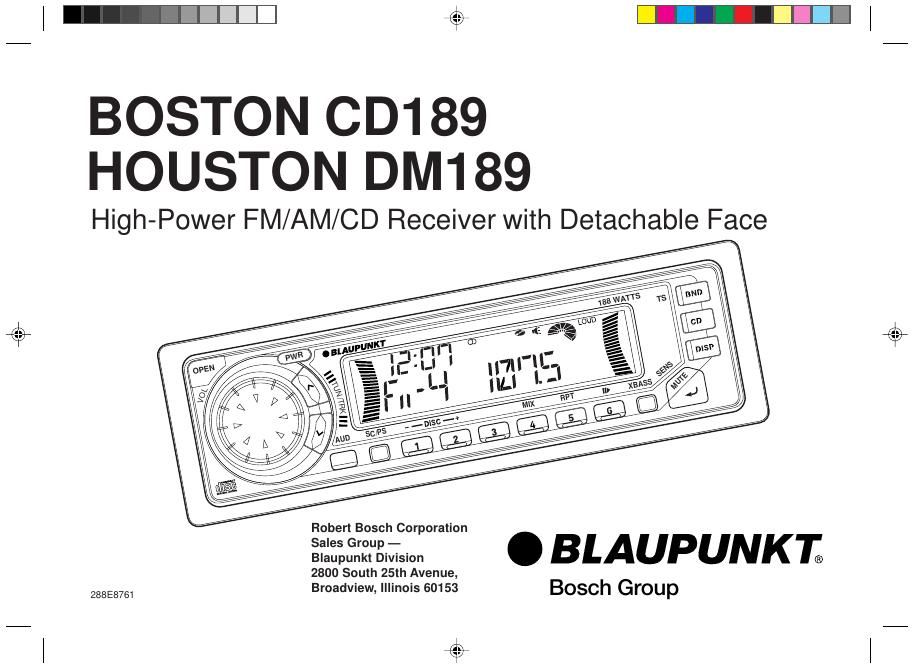
Blaupunkt Boston CD 189 Owners Manual

This is the 12 pages manual for Blaupunkt Boston CD 189 Owners Manual.
Read or download the pdf for free. If you want to contribute, please mail your pdfs to info@audioservicemanuals.com.

Page: 1 / 12
left right
Blaupunkt Boston CD 189 Owners Manual

Extracted text from Blaupunkt Boston CD 189 Owners Manual (Ocr-read)


Page 1

E-1 Precautions This equipment has been tested and found to comply with the limits for a Class B device, pursuant to Part 15 of the FCC Rules. These limits are designed to provide reasonable pro- tection against harmful interference in a residential installa- tion. This equipment generates, uses, and can radiate radio frequency energy, and, if not installed and used in accord- ance with instructions, may cause harmful interference with radio communications. However, there is no guarantee that radio interference will not occur in particular installation. If this equipment does cause harmful interference to radio or televi- sion reception, which can be determined by tuning the equip- ment off and on, the user is encouraged to consult the dealer or an experienced radio/TV technician for help. You are cautioned that any changes or modifications not ex- pressly approved in this manual could void your authority to operate this equipment. Features ¥ Detachable Flip down front panel ¥ Built-in power amplifier(max. output : 47W ´ 4ch) ¥ FM/AM PLL Synthesizer tuner ¥ 30 Station preset memory ¥ Travel Store / Scan tuning ¥ X-BASS System ¥ Station name, Disc name store / Station call ¥ CD changer control (HOUSTON DM189 only) (CDCA08 & CDCA071*) * CDCA071 requires adaptor # 7607 898 093 available separately. FCC WARNING ¥ Avoid installing the unit where it would be subject to high temperatures, such as in direct sunlight or a hot air stream from the heater, or where it would be subject to dust, dirt, or excessive vibration. ¥ Do not turn on the unit if the temperature inside the car is very high. Always cool down the unit before usage. Parking your car in direct sunlight will result in a temperature rise. ¥ If the unit does not turn on, check the connections first. Then check whether the fuse at the back of the unit is blown. ¥ Carefully read this manual before using the unit. If you en- counter any problems that are not covered in this manual, please consult the dealer where you purchased the unit or the dealer nearest to you. ¥ This unit has been designed specifically for playback of com- pact discs bearing the mark. Other discs cannot be played. Handling Compact Discs ¥ Be careful when removing a compact disk after the play- back is completed because the disk may be extremely hot. ¥ Do not expose compact discs to direct sunlight or any heat source. ¥ Check all compact discs before playing, and discard cracked, scratched or warped discs. ¥ Wipe dirty or damp discs outward from the center with a soft cloth. ¥ Do not use any solvents such as commercially available cleaners, antistatic spray, or thinner to clean the compact discs. Attaching the Front Panel Place the right hand side of the front panel so that the parts A of the front panel are engaged with the parts B of the unit as shown below. Then push the left hand side of the front panel until it is securely locked. Handling the Front Panel Front Panel Open / Close Panel open Press the OPEN . Panel close Raise the front panel with your finger until it locks in place.

Page 2

E-2 Notes¥ Be sure to use this unit with the front panel closed.The unit is automatically switched off when the front panelis left open for about 10 minutes. ¥ Do not handle the unit roughly when opening/closing the front panel. ¥ Do not put any object or use it like a tray when the front panel is open in a lying position. ¥ Do not press the OPEN button when closing the front panel. ¥ Do not put much force to the operation buttons or the dis- play window as it may cause damage or deform the unit. ¥ Connectors on the unit and front panel are vital parts trans- mitting the signal. Do not touch, push and scratch them. ¥ Be careful not to pinch your fingers or hands when opening and closing the front panel. ¥ Do not press hard on the front panel when affixing it to the unit. No more than light to moderate pressure should be needed. ¥ When taking the front panel with you, please use the sup- plied carrying case to protect the front panel from dirt and damage. Make sure there is no dust or dirt on the electricalterminals on the back of the front panel as this could causeintermittent operation or other malfunctions. Identification of Controls 1 OPEN button 2 PWR button Turns the power of the unit on or off. 3 TUN/TRK button Used to tune in to the desired station. 4 LCD Display window 5 CD button Switches the CD playback mode. 6 BND/TS button Selects the AM/FM Band & Travel store. 7 DISP button Mode selector. Clock adjustment. Display priority setting. 8 MUTE/SENS button Muting the sound. Switches the seek sensitivity between local and distance. 9 XBASS button Boosting the bass sound. 10 PRESET MEMORY button During radio reception : 1 - 6 ; For Preset memory During CD mode : MIX ; For Mix play (Mix & Mix all during CDC; HOUSTON DM189 only) 5/RPT ; For Repeat play 6/ ; For Pause 11 DISC SELECT button (HOUSTON DM189 only) Select the desired CD in CDC(CD changer) mode. 12 SC/PS button Scan tuning. Preset scan tuning. Scan play in CD mode. 13 AUD button Audio control selector; Bass, Treble, Loudness, Balance & Fader 14 DialAdjusts the volume level/bass/treble/balance/fader. Storing the station names. Select Alpha-numeric characters. VOL 188 WA S PWR MUTE OPEN RK SENS SC/PS AUD XBASS RPT MIX S 123 6 8 9 10 5 13 14 7 12 4 Detaching the Front Panel EJECT button 3.Close the inner cover. Do not leave inner cover in the down position unless the front pannel is in place. 2.Pull the front panel toward your direction to remove it. 1.Press the OPEN firmly to open the flip down front panel. 11 Ejecting the CD Press recessed button located to the left behind the Front Panel. Security Bolt the front panel with the screw (supplied) in the inner cover as shown below, to protect the front panel from robbery and from getting lost. SCREW