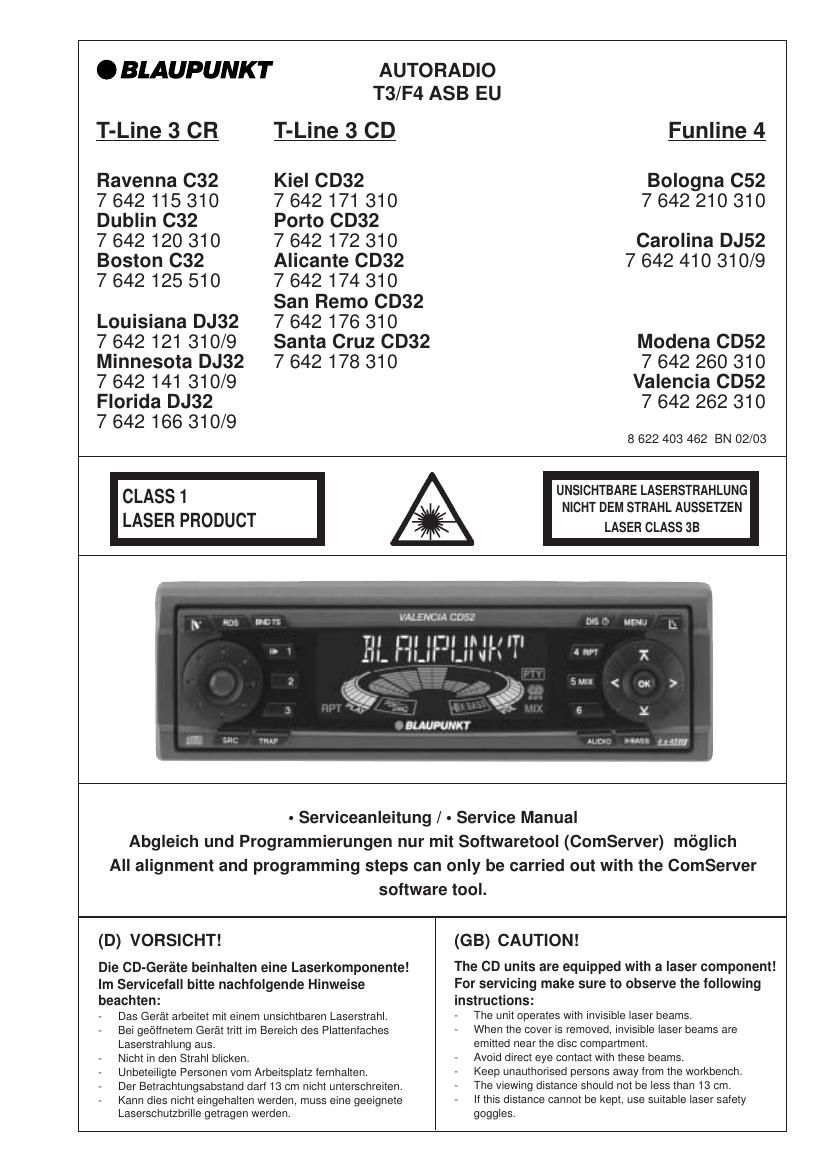
This is the 23 pages manual for Blaupunkt Alicante CD 32 Service Manual. Read or download the pdf for free.
If you want to contribute, please mail your pdfs to info@audioservicemanuals.com.
Page: 1 / 23
Extracted text from Blaupunkt Alicante CD 32 Service Manual (Ocr-read)
Page 1
- 4 -
Main Feature list Funline4
Features
FM-Preset 2x6 2x6 2x6
MW-Preset 1x6 1x6 1x6
LW-Preset 1x6 1x6 1x6
FMT 1x6 1x6 1x6
HICUT-- -
lo/dx 3/3 3/3 3/3
Mechanism CCTN708
Dolby B-
Metal-
S-CPS-
Repeat-
Radio Monitor-
Mechanism CD BP4R/3 BP4R/3
Tr a ck Mix--
Track Repeat--
Tr a ck Scan--
Mute-- -
X-Bass 3 steps 3 steps 3 steps
Preamp 4 x 2V 4 x 2V 4 x 2V
Source Tone Memory-- -
Telephone Input-- -
AUX IN-- -
Radio Mute-- -
Display negative negative negative
Flip Panel-- -
DMS ASCI ASCI ASCI
Dimmer-- -
IR RC08 optional optional optional
Peak Level Meter-- -
Clock-- -
Release Panel-- -
Running Text-- -
ETUI-- -
CDC-A08; IDC-A09 ASCI ASCI ASCI
Modena CD52 Valencia CD52 Bologna C52
Carolina DJ52
Page 2
- 5 -
Main Feature list T-Line3
Features
FM-Preset 2x6 2x6 2x6 2x6 2x6 2x6 2x6 2x6 2x6
MW-Preset 1x6 1x6 1x6 1x6 1x6 1x6 1x6 1x6
LW-Preset 1x6 1x6 1x6 1x6 1x6 1x6 1x6 1x6
FMT 1x6 1x6 1x6 1x6 1x6 1x6 1x6 1x6 1x6
HICUT--- ------
lo/dx 3/3 3/3 3/3 3/3 3/3 3/3 3/3 3/3 3/3
Mechanism CC ADC 1400 ADC 1400 ADC 1400 TN708
Dolby - - - B
Metal - - --
S-CPS - - --
Repeat - - --
Mechanism CDBP4-R BP4-R BP4-R BP4-R BP4-R
Tr a ck Mix-----
Track Repeat-----
Track Scan-----
X-Bass 3 steps 3 steps 3 steps 3 steps 3 steps 3 steps 3 steps 3 steps 3 steps
Preamp 4 x 2V 4 x 2V 4 x 2V 4 x 2V 4 x 2V 4 x 2V 4 x 2V 4 x 2V 4 x 2V
DMS, CDC-A08; IDC-A09ASCI ASCI ASCI ASCI ASCI ASCI ASCI ASCI ASCI
AUX IN--- ------
Line Out--- ------
Tel/Nav In-
Radio Mute--- ------
IR Remote Control RC08optional optional optional optional optional optional optional optional optional
Peak Level Meter--- ------
Clock manual 12/24 hours--- ------
Facia colour black black black black black black black black titanium
Night Design amber red amber red amber amber red red red
Iso Connector 36 pins--- ------
Release Panel--- ------
Dublin C32
Lousiana DJ32Boston C32
(blue)Ravenna C32
Florida DJ32Minnesota
DJ32Kiel
CD32Porto
CD32Alicante
CD32
(blue)San Remo
CD32
Santa Cruz
Edition
CD32
Page 4
- 7 -
(GB) Notes on alignment
The alignment is always done electronically using
a PC (ComServer). Do not align any filters. If a
filter has been replaced, align the unit with the PC.
Waveband:
FM = 87.5 MHz - 108.0 MHz
(100 kHz automatic search steps)
(50 kHz manual search steps)
MW = 531 kHz - 1602 kHz
(9 kHz automatic search steps)
(9 kHz manual search steps)
LW = 153 kHz - 279 kHz
(9 kHz automatic search steps)
(1 kHz manual search steps)
Preparatory steps
Observe the following preparations before performing the electrical
alignment:
Treble adjustment .......................................................................... 0
Bass adjustment ............................................................................ 0
Fader adjustment ........................................................................... 0
Balance adjustment ....................................................................... 0
HICUT (menu, only Funline 4) ....................................................... 0
X-Bass adjustment (DSC menu) ............................................... OFF
Loudspeaker connections
The loudspeaker output must be terminated with 4 -¦.
Demo mode
Activating the Demo mode
1. Switch the unit off.
2. Press the push-buttons 1 + 6 simultaneously and hold them
depressed.
3. Switch the unit back on and hold on to the buttons for
approximately one more second.
Following this step, the display will show the wording BLAU-
PUNKT followed by DEMO.
Deactivating the Demo mode
You can quit the service mode by switching the radio off.
To quit the demo mode, repeat step 1-3.
Software version main processor and
panel prozessor
Activating the test mode
1. Switch the unit off.
2. Press the push-buttons 1 + 2 simultaneously and hold them
depressed.
3. Switch the unit back on and hold on to the buttons for
approximately one more second.
The car radio display shows 8 characters.
The left 4 characters indicate the software version of the main
processor, the right 4 characters indicate the software version of
the panel processor.
To exit the test mode
You can quit the service mode by switching the radio off.
(D) Abgleichhinweise
Der Abgleich erfolgt nur noch elektronisch ΓΌber
den PC (ComServer). Es dΓΌrfen keine Filter
abgeglichen werden. Nach dem Tausch eines
Filters, muss der Abgleich ΓΌber den PC erfolgen.
Wellenbereich:
FM = 87,5 MHz - 108,0 MHz
(100 kHz automatische Suchlaufschritte)
(50 kHz manuelle Suchlaufschritte)
MW = 531 kHz - 1602 kHz
(9 kHz automatische Suchlaufschritte)
(9 kHz manuelle Suchlaufschritte)
LW = 153 kHz - 279 kHz
(9 kHz automatische Suchlaufschritte)
(1 kHz manuelle Suchlaufschritte)
Vorbereitende Arbeiten
Bevor Sie den elektrischen Abgleich durchfΓΌhren, mΓΌssen Sie
folgende Vorbereitungen treffen:
HΓΆhen - Einstellung ........................................................................ 0
Bass - Einstellung .......................................................................... 0
Fader - Einstellung ......................................................................... 0
Balance - Einstellung ..................................................................... 0
HICUT (MenΓΌ, nur Funline 4) ......................................................... 0
X-Bass - Einstellung (MenΓΌ) ..................................................... OFF
LautsprecheranschluΓ
Der Lautsprecherausgang muΓ mit 4 -¦ abgeschlossen sein.
Demomode
Demomode aktivieren
1. Schalten Sie das Autoradio aus.
2. BetΓ€tigen Sie die Tasten 1 + 6 gleichzeitig und halten Sie die
Tasten gedrΓΌckt.
3. Schalten Sie das GerΓ€t ein und halten Sie die Tasten noch fΓΌr
ca. 1 Sekunde gedrΓΌckt.
Nach diesem Schritt erscheint im Display nach "BLAUPUNKT" der
Schriftzug "DEMO".
Demomode deaktivieren
Sie verlassen den Servicemode durch Ausschalten des Autoradios.
Wiederholen Sie bitte den Schritt 1-3 um den Demomode zu
verlassen.
Software Version Hauptprozessor und
Kappenprozessor
Testmode aktivieren
1. Schalten Sie das Autoradio aus.
2. BetΓ€tigen Sie die Tasten 1 + 2 gleichzeitig und halten Sie die
Tasten gedrΓΌckt.
3. Schalten Sie das GerΓ€t ein und halten Sie die Tasten noch fΓΌr
ca. 1 Sekunde gedrΓΌckt.
Das Autoradiodisplay zeigt 8 Zeichen an.
Die 4 linken Zeichen zeigen den Softwarestand des Haupt-
prozessors an und die 4 rechten Zeichen zeigen den Softwarestand
des Kappen- Prozessors an.
Testmode deaktivieren
Sie verlassen den Service Mode durch Ausschalten des Autoradios.