Bic 960 Owners Manual

This is the 17 pages manual for Bic 960 Owners Manual.
Read or download the pdf for free. If you want to contribute, please mail your pdfs to info@audioservicemanuals.com.

Page: 1 / 17
left right
Bic 960 Owners Manual

Extracted text from Bic 960 Owners Manual (Ocr-read)


Page 1

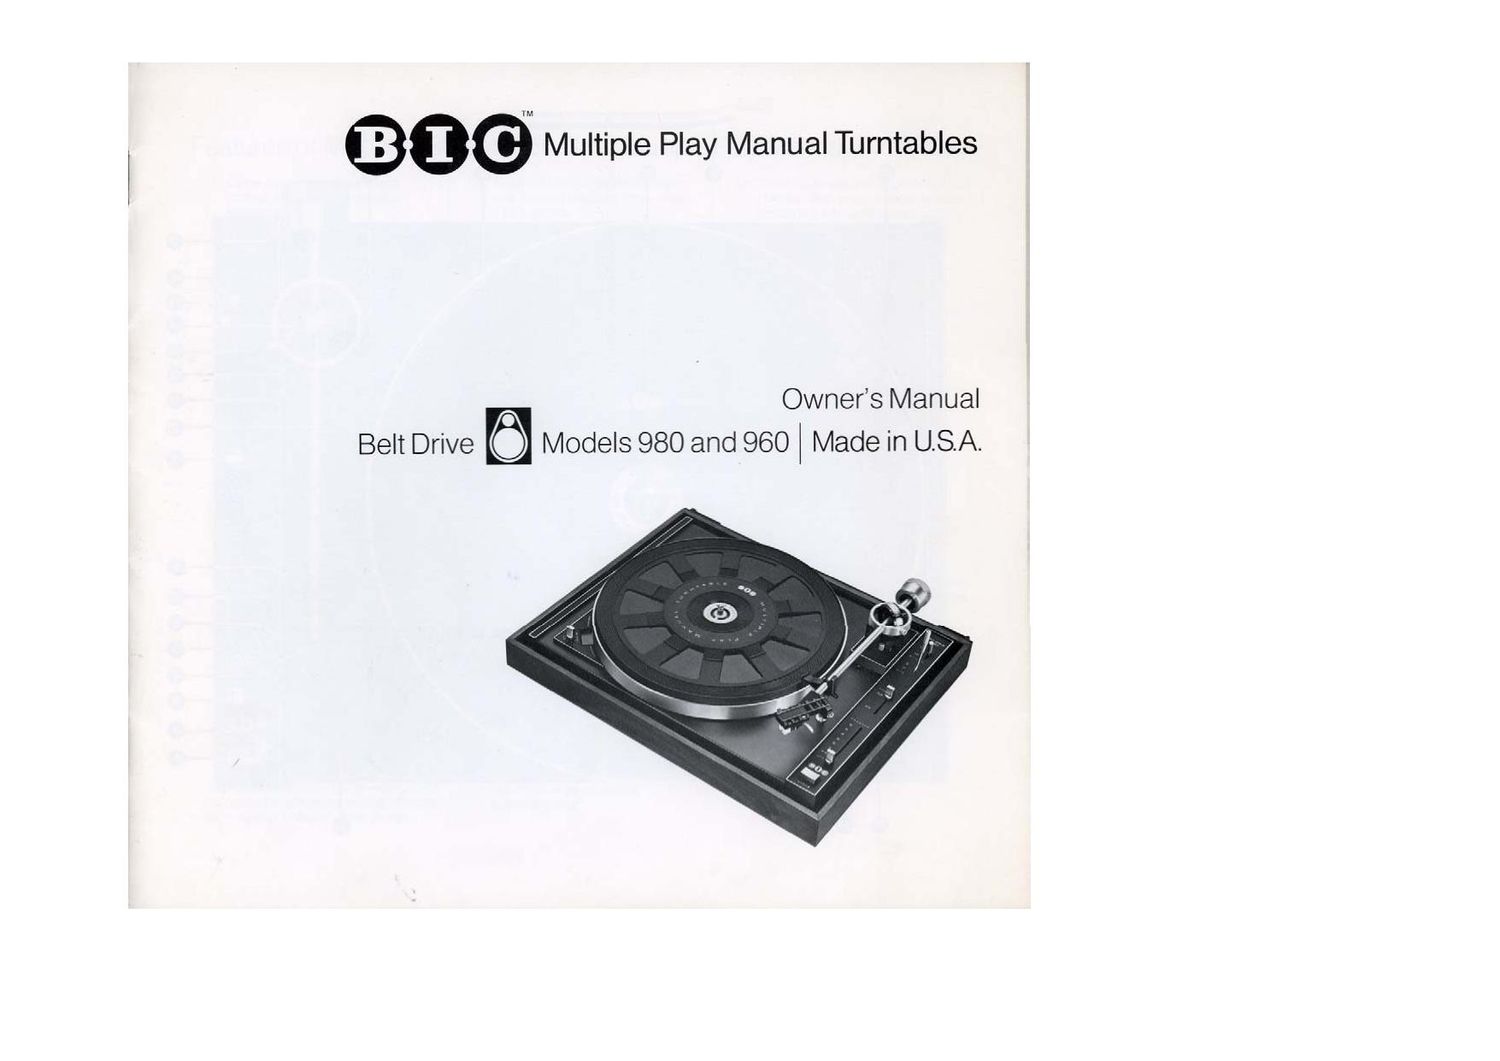
GOG Multiple Play Manual Turntables

Owners Manual
Belt Drive Models 980 and 960 Made in USA.

Page 7

gauge. Loosen the cartridge mounting
screws and "love the cartridge until
the stylus tip lies directly under the
center at the cross-hairs Remove the
gauge trom the shell and re-tighten the
mounting screws Pie-check alignment,
using the gauge. to make sure the
cartridge has not shilted during the
tightening process.

Attach Shell to Tonearm

Line up the hole in the rear of the

shell with the pivot pin on the tonearm
and engage the plug-in socket ol the
pickup hcnd With the pickup arm

(Fig A. Pg 6) (The connector in the
tonerirm is a ttoating, scllraligning
connector.) Press the pickup head into
the tonearm Re-install the head locking
out but do not lully tighten

Counterwetght Installation

The counterweight should be installed
on the tonearrn In the lollowing manner
Place the counterweight at the end at
the tonearm, With the knurl facing the
rear. and rotate it In a COtlntCFCIOCkr
wise direction (Fig. A). The counter
weight must be assembled and taken
otl ine tonearm only by a winding
action not by directly pushing or pull~

ing Rotate the platter In a c/ockwrse
direction apnroxrmately 5 turns to make
certain that the mechanism is tree and
the unit is not In cycle. Also. make cer
tam that the cueing lever is in the play

i or conical stylus Not only is this con-

doiiblo scale IS employed to permit sct-

position With the lonearm released
from its locked posnion and both antir
skate and tracking lorco levers set to
0 (zero). continue to rotate the counter
weight until the tonearm is perfectly
balanced. lloating parallel to the turn-
table When this is accomplished, the
tonearm Will he at the approximate
level ol the extension on tho tonoarm
pickup rest.

hon-conical or elliptical. depending
upon the type at stylus used in your car
tridge For other types at styli. such as
Shihata or (ID-4 cartridges, consult the
cartridge manufacturer's recommenda-
tiun tor anti-skating calibration

Setting Stylus and Anti-Skate Force
Set both anti-skating and stylus lorce
lovers to the number at grams recom-
mended by the manufacturer nl your
cartridge (Fig. C). Although tracking
lorce and anti-skate settings can be
made mdrvrdually. the controls can also
be operated In tandem

Selecllng Proper Anti-Skate Mode
The physical and geometric relation-
ships ol all ollsel tonearms give rise
to an Inward torce during record play
which applies lateral lorces against the
Inner groove wall ot a record This lorce
is called "skating" and must he counr
tercd by an equal and opposite force if
minimum record wear and optimum
tracking is to be achieved.

The anti-skating systems on the 980
and 960 are unique in a number at
respects. On all automatic turntables.

Cartridge Anglo Adjustment
Place the setting gauge on the list (non-
ribbed) surlace ol one at the spokes ol
the turntable mat (Fig. A, pg 8).
DO NOT PLACE THE GAUGE ON THE
BLACK DISC.

Set the auto/manual selector at
the tront ol the tonearm shell to the
manual (M) posnion Gently place the
stylus on the gauge supplied and srght
the location at the top surlaco ol the
pick-up head in relationship to the
parallel lines; at the otting gauge Ideally.

and even on many manual players. a

tings tor the dillerences in the amount of
lorce needed when using an elliptical

lustng and dillicult to set. but in actual 1
tact. this method involves a compromise
since one torce is being used to create
both compensations tn the Models 980 the top surlacc of the pick-up head
and 960. the relcrencc point lor elliptical should be parallel With the lines on the
and conical Styli is preset by a separate gauge. This can be achieved by turning
lunclion lever (Fig. B). the adjusting screw with a small screw-

Shilt the conical o lelliptical o stylus driver. Make this adjustment with the
mode selector to the appropriate poslv