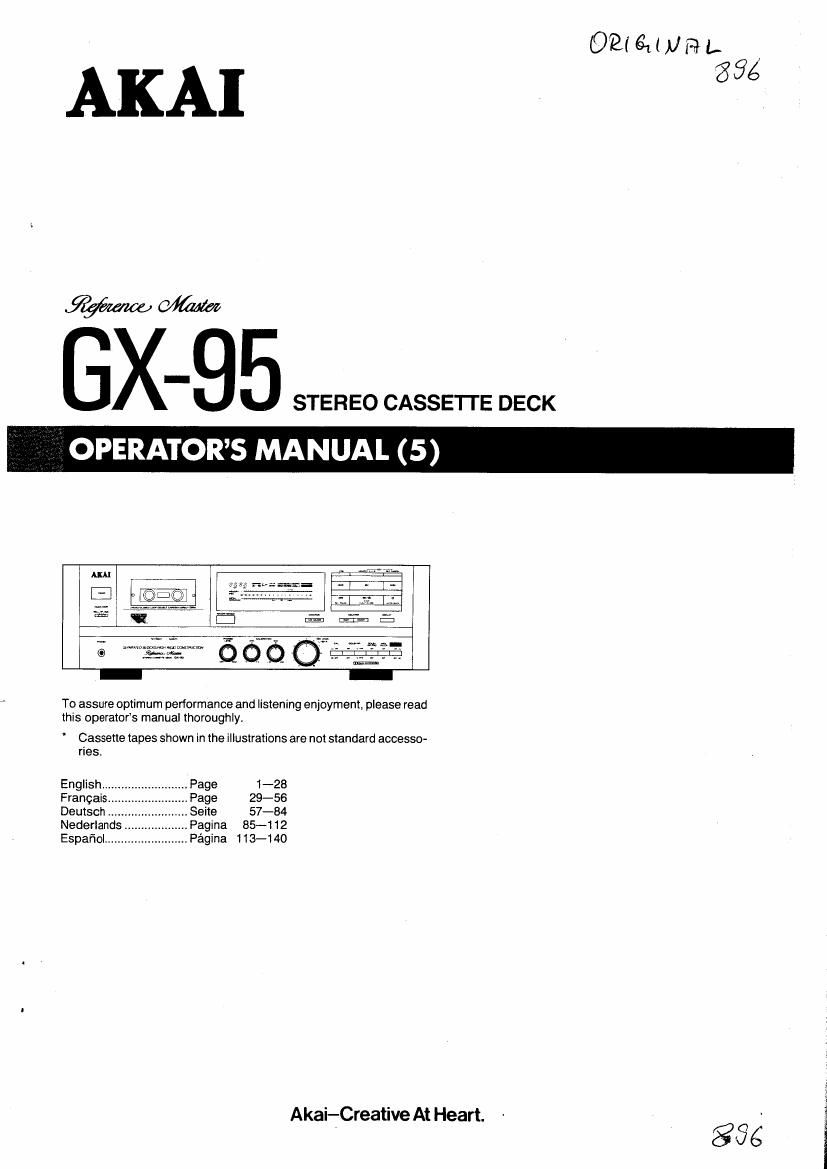
Akai GX 95 Owners Manual

This is the 29 pages manual for Akai GX 95 Owners Manual.
Read or download the pdf for free. If you want to contribute, please mail your pdfs to info@audioservicemanuals.com.

Page: 1 / 29
left right
Akai GX 95 Owners Manual

Extracted text from Akai GX 95 Owners Manual (Ocr-read)


Page 1

(Oman/m,

AKA]

W W
STEREO CASSETTE DECK

, OPERATORS MANUAL (5)

Mg

7
x

To assure optimum performance and listening enjoyment, please read
this operator's manual thoroughly,

* Cassette tapes shown in the illustrations are not standard accesso-
ries.


English... 1-28
Frangais. 29-56
Deutsch . .. 57-84
Nederlands. .. Pagina 85-1 12
Espafiol ....... Pagina 113-140

Akai-Creative At Heart.

gag

Page 2

Precautions and table of contents

WARNING

To prevent fire or shock hazard, do not expose this

appliance to rain or moisture.
1 -En

Power requirements

Power requirements for electrical appliances differ from
area to area. Please ensure that your unit meets the re-
quirements in your area.

If in doubt, consult a qualified electrician.

120 V, 60 Hz for USA and Canada

220 V, 50 Hz for Europe except UK

240 V, 50 Hz for UK and Australia

1 10 W120 V/220 V/240 V, 50/60 Hz convertible for other
countries.

Voltage conversion
(Not on all models)

Models for Canada, USA. Europe, UK and Australia are
not equipped with this facility

Each unit is preset at the factory according to its destina-
tion, but some units can be adjusted to 1 10 V, 120 V, 220
V or 240 V as required,

if your units voltage can be convened:

Before connecting the power cord, turn the VOLTAGE
SELECTOR located on the rear panel with a screwdriver
until the correct voltage is indicated.

2-En

This equipment conforms to No. 82/499/EEC stand-
ard.
3-En

Page 24

Cassette deck maintenance

E}

Keep your stereo cassette deck clean

After prolonged use, pans of your cassette deck which come in-
to contact with the tape (Heads. capstan, pinch roller and tape
guide, etc.) become dirty due to oxide from the tape and other
contaminations.

This can lead to such problems as no sound, distorted sound
due to unstable tape transport, etc.

To ensure good performance, you should periodically clean
your stereo cassette deck.

How to remove the cassette lid
1 Press the I/= button to open the cassette holder,

2 Grasp both sides ofthe cassette lid and gently pull upto re-
move.

3 Align the cassette lid with the cassette holder abd push is
down in the opposite direction of the arrows to replace the
cassette lid.

Cassette lid

Mechanism layout

Super GX head for Recording Super GX head for Playback

capstan (for tape take-up)

figs

Capstan (tor tape supply)

3E

0
Tape guide Pinch roller
Pinch roller Erase head Tape guide

Cleaning the deck

Use the optional accessory Akai Cleaning kit (BK-310 or clean-

ing tape.

Dip the cotton swab into the appropriate cleaning fluid (most

cleaning kits contain two types of cleaning fluid; one for metal

parts and one for rubber and plastic pans) and wipe the surface

of the heads, tape guides, capstans and pinch rollers.

After cleaning, wipe with a dry cotton swab.

Use your stereo cassette deck only after the parts have com-

pletely dried.

Use a liquid cleaner exclusively meant for tape decks. For
best results, always clean your stereo cassette deck before
an important recording.

Keeping the head demagnetized

After much use, slight magnetism can build up on therecording
and playback head causing loss in high frequency sound and
increases in noise. To eliminate this problem you should peri-
odically demagnetize the head with the optional accessory
Head Demagnetizer Alt-15. Damagnetize the metal pans of
the capstan as well.

Before demagnetizing
Turn off your stereo cassette deck.

Keep the cabinet clean too

0 Clean the cabinet with a soft. dry cloth.

I If the cabinet is excessively dirty, clean it with a mild deter-
gent.

. Never use paint thinner, etc. to clean the cabinet, as this may
damage the finish.