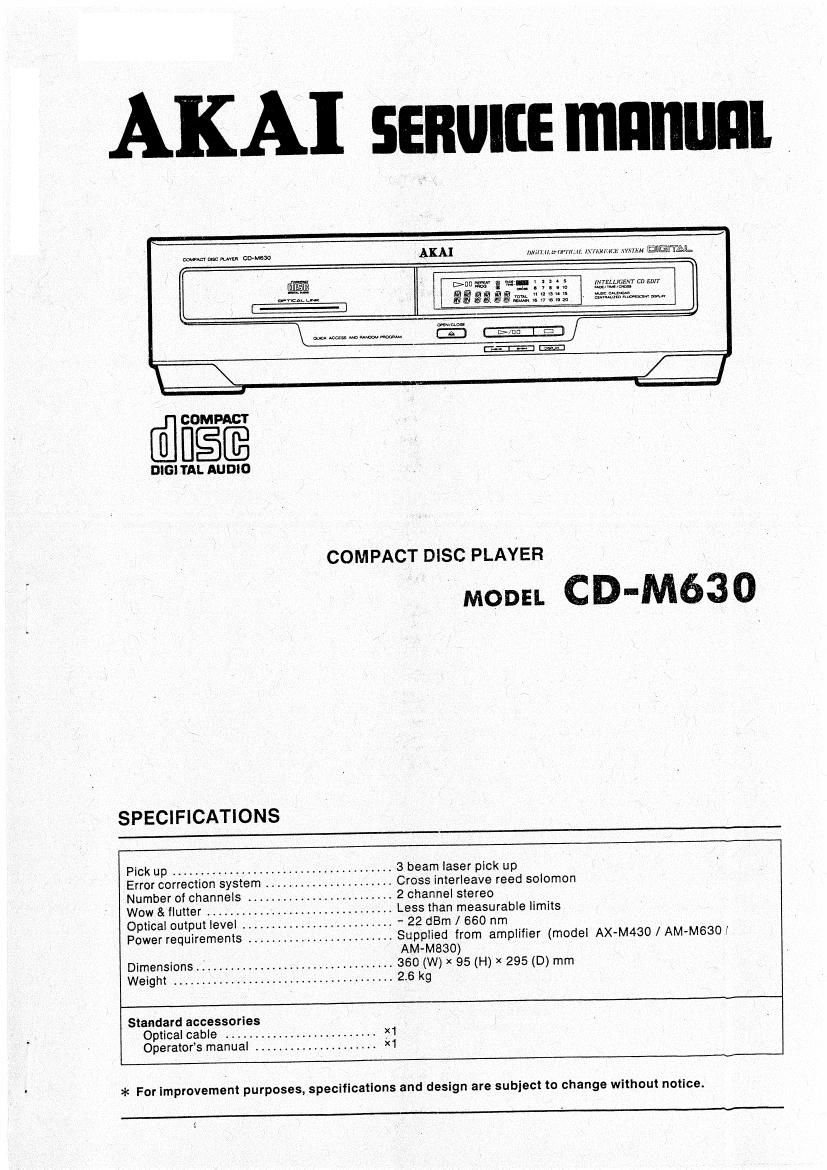
Akai CDM 630 Service Manual

This is the 19 pages manual for Akai CDM 630 Service Manual.
Read or download the pdf for free. If you want to contribute, please mail your pdfs to info@audioservicemanuals.com.

Page: 1 / 19
left right
Akai CDM 630 Service Manual

Extracted text from Akai CDM 630 Service Manual (Ocr-read)


Page 1

AKA! 55mm; mnnunl

AKA! 1mm lit-W .t u-m.my.um IHETTAL

mam-1w pm:- cD-MBW

|

l

Wm
\ wwfimummw _-

E-ZIEEE


I>EHJ w

Egfigfimmmiw

flfiEffi

DIGITAL AUDIO
COMPACT DISC PLAYER
mom C D-M63 0
SPECIFICATIONS
Pick up .................................. .. 3 beam laser pick up

Error correction system .. . Cross interleave reed solomon

Number of channels ..... 2 channel stereo

Wow & flutter ........ Less than measurable limits

Optical output level l. ........ - 22 dBm / 660 nm

Power requirements .................. Supplied from amplifier (model AX-M430 / AM-M630l
AM-M830)

360 (W) x 95 (H) x 295 (D) mm
. 2.6 kg

Dimensions ..' ........................
Weight ..............................

Standard accessories
Optical cable ...............
Operator 5 manual ..........

>l< For improvement purposes, specifications and design are subject to change without notice.

Page 2

* SAFETY INSTRUCTIONS

PRECAUTIONS DURING SERVICING

1. Parts identified by the Q (*) symbol are critical for
eatery. Replace only with parts number specified.

a in addition to salety. other pans and assemblies are
specified for conformance with such regulations as
those applying to spurious radiation.

These must also be replaced only with specilied re-
placements

Examples: RF converters. tuner units. antenna selector
switches. RF cables. noise blocking capacitors. noise
blocking filters. etc.

2. Use specified internal wiring. Note especially:

1) Wires covered with PVC tubing
2] Double insulated wires
3) High voltage leads

4. Use specified insulating materials lor hazardous live

parts. Note especially.

1) lnsulahon Tape

2) PVC tubing

3) Spacers (Insulating Barriers)

4) Insulation sheets for translators

5) Plastic screws tor fixing microswitch (especially in
turntable)

5. When replacing AC prlmary side components (trance
tormers power cords. noise blocking capacitors. etc).
wrap ends of wires securely about the terminals before
soldering.

\fimfiQiifl

6. Observe that wires do not contact neat producing pans
(heatsinks. oxide metal film resistors fusible resistors.
etc).

7, Check that replaced wires do not contact sharp edged
or pointed parts.

5, Also check areas surrounding repaired locations.

Use care that toreign objects (screws. solder droplets.

etc.) do not remain inside the set.

50

SAFETY CHECK AFTER SERVICING

Alter servicing. make measurements of leakage-current or
resistance in order to determine that exposed parts are
acceptably insulated trom the supply circuit.

The leakagevcurrent measurement should be done be-
tween accessible metal pans (such as chassis. ground
terminal. microphone jacks. signal-input/output connectors.
etc.) and the earth ground through a resistor ol tSOD
ohms paralleled with a (MS pF capacitor. under the unit's
normal working conditions. The leakageAcurrent should be
less than 0.5 mA rms AC.

The resistance measurement should be done between at:-
cessible exposed metal parts and power cord plug prongs
with the power switch (it included) ON'. The resistance
should be more than 2.2 Monms.

~--- sEnvrce MANUAL _____-

* INFORMATION

PRECAUTIONS BEFORE/AFTER REPAIRING
THE UNIT

[ABOUT THE POWER SUPPLY ]

Power supply and power control data tor the CD-MSSO
are supplied lrom the amplifier and tuner. Tharetore
when repair at the CD-M53D is necessary. repair should
be made together with the amplifier and tuner.

TD epair the CD-M630 without the tuner. use the (allow-
ing procedure. it can be repaired together with the ampli-
tieronly.

1. When amplifier is AM-MSSO or AMvMBSO
While pushing GE REC button on the amplifier. press
the POWER button on the amplitier to turn the power
oi the amplifier on.

2. When amplifier is AX-MASO
While pushing the PLAY (l>) button. press the POWER
button to turn the power at the AX-MASO on.

While pushing the DISPLAY and PH buttons simulta-
neously on the CD»M630. connect the tlat connection
cable from the CD-M630 to the amplifier to turn the
power at the CD-M630 on.

To turn oft the power ot the amplitler and CD-MBSO. the
AC power cord must be disconnected.

[ABOUT THE TRANSPORT LOCKING PLUG ]

This CD player has transport locking plugs located on
the bottom panel. These plugs are locks the laser pick
up mechanism to prevent vibration during transportation.
Belure playback. make sure to remove the locking plugs
Belore transporting the unit. make sure to remove the
compact disc. and insert the transpon locking plugs to
lock the laser pick up mechanism.

Slot «0 remove
Lock 0 I

0 remove
K ¥

(EUROPE, SCANDINAVIA, UK and AUSTRALIA]

Lock 0

cuss 1 LASER pnonuct
KUSSE r uses vnoouxr
lUOKAN 1

5E! urn:
ms: t LASER Appm'r

Label altlxed on the rear panel at the unll

[ PRECAUTIONS IN REPAIRING]
When repairing or adjusting the uniL please note the fol-
lowing points.

1. Do not put excessive pressure on the mechanical
parts (operation pans). including the pick up block. as
extremely high mechanical precision is required in
these parts.

2. When the base is removed (or repair or adjustment.

make sure that there are no metal oblects in the nar-

row gap between the RC boards or the mecha parts
and the base.

The micro-computer and the CD signal processing ICs

can be damaged by static electricity or leakage trom a

soldering iron during repair.

While soldering. use a low Ieakaged (anti static) type

soldering iron or take precautions against leakage as

in the illustration below.

57

and

4. Do not loosen any screws in the pick up block
when handling the pick up block. please reler NOTE
or CAUTION accompanying the explanation ol proce-
dure.
5. For your own satety. avoid hazardous invisible laser
radiation, Do not look at the laser beam (objective
lens) directly. '
On models tor some countries. laser warning labels
are affixed on the outside and inside the unit as
shown below,
For your own salety, read these labels carefully when
repairing or adjusting the unit.

.m

Label ailixed on the disc clamper inside the unit

___._.--- sznwce MANUAL ##4-

3