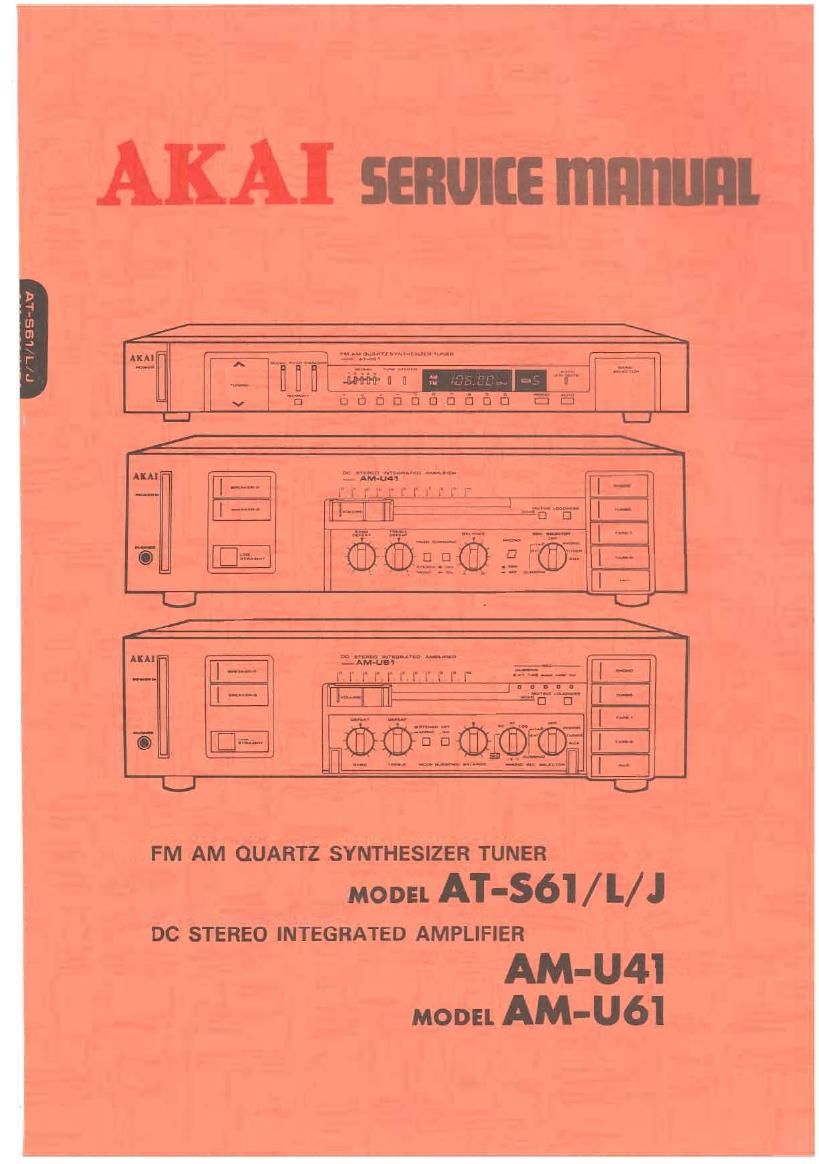
Akai AT S61 Service Manual

This is the 80 pages manual for Akai AT S61 Service Manual.
Read or download the pdf for free. If you want to contribute, please mail your pdfs to info@audioservicemanuals.com.

Page: 1 / 80
left right
Akai AT S61 Service Manual

Extracted text from Akai AT S61 Service Manual (Ocr-read)


Page 2

AT-561 /L/J

AM-U6I

FM AM QUARTZ SYNTHESIZER TUNER
MODEL AT'S61/L/ J
DC STEREO INTEGRATED AMPLIFIER

MODEL AM " U4 1

DC STEREO INTEGRATED AMPLIFIER

MODEL AM- U6 1

This manual is applicable to both silver and pearl shadow panel models.

TABLE OF CONTENTS
SECTION 1 SERVICE MANUAL AT-S61/L/J ............. 3
SECTION 2 SERVICE MANUAL AM-U4l/AM-U6l... . 25

SECTION 3 PARTS LIST ............................................................ 47
SECTION-4 SCHEMATIC DIAGRAM ...................................... 70

Page 3

SAFETY INSTRUCTION

SAFETY CHECK AFTER SERVICING

Confirm the specified insulation resistance between power cord plug prongs and externally exposed parts ofthe set is
greater than 10 Mohms, but for equipment with external antenna terminals (tuner, receiver, etc.) and is intended for
or I, specified insulation resistance should be more than 22 Mohms (ground terminals, microphone jacks,
headphone jacks. line-in-out jacks etc.)

PRECAUTIONS DURING SERVICING

1.

\OPOSON

Parts identified by the A symbol parts are critical for safety.

Replace only with parts number specified.

In addition to safety, other parts and assemblies are specified for conformance with such regulations as those

applying to spurious radiation. These must also be replaced only with specified replacements.

Examples: RF converters, tuner units, antenna selector switches, RF cables, noise blocking capacitors, noise
blocking filters, etc.

Use specified internal wiring. Note especially:

1) Wires covered with PVC tubing

2) Double insulated wires

3) High voltage leads

Use specified insulating materials for hazardous live parts. Note especially:

1) Insulation Tape

2) PVC tubing

3) Spacers (Insulating Barriers)

4) Insulation sheets for transistors

When replacing AC primary side components (transformers, power cords, noise blocking capacitors, etc.), wrap

ends of wires securely about the terminals before soldering.

D D

Observe that wires do not contact heat producing parts (heatsinks, oxide metal film resistors, fusible resistors, etc).
Check that replaced wires do not contact sharp edged or pointed parts.

Also check areas surrounding repaired locations.

Use care that foreign objects (screws, solder droplets, etc ,) do not remain inside the set.

Page 11

2. FUNCTION OF AT600 TERMINALS

N0. Terminal Description Function
H = Muting OFF
1 MUTING L = Muting ON
2 FM H =
L = MW (AM) or LW
H = MW (AM)
3 MW L: FM or LW
H: LW
4 Lw L = FM or MW
5 LED DATA Light up the LED of MANUAL, AUTO, RANDOM
(1) EXCEPT JAPAN
K1 SIGNAL becomes H when MONO KEY is depressed, and Kl
SIGNAL becomes L" when AUTO KEY is depressed.
6 K1 SIGNAL K2 SIGNAL is always .L
(2) JAPAN MODEL
Kl SIGNAL is reversed every time MODE KEY is depressed (H at
MONO), and K2 SIGNAL is reversed every time CAL TONE KEY is
depressed (H" when CAL TONE is ON).

7 K2 SIGNAL When K2 SIGNAL is H", CAL is displayed on FREQUENCY DIS-
PLAY, and all tuning modes are released. Therefore, any input other
than the inputs by CAL TONE KEY and MODE KEY are not mode.

'9 a
10 b a
1 l c f 0
12 d Frequency Display Segment Data
13 e 9
14 f d
15 g
16
8 T6
17 T5 TIMING CONTROL
18 T4 Display Digit Select
19 T3 Key Matrix
20 T2 Led Select
22 T1
21 GND
23 K]
24 K2 KEY Input
25 K3 Input.l.ACTIVE LOW
26 K4
3; X115; Connect a OSC Coil.
29 CK CAL TONE Signal (Japan Model only)
30 TEST
31 RESET ACTIVE LOW -» Reset
32 W Interrupt Signal
33 POF Power OFF manager
34 PLL LOAD PLL Load Signal
35 KD Lock SW inputs (Refer to KEY Matrix)
36 NC
37 AUTO STOP L = AUTO STOP
38 D
39 C PLL Frequency Data
40 B
41 A
42 VDD Power terminal +5V

10

Page 47

MEMO

46