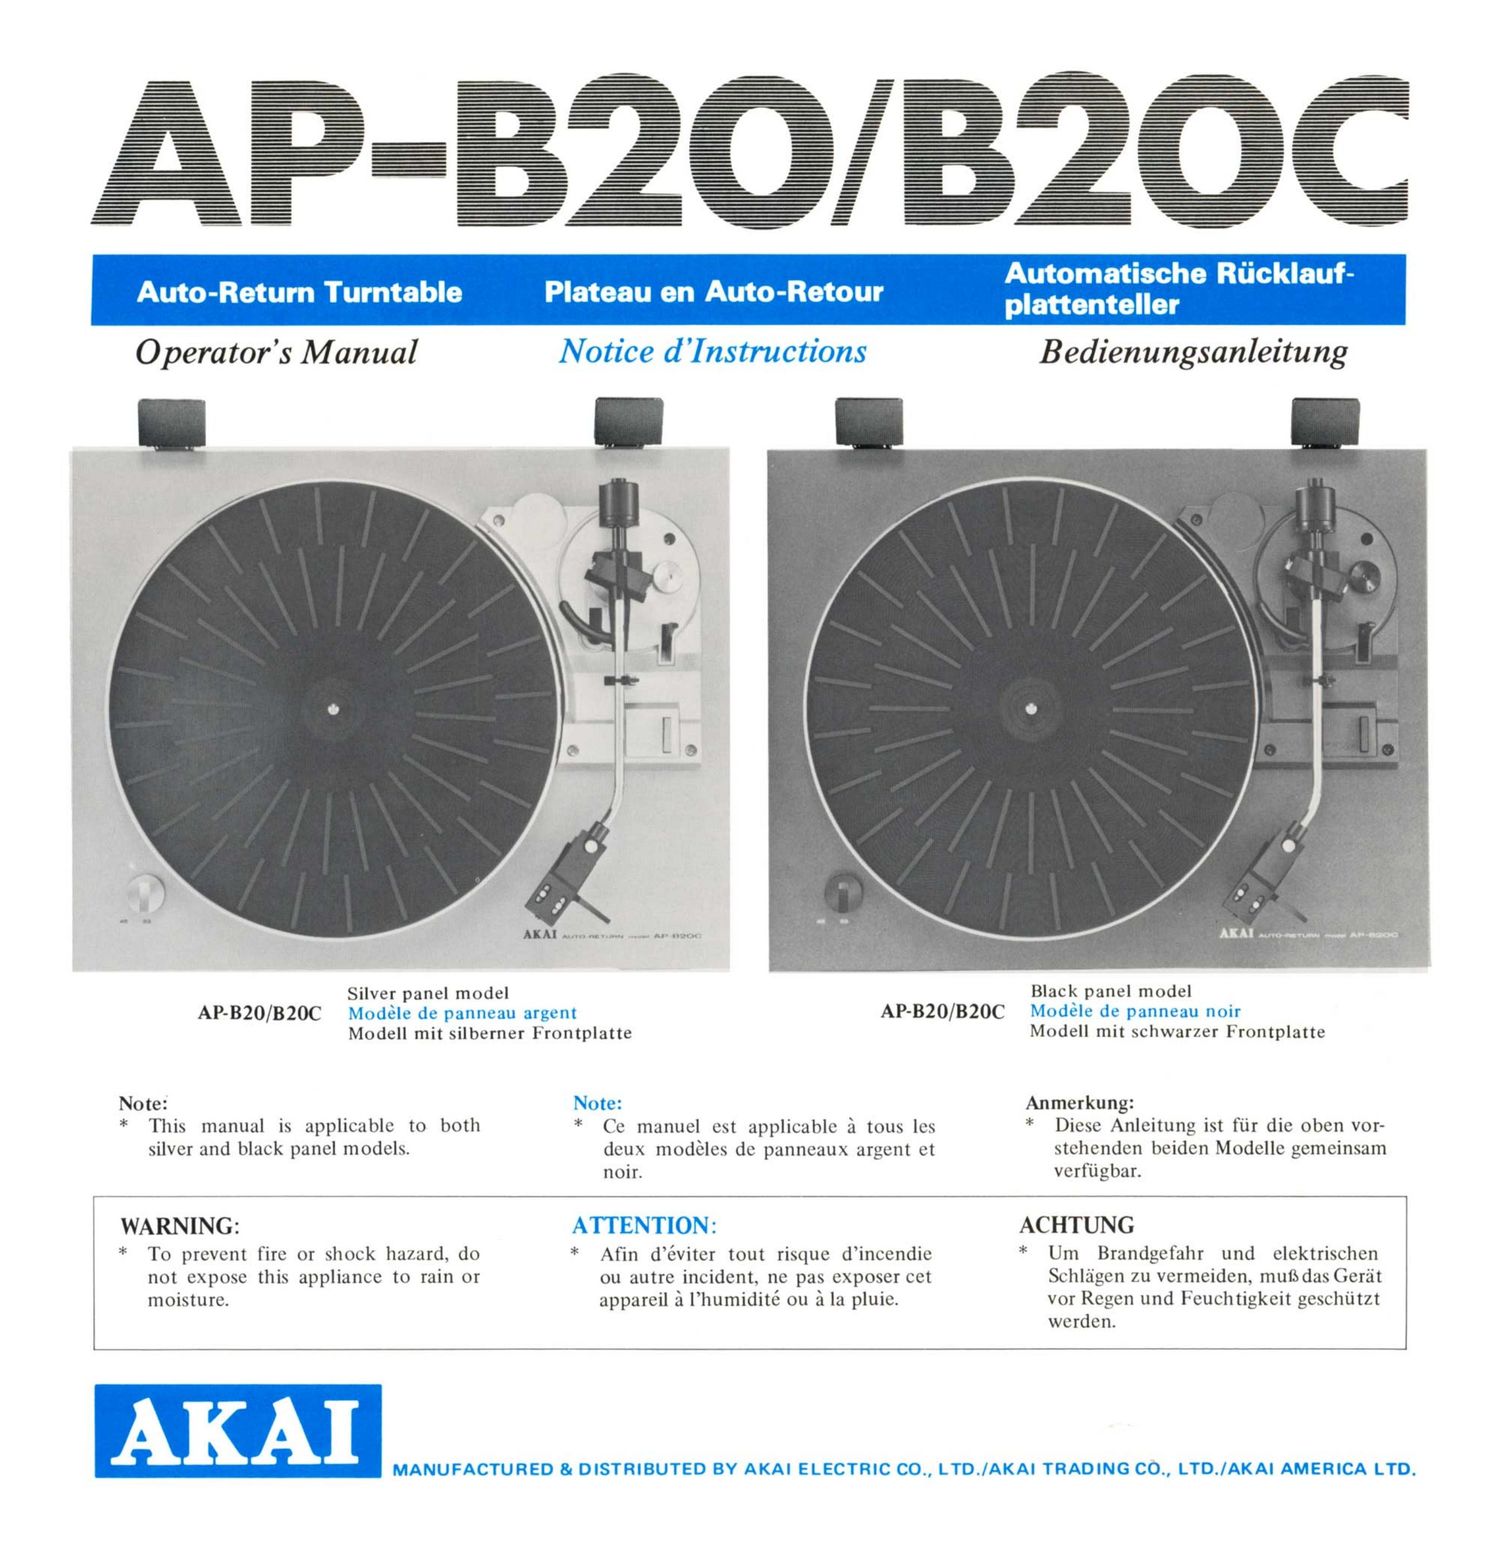
Akai AP B20 AP B20 C Owners Manual

This is the 10 pages manual for Akai AP B20 AP B20 C Owners Manual.
Read or download the pdf for free. If you want to contribute, please mail your pdfs to info@audioservicemanuals.com.

Page: 1 / 10
left right
Akai AP B20 AP B20 C Owners Manual

Extracted text from Akai AP B20 AP B20 C Owners Manual (Ocr-read)


Page 1

- - = -
= = _-=-_ _= _-
= _ = =- _- =
= = _-
-_ - _ = = = =- _- _ _-
= - - - _ - - - - - - -
__ = = = = - = = = _- -_ _-
- - _ - _ - _
= = = = = E _- -_" _- =-_-_"" '-
- _ _ _ - _ - _
= = -_ = = = = = _-
- -' -____--- - _ = =" =- = _."_"
- "- _ - _ - - - _ _
= = - - - - - - -
= _ - - _ = - - -
=-_--__ = ' '_ -_ - =- -_-
= = = - = =-
- - - - -=

Operators Manual

A! Au'n Mun-4N ...-... Al "QCK

Silver panel model

lilllll

_
_ _
- - - - _ _
- - - - - Q
= - - - _
- _ - -
- _ _
_ - E-'
- - - -
_ _ - _ o
-
-
-
-
_
-
-

Black panel model

AP-BZO/BZOC . . , AP-BZO/BZOC » .. , a
Modell mit silberner Frontplatte Modell mit schwarzer Frontplatte

Note: . ,. . Anmerkung:
* This manual is applicable to both * Ce manuel est applicable 51 tous les * Diese Anleitung ist tiir die oben vor-
silver and black panel models. deux modeles de panneaux argent et stehenden beiden Modelle gemeinsam

noir. verfiigbar.

WARNING: ACHTUNG
* To prevent fire or shock hazard, do * Afin déviter tout risque dineendie * Um Brandgefahr und elektrisehen
not expose this appliance to rain or ou autre incident. ne pas exposer eet Schlagen zu vermeiden, mufsdas Gerat
moisture. appareil £1 lhumidité ou a la pluie. vor Regen und Feuehtigkeit gesehiitzt

werden.

Page 2

WARNING

VOLTAGE SELECTION
Power requirements for electrical equipment differ
from area to area. Please ensure that your machine
meets the power requirements in your area. If in
doubt, consult a qualified electrician.
120V, 60Hz for USA and Canada
220-240V, SOHz for Europe and Australia
110-120/220-240V, 50/60Hz internally switch-
able for other countries.
POWER CORD
If your machine comes with a detachable power cord,
please insert into the AC power inlet on the rear panel
of your machine. If you want to use any other kind of
power cord, please use one of a similar type and
consult a qualified electrician.

FOR CUSTOMERS IN THE UK AND

AUSTRALIA
THIS APPARATUS MUST BE EARTHED.
The wires in this mains lead are coloured in accordance
with the following code:

Green-and-yellow: Earth

Blue: Neutral,

Brown: Live
As the colours of the wires in the mains lead of this
apparatus may not correspond with the coloured
markings identifying the terminals in your plug,
proceed as follows:
The wire which is coloured green-and-yellow must be
connected to the terminal in the plug which is marked
by the letter B or by the safety earth symbol -?-or
coloured green or coloured green-and-yellow.
The wire which is coloured blue must be connected to
the terminal which is marked with the letter N or
coloured black.
The wire which is coloured brown must be connected
to the terminal which is marked with the letter L or
coloured red.

When wiring a plug, ensure that all terminals are securely
tightened and that no loose strands of wire exist.

If your machine comes with a three core power cord,

for your safety:

1. Insert this plug only into an effectively earthed
three-pin plug socket outlet.

2. If any doubt exists regarding the earthing, consult a
qualified electrician.

3. Extension cords, if used, must be three-core cor.
rectly wired.

ATTENTION

SELECTION DE TENSION
Les conditions dalimentation pour léquipement élec-
trique different de zone en zone. Nous vous prions de
vous assurer que votre appareil satisfait aux conditions
dalimentation de votre zone. Priére en cas de doute de
consulter un électricien qualifié.
120V, 60 Hz pour les Etats-Unis et le Canada
220-240V, 50 Hz fiir Europa und Australien
110-120/220-240V, 50/60 Hz commutable in-
térieurement pour les autres pays.
CORDON SECTEUR
Priere dintroduire le cordon secteur, au cas ou celui~ci
est foumi de maniere indépendante, dans la prise de
courant alternatif de votre appareil. Tout cordon utilisé
doit étre de type similaire a celui-la. Nous vous
conseillons de consulter un électricien qualifié.

VORSICHT
WAHL DER STROMSPANNUNG
Die Stromverhiiltnisse fiir elektrische Gerate sind von
Zone zu Zone verschieden. Vergewissern Sie sich bitte,
ob lhr Gerat den Stromverhaltnissen Ihres Landes
entspricht. Bei Zweifeln wenden Sie sich bitte an einen
Fachmann.

120V, 60 Hz fiir die USA und Kanada

220-240V, 50 Hz pour lEurope et IAustralie

1 10-120/220-240V, 50/60 Hz, im Ger'at umschalt-

bar, fur die iibrigen Lander
ANSCHLUSSKABEL
Wird lhr Geriit mit einem abnehmbaren Anschlufikabel
geliefert, schlieBen Sie dieses bitte an die Wechselstrom-
AnschluBbuchse an der Riickwand des Gerates an.
Wenn Sie irgendein anderes Anschlufikabel verwenden
wollen, benutzen Sie bitte ein Kabel ahnlichen Typs
und lassen Sie sich von einem Fachmann beraten.

VOLTAGE CONVERSION
Please look at the voltage chart
located near the power cord (or
AC lnlet). If it reads 110 »-
120/220 - 240V, there is a
voltage conversion switch located
on the inside of your machine.
Also your machine will show the
voltage at which it was preset in
the factory. If this applies to your
machine, please refer the following
voltage conversion to a qualified
Service Repair Shop or profes-
sional service personnel.
1. Remove the bottom cover.
2. Switch the voltage conversion
switch so that it shows the
correct voltage for your area.

[:1
110V fi

120V

CONVERSION DE VOLTAGE
Pricrc dc regarder lc tableau- situé
au voisinage du cordon dalimen-
tation (ou AC Inlet).
Sil indique 110 ~ 120/220 ~
240V, 11 doit y avoir un com-
mutatcur de conversion dc voltage
situé a lintérieur de votre appareil
qui montrera aussi le voltage pré-
réglé 5 lusine. Sil en est ainsi,
priére de vouscn référcr au Service
de reparation qualifié on a un per-
sonnel professionncl du service de
la conversion dc voltage suivante.
l. linlever le couvercle dc bouton.
2. Mettre sous tension le com-
mutateur de conversion de volt-
age de maniére a montner le
voltage correct pour votre dis-
trict.

O

221W
240v Q
[:3

O

UMSTELLUNG DER SPAN~
NUNG
Siehe auf die Spannungstabelle,
die nebcn dem thzkabel (0d.
Wechselstrom-Buchse) befindlich
ist. Wenn sie auf 110 - l20/
220 _- 240V deutet, gibt es auf
der lnnenscite dcs Geriits einen
Spannungswechsel-Schalter.
Moglicherweise zeigt das Geriit auf
diejenige Spannung, die bereits in
der Fabrik gestellt war. Falls das
lhr Gera't betrifft, bitte einen
qualifizierten Reparatur-Kunden-
dienst Oder Elektriker nach der
folgendcn Spannungsumstellung
befragen.

l. Bodendeckelentfernen.

2. Spannungswechsel-Schalter
umschalten, darnit die Span-
nung der-von lhrem Gegend
entspricht.