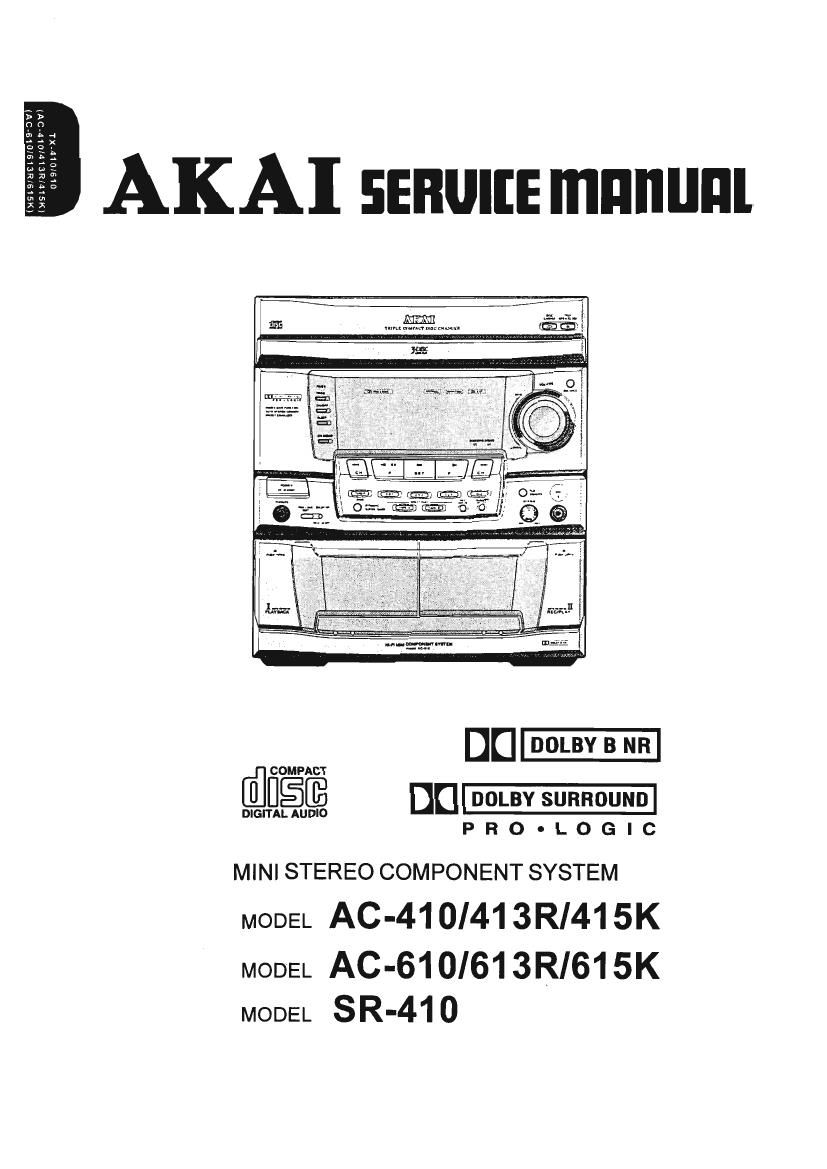
Akai AC 615 K Service Manual

This is the 75 pages manual for Akai AC 615 K Service Manual.
Read or download the pdf for free. If you want to contribute, please mail your pdfs to info@audioservicemanuals.com.

Page: 1 / 75
left right
Akai AC 615 K Service Manual

Extracted text from Akai AC 615 K Service Manual (Ocr-read)


Page 2

CONTENTS

SAFETY INSTRUCTIONS ........................................................................................... 2
INFORMATIONS ........................................................................................................... 3
SPECIFICATIONS ....................................................................................................... 4
CONTROLS ................................................................................................................. 6
I. DISASSEMBLY ........................................................................................................ 8
II. PRINCIPAL PARTS LOCATION ........................................................................... 9
III. DISASSEMBLY OF MAIN COMPONENTS .......................................................... 11
IV. MECHANICAL ADJUSTMENT .............................................................................. 16
V. ELECTRICAL ADJUSTMENT ................................................................................ 17
VI. PARTS LIST ......................................................................................................... 19
VII. ABBREVITIONS .................................................................................................... 34

Page 13

3) Remove the two retaining screws, then remove the SLED
MOTOR.
Next, extract the plastic gear tram the motor shaft and
attach itonto the new motor's shaft.

4) Reassemble in the reverse order.

About the SPINDLE MOTOR:

Replacement of the SPINDLE MOTOR Itself is not
recommended, because adjustment of the TURN TABLE
height is quite critical and requires the use of a special jig.

3-1-3. Replacement of the PICK UP BLOCK

1) Remove the TRAVERSE MECHA (refer to section 3-1-1).

2) While pressing the ® stopper upwards. pull the SLIDE
SHAFT to the right to remove the PICK UP BLOCK, then
replace the PICK UP BLOCK.

SLED SHAFT

® sroppen

PICK UP BLOCK TURN TABLE
Fig. 3-6

3) Reassemble in the reverse order.

3-1-4. Replacement of the LOADING MOTOR
1) Slide the protruding part ol the GEAR HOLDER PART in
the direction of the arrow. then pull out the TRAY BLOCK.

12

2) Unhook the LOADING BELT with tweezers.

LOADING BELT
Fig. 3-3

3) Unsolder the lead wires of the LOADING MOTOR with a
solderan iron.

4) While releasing the LOADING MOTORs three retaining
hooks, push the motor pully part down with' your middle
finger to remove the LOADING MOTOR, then replace it.

GRAY STRIPE

LOADING
MOTOR

Fig: 39

5) Reassemble in the reverse order. Make sure thatthe wire
with the gray stripe is connected to the motor's O marked
terminal when soldering.

3-1-5. Removal 01 the TRAY BLOCK

1) It the TRAY BLOCK is in the in" position, slide the
protruding part at the GEAR HOLDER PART in thedi rection
oi the arrow and pull out the TRAY BLOCK siowly(reler to
Fig. 3-7).

2) In order to disengage the two stoppers, careluly press
the ® pan of the TRAY BLOCK downwards whie pulling
the TRAY BLOCK out as shown in Fig. 3-10.

Page 17

IV. MECHANICAL ADJUSTMENT

4~1 . ADJUSTMENT OF THE HEADAZIMUTH

ALIGNMENT

1) Connect an oscilloscope to the L-ch and R-oh speaker
terminals of the unit. Set the VOLUME control on the
FRONT PANEL at the appropriate level (is, the output
level is not too low or too high).

2) Play back a 10 kHz (-15 dB). HEAD AZIMUTH
ALIGNMENT TEST TAPE (T F-1060H) then adjust the
HEAD AZIMUTH ALIGNMENT ® (FWD PLAY) and ®
(REV PLAY) SCREWs respectively so that the waveform
level of both the L-ch and R-ch are at maximum and also
they are in the same phase in both FWD and REV
directions. (Use a sharp edge philips type screwdriver that
is de-magnetized tor adjustment.)

Perform the adjustment on both the TAPE-l and TAPE-ll
heads it necessary.

g \ Orafifiéb (ll Q ©

scnew ® sonsw scnew @ scnsw
(REV) (FWD) (REV! (FWD)
\_-__/
TAPE .1 TAPE - n
Fig. 4-1

16

Page 18

V. ELECTRICAL ADJUSTMENT

5-1.TAPE DECK SECTION

NOTE :
1) The following adjustment should be pertormed in
the DECK test mode".
To engage the DECK test mode, connect the AC
power cord to the AC outlet while pressing the
"TAPE-ll" and D ( F ) buttons together.
When the DECK test mode" is engaged, the
'DUBX1" indicator on the FL display will light.
2) When performing the tape speed adjustment,
observe the following notes.
0 Adjustment should be started more than 30
seconds alter the power is switched ON.
0 Adjustment should be made on X25peed mode
first then adjust the normal speed mode.
O Adjustment should be made in the toward
direction.
3) To disengage the DECK test mode", press the
POWER button or unplug the AC power cord
from the AC outlet.

TC-DKPCB P1004 T1731


m VR31_00 E133;

0 en
L m _
Q VR31021'+)

e
h
!
n

w n
VR3103 fie)

Tf-I-r-I'
49

TP-ROUT TP'L'OUT

MAlN PCB
(PATTERN SIDE) T

STEP] ADJUSTMENT

1. Test tape/input signal Adjustment Part
2. Mode *\->
3. Check point. adjustment part
4. Remarks (-) and result (*)

~ es
Test Point

1 I TAPE-l (x2) TAPE SPEED

1. 3,150 Hz test tape (TF-11OCT)

2. TAPE-l, PLAY

3. TP-Fl.OUT, VR3100

4. 0 Connect a frequency counter to the TP-R.OUT
(or LOUT) and press the DUBBING' button
to engage double speed.

* 6,340 i: 20 HZ


2 I TAPE-l NORMAL TAPE SPEED

1. 3,150 Hz test tape (TFo110CT)

2. TAPE-l, PLAY

3. TP-R.OUT, VR3101

4. - Connect a frequency counter to the TP-R.0UT
and press the ">( F )" button again to
resume normal tape speed.

31: 3,150 3: 10 Hz

a | TAPE-ll (x2) TAPE SPEED

1. 3,150 Hz-test tape (TF-11OCT)

2. TAFE~II, PLAY

3. TP-R.OUT. VR3102

4. I Press the "TAPE-ll button and play back the
test tape.

0 Connect a frequency counter to the TP-Ft.OUT

, and press the DUBBING button to engage

' double speed.

=1: 6,320 i 20 Hz

k 4 I TAPE-ll NORMAL TAPE SPEED

. ~ 1. 3,150 Hz test tape (TF-11OCT)

2. TAPE-ll, PLAY

3. TP-R.OUT. vnatoa

4. - Connect a frequency counter to the TP-RDUT
and press the '>( F )" button again to
resume normal tape speed.

:1: 3,140 1 10 Hz

5 BIAS OSC FREQUENCY

1. Cr02 type blank tape
2. TAPE-ll, REC
3- P1004 23 pin. T1731
4. 0 Connect a frequency counter between P1004
pin and GND. (10 : 1 probe should beused to
avoid aftecting the measurement.)
0 Start a recording (press the REC" butlo n then
press the b" button).
The AUX" source indicator appears auto»
matically.
* 100.0 t 0.2 kHz

17

Page 32

50

51

52

53

54

55

56

57

53

59

60

61

62

63

64

65

66-a

66-h

67

68

69

7O

71

72

73
74-a(AC-610l613R)
74-b(AC-615K)
75

76

77

78

79

80
81-a(exoep(,B1,Y6.S1)
81-b(B1,Y6)
81 -c(S 1 )

493-385011-01
261 ~385002-01 K
428-385002-01
619-300208-00
619-300208-00
477-385011-01
483-385001-01
604-264501-00A
229-385014-01 S
229-385007-01 S
330-385001-01
619-300208-00
602-407008-60A
619-300212-00
703-385002-01
263-385002-01 K
229-385006-012
229-385002-012
229-3850034318
470-385001-01
21 1-38501 2-01 S
471-385012-01
471-385011-01
259-385005-013
259-385002-01 S
001-873855-42
001-873855-02
471-490065-09
471-490066-09
259-385003-012
606A301208-00
619-300306-00
292-3855024718
071-669078-00A
071-449078-20
001-873655-02

31

METAL BOTTOM CAB

CASS DOOR LENS ( R ) SMOKE

CD BRACKET 'R'

TAPPING SCREW P TYPE BID H 3X8MM BLACK
LATCH PUSH SPRING

DECK SHIELD COVER

TAPPINC SCREW C TYPE BID H 2.6X5MM

LED BRACKET WHITE ABS

HOLDER LID BRACKET BLACK ABS

FRONT CUSHION FOOT

TAPPING SCREW P TYPE BID H 3X8MM BLACK
TAPPING SCREW P TYPE WASHER H 4X8MM
TAPING SCREW P TYPE BID H 3X12MM BLACK
DAMPER DA-GOWNV ( 105 ) ASSEMBLY

DECK DIR LENS AS

LATCH BRACKET BLACK POM

LATCH BRACKT(R) POM

DECK DIR BKT BLACK ABS

CASS DOOR SPRING SHEET

CASS DOOR ( R ) Hl-PS

CASS DOOR SPRING WIRE ( R )

CASS DOOR SPRING WIRE ( L )

STUD ( BOSS LID ) BLACK ABS

INTERLOCK HOLDER 'R ABS

POWER TRANSF ORMER C1050-E

POWER TRANSFORMER C1050-U

LOGICAL CONTROL DECK MECHA CMAL22065A
LOGICAL CONTROL DECK MECHA CMALzzoesA
INTERLOCK 'L' POM

TAPlNG SCREW P TYPE BID H 3X1.25PX8MM
TAPPING SCREW P TYPE FLAT HEAD 3X6MM
TEST BUTrON

AC LINE CORD VDE

AC LINE CORD BS

AC LINE CORD SAA

Page 71

YSTEM CONTROL Ml-COM)

FUNCTION

'1 either sub code SO or $1 is detected.
i Sub P to W.

r 8880 read out.

pt suao 30 bit.

r 5050 read out.

l. (H : MUTE, L : CANCELL

Output to the OPERATION Ml-COM.

Reset at L.

ut irom THE OPERATION Ml-COM.

[cm the OPERATION Ml-COM. (Latching of serial data at falling
ulse.)

M38197MA-148/149FP (SYSTEM CONTROL MI-COM)

nsmission clock input from the OPERATION MI-COM. Pin No PORT NAME 0 FUNCT'ON
1 PLL CLK O PLL clock signal output to the TUNER UNIT.
0' 55P- 2 MAIN \YR; | 2 bit encoder input ior electric volume control.
imftetrocgg': S'gna' '"pm 4 PULSE 1 I TAPE 1 reel pulse input.
9 . . 5 PULSE 2 I TAPE 2 reel pulse input.
tch output to SSP. (Latchlng at fallingedge of the pulse.) 6 LEVEL 5 | ND input for surround level meter.
nsmission °I°°k output 1° SSP 7 LEVEL C | ND input for center level meter.
sition ON/OFF detection input OI Skid motor. (Input A) 8 SPANA | A/D input for spectrum analyzer indication.
SIIIOU ON/OFF detection input OI sled motor. (Input B) 9 CLK LED 0 Clock output for LED section expansion IC.
sition ON/OFF detection input of sled motor. (input 0) 10 PLL OUT 0 PLL control output to the TUNER UNIT.
n Input terminal. L when X'tal is 16.9344 MHz. H when 33.8688 MHZ. 11 STB FLD O Strobe pulse output to DOLBY PRO~LOGIC FLD drive IC.
ON/OFF control. 12 CLK FLD O Clock output to DOLBY PRO-LOGIC FLD drive IC.
ut terminal. For SENS output and servo automatic sequencer. 13 DATA FLD 0 Data output 10 DOLBY PRO-LOGIC FLD drive IC.

14 PHOTO IN I Input from the TRAY rotation position detect photo sensor.
lior spindle motor. 15 CD XLAT O Latch output for the CD MI-COM.

16 CD CLK 0 Serial clock output to the CD Ml-COM.

17 CD DATA 0 Serial data output to the CD MI

. 18 MODE SW | ND input irom the CD's open, close and clamp switches.
Dior TEST terminal. . . .
, , 19 CLK TCDK O Clock output for controlling the expanSIon IC oi the TUNER/CD/DECK sectlort.
I" 5 PLL (5'3 = "5" PLL) 20 CD SOCK o SQCK clock output to the co Ml-COM.
or master PLL' 21,85 N.C - No connection.
P output for master PLL 22 co $050 I sueo so bits serial input.

23 DATA D80 0 Serial data output for controlling the DIGITAL SOUND CONTROL IC.
voltage InPUl for 1351 __ 24 DATA 0 Serial data output to the expansion ICs (for KEY control & EVR ICs, etc.).
nput. 25 OSC PWM O Erasing OSC level control output.(PWM)
circuir constant current input. 26 BOP | Blank output pulse input. (L : blank)
compilasion voltage input. 27 EZPR DAT |/O EEP ROM serial data input/output.
rig output. (L = VSS, H = VDD) 28 EZPFI CLK 0 Serial clock output to EEP ROM.
ry circuit OFF H : Asmmetry circuit ON. 29 CD SENS | Input pin lor reading verious data from the CD MI-COM.

30 R CLK I Clock input from RDS data processor.

E for 48 bit slot. LR clockf = Fs 31 CLK DSC O Clock Output to the DIGITAL SOUND CONTROLLOFI.
DAC 32 REMOCON I Remote control signal input.
:3:po ir1gr-face_ 33 CLK AMP O imks::ii:;)m the expansmn ICs (EVR, Key control, etc. among the PRE/MAIN
nput 0 DAC' 34 CD SCOR | Sub code detect input from the CD MI-COM. (H : sub code 0 or 1 is detected)
m 00* interiace- 35 RESET l Reset input
ut to DAC. 36 X0 IN I 32.768 kHz Xtal input for clock.

37 X0 OUT 0 Output to the 32.768 kHz X'tal.

38 X IN I 8.0 MHz X'tal input.

39 X OUT 0 Output to the 8.0 MHZ X'tal.

40 GN D-D - Digital ground.

41 - 44 KEYt - 4 | Key matrix input from the operation switches.
45 - 60 DIG 1 - 18 0 System FLDs grid drive output.
61 - 80 SE61 - 20 0 System FLDs segment drive output. (SEG 17~20 : 700 series models only)

81 POW DOWN | Back up voltage detection input. (H : normal, L : Power down)

82 STEI AMP O Strobe pulse output for AMP section expansion IC.

83 OE 0 Output enable control for expansion ICs. (L: enable, H : expansion IC output -~ high

impedance).

84 STB VFI O Strobe pulse output lor EVR (electric volume) IC.

86 STB TCDK O Strobe pulse output for TUNER/DECK/CD section expansion ICs.

erminal. 87 STB PRE O Strobe pulse output for PRE AMP section expansion IC.

ien a playback disc is emphasised. L output when no emphasis. 88 STB MEC O Strobe pulse output for DECK MECHA. section expansion IC.
is control input. (H ; ON, L 3 OFF) 89 R DATA I Data input lrom RDS data processor.

to Frame Clock) output. 90 R START I Start signal input from RDS data processor.

91 V00 - +5 V power supply.

92 R RESET 0 Reset output to RDS error correction IC. (L : reset)

93 STEREO | A/D input tor the "STEREO" indicator.

out olt base) 94 TUNED | ND input for the TUNED" indicator.

J ' (TPLSI e p 95 STB LED 0 Strobe pulse output tor LED section expansion IC.
'9- l''l?a,5"l . , , 96 PLL IN I PLL control input from the tuner unit,

IZ Xtal uselllation circun Input. 97 PLL CE 0 PLL chip enable output to the tuner unit.

I2 Xtal oscillation Circuit um" 98 -VP I Negative power supply for FLD blanking.

output. (opposite phase) 99 vss - To be grounded.

OUIPUI- (in-phase) 100 VREF | Reierence voltage input. (+5 V)

Page 74

NJM2177A F83 (DOLBY PRO LOGIC SURROUND DECODER)

BALANCE
CONTROL

L-AB-I N 5 X1
INPUT BUFFER
R-AB-IN XI

NO! SE
SEQUENCER

ADAPTIVE
MATRIX
CENTER/
OPERATING
WDE
CONTRu.

MODIFIED s
DDLBY a
N.R.

T (I) E O O
E7 5 '3 % I +3
3AA6579T (RDS DEMODULATOR)
PIN No PORT NAME I/O FUNCTION
1 QUAL O QUALITY INDICATION OUTPUT
2 RDDA 0 RDS DATA OUTPUT
3 VREF -- REFERENCE VOLTAGE OUTPUT
4 MUX I MULTIPLEX SIGNALINPUT
5 VDD - +5 V SUPPLY VOLTAGE FOR ANALOG PART
6 VSS - GND FOR ANALOG PART
7 CIN | SUBCARRIER INPUT TO COMPARATOR
8 SCOUT O SUBCARRIER OUTPUT OF RECONSTRUCTION FILTER
9 MODE I OSCILLATOR MODE/TEST CONTROL INPUT
10 TEST | TEST ENABLE INPUT
11 V88 -- GND FOR DIGITAL PART
12 VDD - +5 V SUPPLY VOLTAGE FOR DIGITAL PART
13 OSC1 I OSCILLATOR INPUT
14 0500 O OSCILLATOR OUTPUT
15 T57 O 57 kHz CLOCK SIGNAL OUTPUT
16 RDCL O RDS CLOCK OUTPUT

19