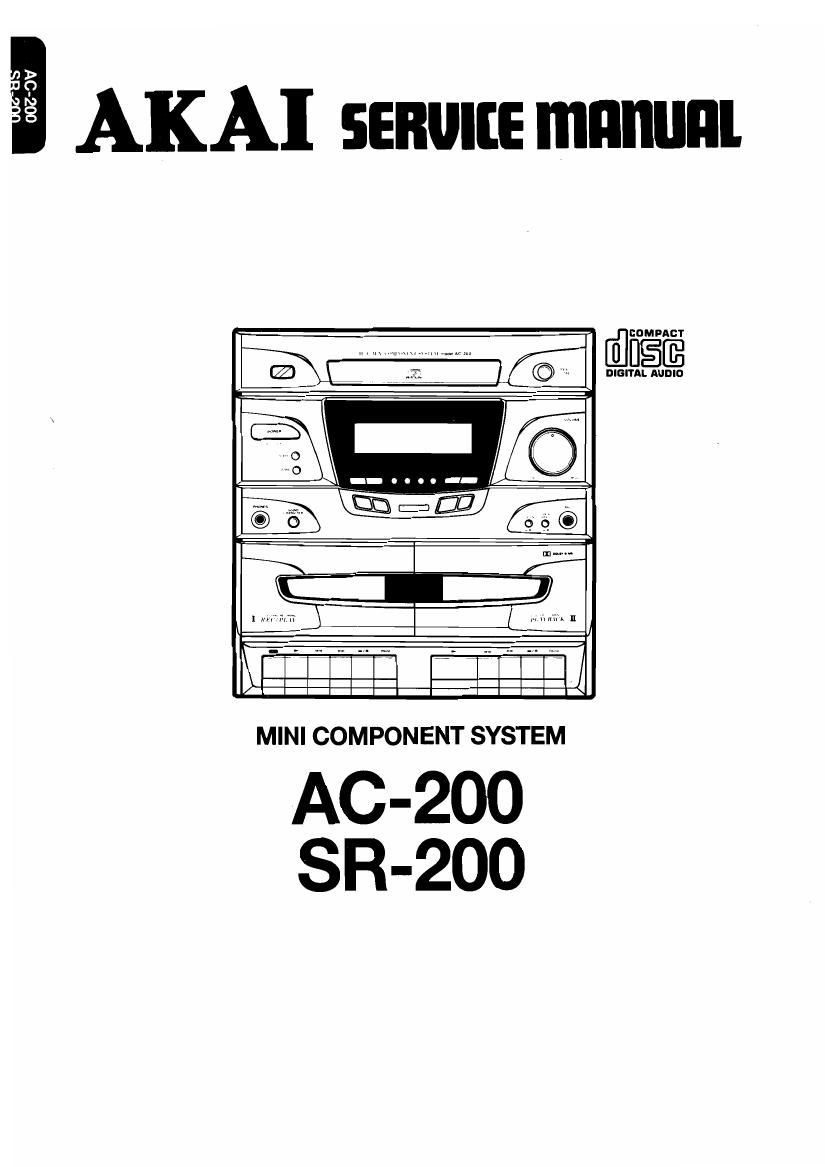
Akai AC 200 Service Manual

This is the 57 pages manual for Akai AC 200 Service Manual.
Read or download the pdf for free. If you want to contribute, please mail your pdfs to info@audioservicemanuals.com.

Page: 1 / 57
left right
Akai AC 200 Service Manual

Extracted text from Akai AC 200 Service Manual (Ocr-read)


Page 10

III. REPLACEMENT OF PRINCIPAL MECHANICAL PARTS

CD MECHANISM
1. DISMANTLING PROCEDURE OF THE COMPONENTS


CD MAIN PCB


CD MECHANISM TRAY BLOCK

PICK-UP BLOCK
SPINDLE MOTOR

TRAY MOTOR

2.REMOVAL OF THE CD MAIN PCB 3.REMOVAL OF THE CD MECHANISM
1)Disconnect the four connectors carefully (These are on the 1)Remove the four retaining screws, then remove the CD
CD PCB. fig 1. CN601, CN602. CN605, CN606). mecha. unit (fig 2)

Wu

9 SCREW

BACK SIDE 5 SCREW

Fig. 1

10

Page 11

4.REMOVAL OF THE TRAY BLOCK
1)Remove the four retaining screws for clamper and tray.

(fig- 3)

sanw @ o ' SCREW

CLAMPER

SCREW SCREW

TRAY

Fig. 8

2) Slide the bracket in the direction of the arrow (fig. 4)

r

4.

i@\

11
J:-

3) Pull out the tray ass'y slowly in the direction of the arrow
ifiQ- 5)

.
\r/

Fig. 5

4) Remove the tray block.

5.REPLACEMENT OF THE TRAY MOTOR

1) Remove the tray-belt

2)Unsolder the lead wires and PCB of the tran-motor with
a soldering-iron.

3) Remove the tray-motor retaining screws.

4) Remove and replace the tray-motor.

5) Reassemble in the reverse order.

BELT TRAY


TRAY MOTOR

SCREW

Fig. 6

6.REPLACEMENT OF THE SLED-MOTOR &
REPLACEMENT OF THE SPINDLE -MOTOR

0 Remove the four SHAFT CD and the four RUBBER CD
for ASS'Y-MECHA FEED.

oReplacement of the spindle-motor itself is not recom-
mended, because the adjustment of the turn table
height is quite critical and necessitating the use of a
special jig.

oTheretore, When need to replace the spindlemotor, please
replace with a ASSY-MECHA FEED.
(CD MECHA;CMS-A30A:ADCD-0011 0-031)

RUBBER '
CD

11