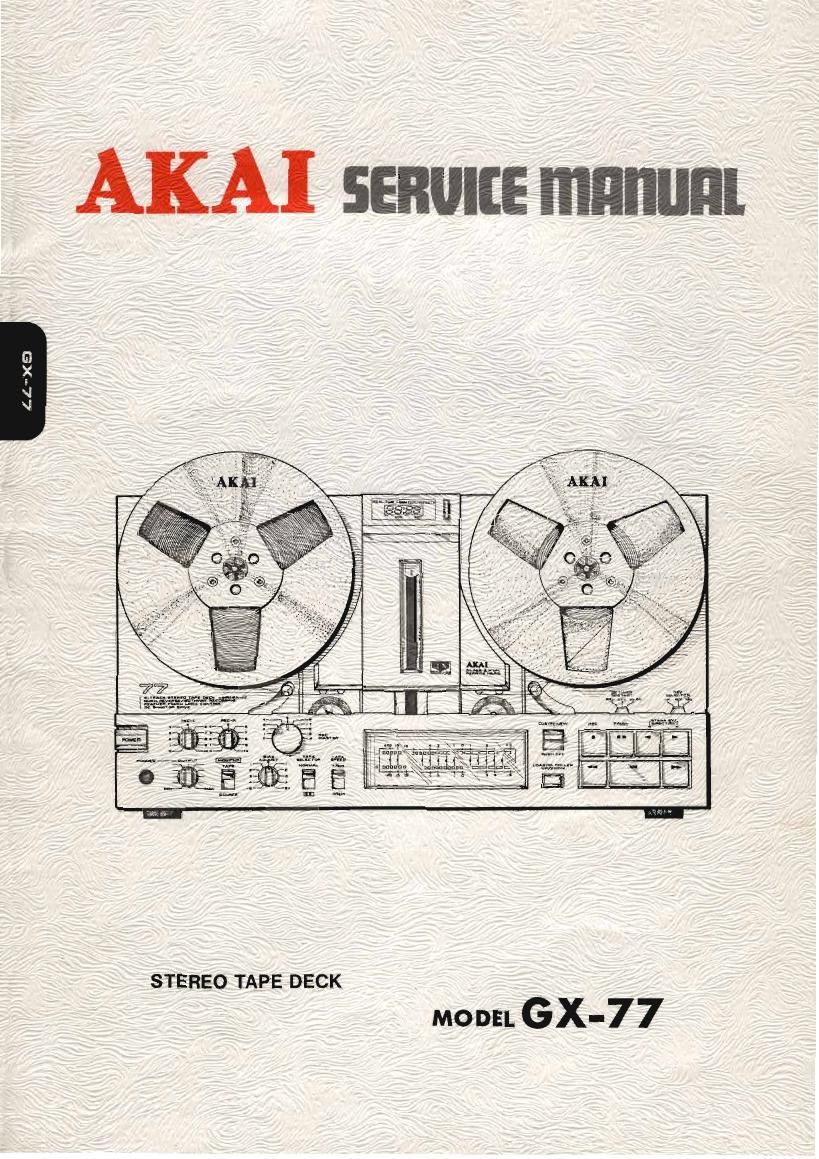
Akai GX 77 Service Manual 2

This is the 70 pages manual for Akai GX 77 Service Manual 2.
Read or download the pdf for free. If you want to contribute, please mail your pdfs to info@audioservicemanuals.com.

Page: 1 / 70
left right
Akai GX 77 Service Manual 2

Extracted text from Akai GX 77 Service Manual 2 (Ocr-read)


Page 2

STEREO TAPE DECK

MODEL GX' 7 7

THIS MANUAL IS ALSO APPLICABLE TO BOTH SILVER
AND BLACK PANEL MODELS

SECTION 1 SERVICE MANUAL .................... 3
SECTION 2 PARTS LIST .......................... 45
SECTION 3 SCHEMATIC DIAGRAM ................ 65

Page 21

4) Power 0N

Without any input conditions (such as operation
key is not pressed) through the builtin reset
cirCUit, ICl performs no operation. (In order to
meet the conditions for the operation of the built-
in reset circuit, 3 terminal regulator is used only
for the 1C] power source)

5) Loading Mode After Power 0N

If the loading operation SW, etc. is pressed, the
output of [Cl enters ® through TR3, and
(loader plunger) changes from L to H
(% 10V) for 0.2 sec, TR35 and 36 ON and
TR37 and 38 ON through D32, and +36V is added
to the loader plunger. Because the loader plunger
is ON for about 0.2 sec., the loading gear starts
rotating via the capstan flywheel, and the motor
SW (SW903) interlocked with it will be ON until
the gear finishes one turn, and then TR22 to TR25
ON, and the voltage (+5V under no load, +3V
after motor loading) is added to the right and left
reel motors which turn in the respective winding
direction. Thus the tension is added to the tape
to prevent sagging even if the mechanical brake
interlocked with the loading gear is released during
loading

The completion of loading is detected by SW905,
i.e., the next operation is not available until the
SW905 is ON.

6) FWD Mode After Loading

With FWD key ON, the output of [Cl ® is
inputted into ® and ® L -> H, ® L->
H, and then TR3l, 32 ON, TR 22, 23 ON, and
the right reel motor rotates, FWD plunger is also
ON and the right pinch roller is pulled, The right
and left brakes mechanically interlocked with
the FWD plunger are released, The supply back
tension is added to the reel table by the brake pad
interlocked with the supply tension arm. (The
supply motor rotates freely). (QT) is also ON
for 0.4 sec. and +36V is added to the plunger ->
subsequently held at +14V.

With @ (PB. Mute) H 4 L, Mute will be
off.

7) REV Mode (reverse operation to FWD)

ICl ® H ->left reel motor rotates
@ H" -> FWD plunger ON
® H (for 0.4 sec.) -> +36V -> +l4V
@ L -> Mute Off.

8) FF Mode

1c1 @ (6 FAST) L a ,H TR26, 27 ON,
RLl ON, and +12V is added to the reel motor,
® (right motor) L" -> H, TR22, 23 ON, and
the right reel motor rotates at a high speed. @
(brake plunger) L -> H", TR31, 32 ON, brake
PLG 0N, and the supply motor rotates freely
(the reel table is only receiving mechanical free
tension). ® (PB Mute) is fixed at H and the
line output is cut off.

9) RWD Mode (reverse operation to FF)

1C1 ® (5 FAST) L" -> H, RLl ON, +12V
applied
® (brake plunger) L -> H, brake
released
® (left motor) L -> H, left reel motor
rotates at high speed.
@ (PB Mute) fixed at H, and line output
cutoff.

10) FWD/REC Mode

With the input 1C1 ® -> @ and at the same time
ICl © -> @ , the output ofICl, with FWD mode
output, ® L -> H, TR39 ON, operates the
OSC circuit of the preamplifier. ® H e L,
preamplifier TRl7 OFF, TRl8 ON, RLl (Rec
Mute Relay) ON, and the preamplifier REC input
signal is added to the Rec head, @ H -> L
and PB Mute released,

11) FWD, REV Direction (Refer to Fig. 21)

SW] - 2 (Pre Amp PCB) Signal from REV -> FWD
SW.

If 1C1 ® is L (REV mode), 1C1 will be in
REV STANDBY mode, i.e., when ICl (D is ON,
L -> H -> L" is repeated 4 times -> (REV
LED flashes 4 times) and then fixed at H ->
(LED ON). (See the description of lighting
circuit operation).

20

Page 43

MEMO

42