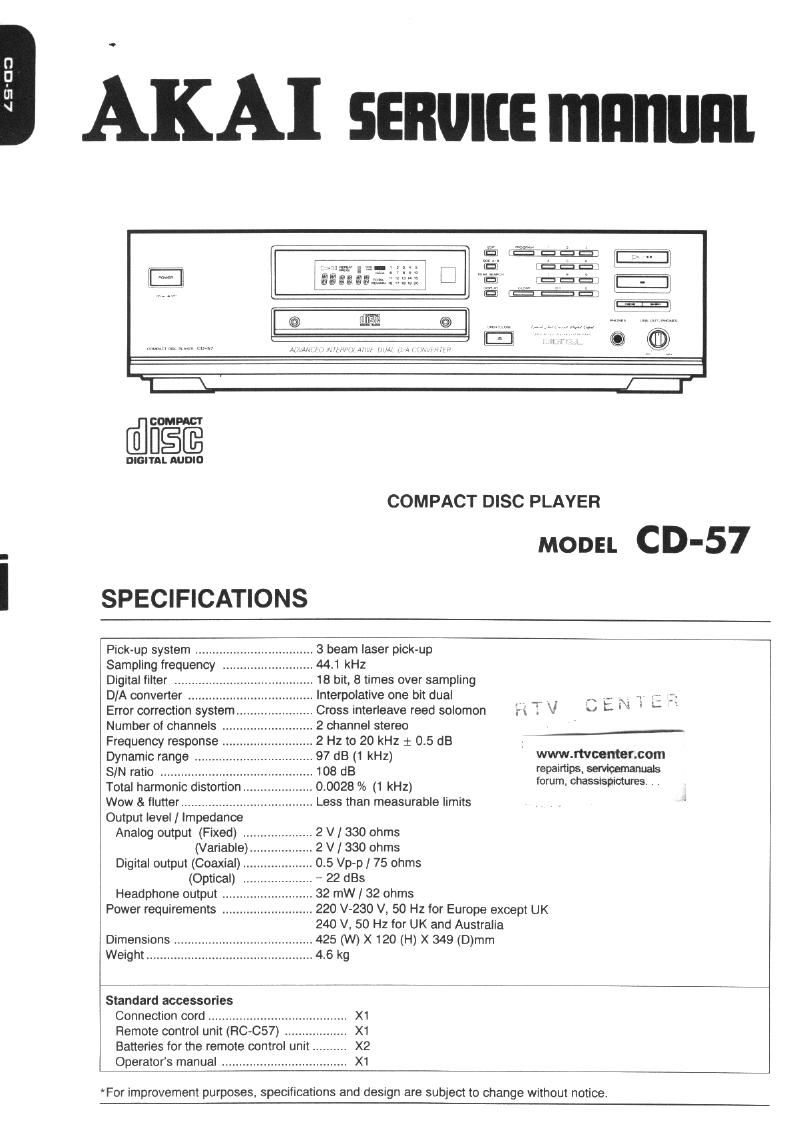
Akai CD 57 Service Manual

This is the 9 pages manual for Akai CD 57 Service Manual.
Read or download the pdf for free. If you want to contribute, please mail your pdfs to info@audioservicemanuals.com.

Page: 1 / 9
left right
Akai CD 57 Service Manual

Extracted text from Akai CD 57 Service Manual (Ocr-read)


Page 1

LE'GCI

AKA] seam mnnunl

'l \-

[filfiéifi

DIGITAL AUDIO

COMPACT DISC PLAYER

MODEL CD-57

SPECIFICATIONS

3 beam laser pick-up
44.1 kHz
.. 18 bit, 8 times over sampling
Interpolative one bit dual , _ . A L ;\ , 1-: _.
Cross interleave reed solomon h . V U - '* '
2 channel stereo
2 Hz to 20 kHz 1 0.5 dB
97 dB (1 kHz) www.rtvcenter.com

Pick-up system IIIIIIIII
Sampling frequency ..
Digital filter .....
D/A converter .
Error correction system.
Number of channels .....
Frequency response ..
Dynamic range

I


S/N ratio ......... 108 dB WNWPS 59W
Total harmonic distortion 0.0028 % (1 kHz) f°""- BWW
Wow & flutter .................... Less than measurable limits
Output level/ Impedance

Analog output (Fixed) ................... 2 V/ 330 ohms

(Variable)... 2V] 330 ohms
Digital output (Coaxial) 0.5 Vplp/ 75 ohms
(Optical) A 22 st

Headphone output .. 32 mW / 32 ohms

Power requirements .......................... 220 V-230 V, 50 Hz for Europe exoept UK
240 V. 50 Hz for UK and Australia

Dimensions. 425 (W) X 120 (H) X 349 (D)mm
Weight... ...4.6 kg

Standard accessories
Connection cord .......................
Remote control unit (RC-057) .
Batteries for the remote control unit
Operator's manual ..........................

. X1
X1
X2
. X1

*For improvement purposes, speCifications and design are subject to change without notice.

Page 2

III.REPLACEMENT OF PRINCIPAL COMPONENT

When removing the motors (spindle motor. loading motor,
sled motor) or pick up block for replacement. be sure to
remove the mecha block and disc damper first.

PRECAUTIONS:

To prevent damage to the LD (laser diode) during removal
of the mecha block, please follow the following precau-
tions:

0 When removing the MAIN PCBs P2 or P3 connectors,
first short the short points on the pick up block's PCB
with solder as shown Fig. 3-1.

a When replacing the pick up block with a new one, or
when installing the mecha block, first install the P2 and
P3 connectors and then remove the solder lrom the
short points to open them.

PICK UP
I BLOCK

P2: P3
TO MAIN PCB

SHORT POINT
y BE SHORTED
)/

BY
SOLDER

Fig 3-1

3-1.HOW TO REMOVE THE MECHA
BLOCK

1) Remove the mecha block's retaining screws @.

2) Turn the mecha block over and short the pick up block's
short points with solder. (Rater to the precautions.)

3) Remove the P2, P3, P5 and P6 connectors on the MAIN
PCB,

SERVICE MANUAL


r-1

:I MAIN Pca
P3

<2 " ,,
_«,~_ aim
\ t

{:3


m

Fig 3-2

3-2.HOW TO REMOVE THE DISC CLAM-
PER

1) Move the disc drawer forward by turning the loading
gear counterclockwise

2) Remove the disc clamper spring ®.

3) Lift the disc clamper up slightly and move it to the left to
remove it.

DISC CLAMPER

<2) orsc CL PER
spams


LOADING GEAR

DISK DRAWER

Fig 3-3