Aiwa NS XA777 Owners Manual

This is the 92 pages manual for Aiwa NS XA777 Owners Manual.
Read or download the pdf for free. If you want to contribute, please mail your pdfs to info@audioservicemanuals.com.

Page: 1 / 92
left right
Aiwa NS XA777 Owners Manual

Extracted text from Aiwa NS XA777 Owners Manual (Ocr-read)


Page 1

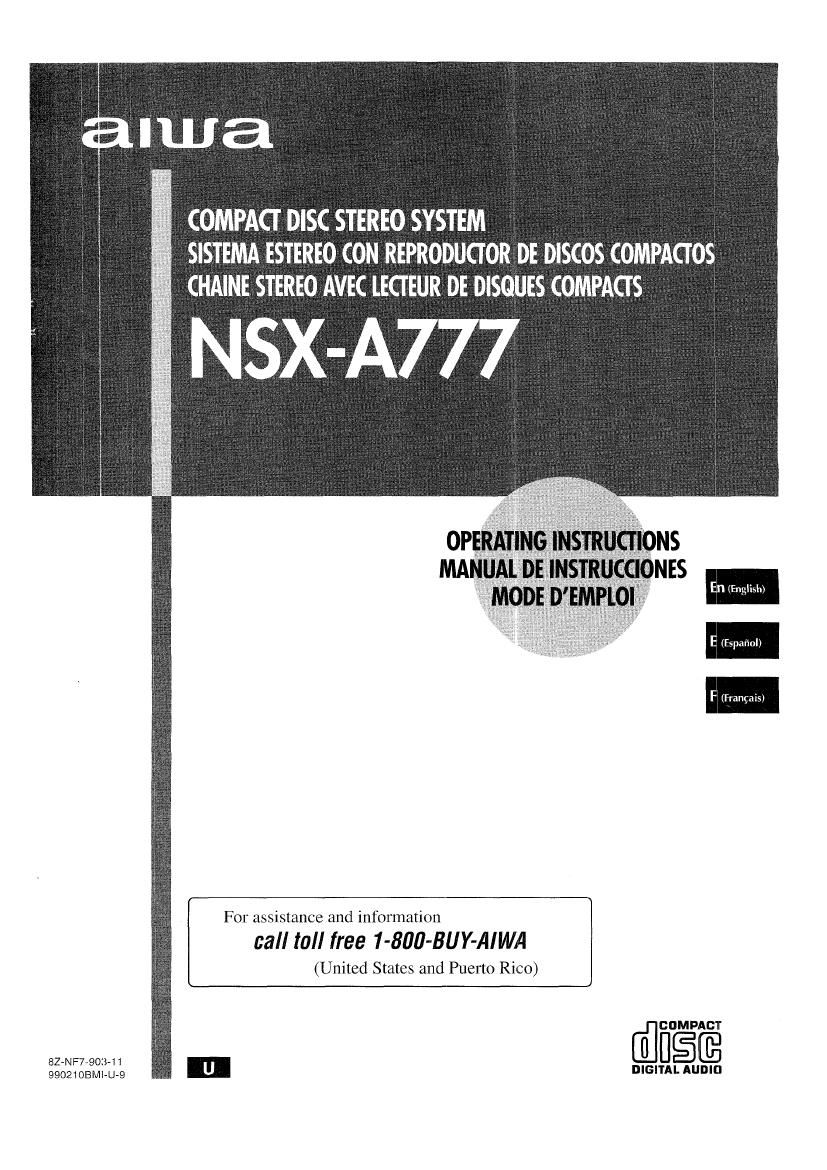
COMPACT DISC STEREO SYSTEM
SISTEMA ESTEREO CON REPRODUCTOR DE DISCOS COMPACT OS
CHAINE STEREO AVEC lECT EUR DE DISQUES COMPACT S

NSX-A777

For assistance and information

call toll free 1-800-BUY-AIWA

(United States and Puerto Rico)

@figé

82-NF711903-11
99021OEMI-U-9 ' u DIGITAL AUDIO

Page 2

- ENGLISH -

CAUT I O N
RISK OF ELECTRIC SHOCK
DO NOT OPEN

CAUTION:TO REDUCE THE RISK OF
ELECTRIC SHOCK,
DO NOT REMOVE COVER (OR BACK).
N0 USER-SERVICEABLE PARTS INSIDE.

REFER SERVICING TO QUALIFIED
SERVICE PERSONNEL.

Owner's record

For your convenience, record the model number and serial
number (you will find them on the rear of your set) in the space
provided below. Please refer to them when you contact your Aiwa
dealer in case of difliculty.

Model No.
CX-NA777
SX»WNA777

Serial No. (Lot No.)

2 ENGLISH

RECAU ONS

Read the Operating Instructions carefully and completely before
operating the unit. Be sure to keep the Operating Instructions
for future reference. All warnings and cautions in the Operating
Instructions and on the unit should be strictly followed, as well
as the safety suggestions below.

mm
1 Water and moisture - Do not use this unit near water, such
as near a bathtub, washbowl, swimming pool, or the like.
2 Heat - Do not use this unit near sources of heat, includlng
heating vents, stoves, or other appliances that generate heat,
It also should not be placed in temperatures less than 5°C
(41°F) or greater than 35°C (95"F).
3 Mounting surface - Place the unit on a flat, even surface.
4 Ventilation - The unit should be situated with adequate
space around it so that proper heat ventilation is assured,
Allow 10 cm (4 in.) clearance from the rear and the top of the
unit, and 5 cm (2 in.) from each side.
- Do not place the unit on a bed, rug, or similar surface that
may block the ventilation openings.
- Do not install the unit in a bookcase, cabinet, or airtight rack
where ventilation may be impeded.
5 Oblects and liquid entry -Take care that objects or liquids
do not get inside the unit through the ventilation openings.
6 Carts and stands # When placed
or mounted on a stand or cart, the
unit should be moved with care.
Quick stops, excessive force, and
uneven surfaces may cause the
unit or can to overturn or fall.
7 Condensation - Moisture may form on the CD pickup lens
when:
- The unit is moved from a cold spot to a warm spot
- The heating system has just been turned on
- The unit is used in a very humid room
- The unit is cooled by an air conditioner
When this unit has condensation inside, it may not function
normally. Should this occur, leave the unit for a few hours,
then try to operate again.
8 Wall or ceiling mounting -The unit should not be mounted
on a wall or ceiling, unless specified in the Operating
Instructions.

Electric Power

1 Power sources - Connect this unit only to power sources
specified in the Operating Instructions. and as marked on the
unit.

2 Polarization w As a safety feature, some units are equipped
with polarized AC power plugs which can only be inserted
one way into a power outlet. If it is difficult or impossible to
insert the AC power plug into an outlet, turn the plug over and
try again. If it still does not easily insert into the outlet, please
call a qualified service technician to service or replace the
outlet. To avoid defeating the safety feature of the polarized
plug, do not force it into a power outlet.

3 AC power cord
~ When disconnecting the AC power cord, pull it out by the

AC power plug. Do not pull the cord itself,

- Never handle the AC power plug with wet hands, as this
could result in fire or shock,

- Power cords should be firmly secured to avoid being severely
bent, pinched, or walked upon. Pay particular attention to
the cord from the unit to the power outlet.

- Avoid overloading AC power plugs and extension cords
beyond their capacity, as this could result In fire or shock.

Page 36

CONTROLREMOTO ,

Insercién de Ias piIas
Quite Ia tapa de Ias pilas, ubicada en la parts trasera del control
remoto, e inserte dos pilas R6 (tamafio AA).

R6(AA)

Cuando reemplazar Ias pllas

La distancia méxima de operacién entre el control remote y el
sensor de la unidad principal deberé ser de 5 metros
aproximadamente. Cuando disminuya esta distancia, reemplace
Ias pilas por otras nuevas.

Para utllizar SHIFT del control remote

Los botones ® tienen dos Iunciones diferentes, Una de estas
funciones se indica en el botén y la otra en la placa que se
encuentra encima del botcvn.

Para utilizar Ia funciéri del baton, pulse simplemente el botén.
Para utilizar Ia funcién de la placa situada encima del botén,
pulse el botén mientras puisa SHIFT.

Para utilizar FUNCTION del control remote

FUNCTION sustituye a Ios bolones de funcion (TAPE/DECK 1/
2, TUNER/BAND, VIDEO/AUX, CD, MD) en la unidad principal.
Cada vez que se pulse FUNCTION. la funcién siguiente se
seleccionara clclicamente. Cuando haya cintas inseriadas en
ambas platinas, cada platina sera' seleccionada con FUNCTION.

>l<> PRESET en el control remoto
La Iuncion es la misma que la de <> de la unidad principal.

(D
SHIFT FUNCTION
>14»
PRESET

- Si el control remoto no va a ser utilizado durante mucho tiempo,
quite Ias pilas para evitar posibles Iugas de electrélito.
. E| control remoto quiza no lunoione oorrectamente cuando:

- La linea de vision entre el control remoto y el sensor de
ser'tales del interior del visualizador este expuesta a una luz
intense como, por ejemplo, la luz del sol.

- Otros controles remotes (Ios de un televisor, etc.) estén siendo
utilizados cerca de esta unidad.

6 ESPAIVOL

ANTES DE LA OPERACION . .

CD

POWER ENTER
ECO

I MULTI JOG

Para coneotar Ia alimentaclén

Pulse uno de los botones de funcion (TAPE/DECK1I2, TUNER/
BAND, VIDEO/AUX, CD, MD). La reproduccién de la cinta 0 del
disco insertado empezara 0 se recibira Ia emisora prevlamente
sintonizada (funcion de reproduccién directa).

También podra utilizarse POWER.

Cuando se conecte la alimentaoion, el compartimiento de los
discos tal vez se abra y se cierre para reponer la unidad.

Para desconectar la alimentacién
Pulse POWER.

Ventanilla parpadeante

La ventanilla de la parte superior de la unidad y de las platlnas
de casete se encenderé o parpadeara mientras la unidad esté
encendida.

Para apagar la luz de la ventanilla superior, pulse I mientras
pulsa CD. Para volver a encenderla, repita el procedimiento de
arriba.

Para apagar la luz de Ias piatinas. pulse I mientras pulsa TAPE.
Para volver a encendeia, repita el procedimiento seguido para
apagarla.

Para camblar el nivel de brIllo del visualizador

1 Pulse ECO para que se visualice "ECO MODE".

2 Antes de que pasen 4 segundos. gire MULTI JOG para
visualizar DIM MODE. y iuego pulse ENTER antes de que
pasen otros 4 segundos.

3 Antes de que pasen 4 segundos, gire MULTI JOG para
saleccionar el modo del regulador de intensidad de
iluminacion como se indica abajo.

El modo 5e estableceré automaticamente después de 4
segundos.También se estableceré si se pulsa ENTER antes
de que pasen 4 segundos después de realizar el paso 3.

I» DIM-OFFHDlMMER 1 H DIMMEFI 2H DIMMEFI 3]

DIM-OFF: La visualizacion normal.

DIMMEH 1: La iluminacién del visualizador es menus intense
que la normal

DIMMER 2: La iluminacién del visualizador es menos intensa
que la cle DIMMER 1.

DIMMER 3: La iluminacién del visualizador es menos intensa
que la de DIMMER 2. El analizador de especlro, Ia ventanilla
de la parte superior de la unidad y las lamparas de Ios botones
se apagaran.

Si ia grabacIOn con temporizador (petgina 27) se realize con
sl modo de ahorro (pégina 7) en "ON" y se desconecta Ia
alimentacion, el modo del regulador de Intensldad de luz se
pondra en DIMMEFI 3" la proxima vez que se conecte la
alimentacién,

Page 47

éENSon MUSICAL

Si hay un espacio sin grabar de 4 segundos o mas entre cada
cancién, Ia basqueda del principle de la cancién que esté siendo
reproducida 0 de la siguiente cancibn podré realizarse facilmente.
Pulse « o » durante la reproduccién observando el
lndicador de la cara de reproduccién (4 o b) del visualizador,
Por ejemplo, cuando pulse » mientras se visualiza >,
empezaré a reproducirse la sigulenle cancién.

La funcién del sensor musical tal vez no pueda detectar Ias

canciones bajo las condiclones siguiemes:

- Espacios sin grabar de menos de 4 segundos entre las
canclones.

- Espaclos sin grabar que tengan ruidov

- Pasajes largos con un sonido muy bajo.

- Niveles de grabacién baios en general.

REPRODUCCION CONTINUA

Después de lerminar la reproducciOn en una platina, la clma de
la okra platina empezaré a reproducirse sin lnterrupcién.

1 lnserte cintas en las platinas1 y 2.

2 Pulse TAPE/DECK 1/2 para seleccionar Ia platina
que vaya a realizar la reproduccién en primer
lugar.

3 Pulse REV MODE para seleccionar I).

4 Pulse <> para iniciar la reproduccién.
La reproduccién continuaré hasta que se pulse I.

Acerca de Ias cintas de casete

- Para evitar el borrado accidemal, rompa con un
deslornillador u otra herramienta puntiaguda las lengfielas
de plaslico del casete después de grabar.

Cara A


Ranura de
deleccién de
cima tipo II

Lengfleta
para la cara A


Para volver a grabar en una clnta, tape las abelturas con
cinta adhesiva, elc. (En cintas tipo II, tenga cuidado para
no tapar Ia ranura de deteccién de cinta lipo 11,)

~ Las cintas de 120 mlnutos o mas son extremadamente
finas y se deforman o estropean lacilmente. No son
recomendadas.

- Tense la clnta con un lapicero o herramlenla similar antes
de utilizarla. La cinta floia podra' romperse o atascarse en el
mecanismo,

ESPANOL 17