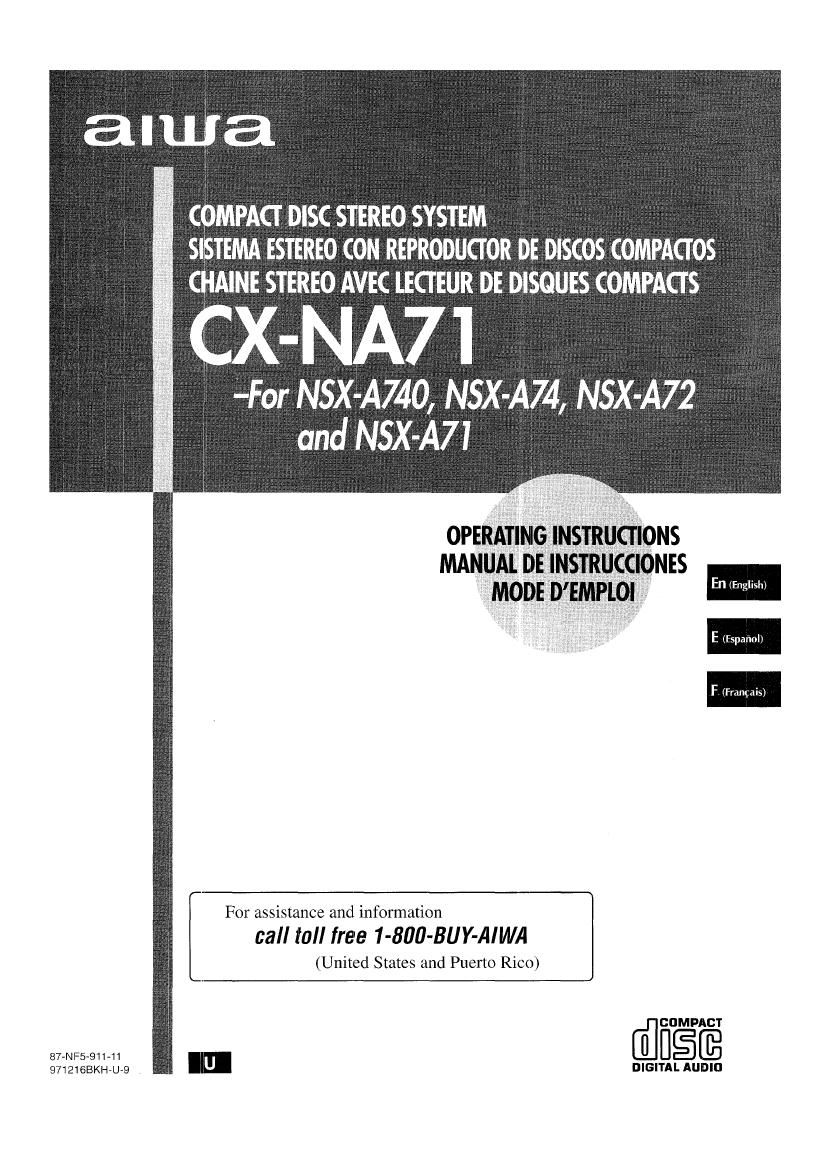
Aiwa NS XA72 Owners Manual

This is the 80 pages manual for Aiwa NS XA72 Owners Manual.
Read or download the pdf for free. If you want to contribute, please mail your pdfs to info@audioservicemanuals.com.

Page: 1 / 80
left right
Aiwa NS XA72 Owners Manual

Extracted text from Aiwa NS XA72 Owners Manual (Ocr-read)


Page 1

C MPACI' DISC STEREO SYSTEM
SEE TEMA ESTEREO CON REPRODUCI'OR DE DISCOS COMPACTOS
: AINE STEREO AVEC LEG EUR DE DISQUES COMPACI' S

I X-NA71

a FFor NSX-A740, N5X-A74, N5X-A72 r
1 and NSX-A71

En (English)

E (Espmiol)

For assistance and information

call toll free 1 -800-BU Y-AI WA

(United States and Puerto Rico)

:lcthPACT
87-NF5-911-11 m U§[E

97121GBKH-U-9 V DIGITAL Aunlu

Page 2

ENGLISH

CAUTION

RISK OF ELECTRIC SHOCK
DO NOT OPEN

CAUTION1TO REDUCE THE RISK OF
ELECTRIC SHOCK,
DO NOT REMOVE COVER (OR BACK).
N0 USER-SERVICEABLE PARTS INSIDE.

REFER SERVICING TO QUALIFIED
SERVICE PERSONNEL."

NOTE
This equipment has been tested and found to comply with the
limits fora Class B digital device, pursuant to Part 15 of the FCC
Rules. These limits are designed to provide reasonable protection
against harmful interference in a residential installation.
This equipment generates, uses, and can radiate radio frequency
energy and, if not installed and used in accordance with the
instructions, may cause harmful interference to radio communi-
cations. However, there is no guarantee that interference will
not occur in a particular installation. If this equipment does cause
harmful interference to radio or television reception, which can
be determined by turning the equipment off and on, the user is
encouraged to try to correct the interference by one or more of
the following measures:

» Reorient or relocate the receiving antenna.

- Increase the separation between the equipment and

receiver.

- Connect the equipment into an outlet on circuit different
from that to which the receiver is connected.
Consult the dealer or an experienced radio/TV technician
for help.

CAUTION

Modifications or adjustments to this product, which are not
expressly approved by the manufacturer, may void the user's
right or authority to operate this product.

i ENGLISH

PRECAUTIONS

Read the Operating Instructions carefully and completely before
operating the unit. Be sure to keep the Operating Instructions
for future reference. All warnings and cautions in the Operating
Instructions and on the unit should be strictly followed, as well
as the safety suggestions below.

mm

1 Water and moisture - Do not use this unit near water, such
as near a bathtub, washbowl, swimming pool, or the like.

2 Heat - Do not use this unit near sources of heat, including
heating vents, stoves, or other appliances that generate heat.
it also should not be placed in temperatures less than 5°C
(41°F) or greater than 35°C (95°F).

3 Mounting surface - Place the unit on a flat. even surface.

4 Ventilation - The unit should be situated with adequate
space around it so that proper heat ventilation is assured.
Allow to cm (4 in.) clearance from the rearand the top of the
unit, and 5 cm (2 in.) from each side.

- Do not place the unit on a bed, mg, or similar surface that
may block the ventilation openings.

- Do not install the unit in a bookcase, cabinet, or airtight rack
where ventilation may be impeded.

5 Objects and liquid entry - Take care that objects or liquids
do not get inside the unit through the ventilation openings,

6 Carts and stands - When
placed or mounted on a stand
orcart, the unitshould be moved
with care.

Quick stops, excessive force,
and uneven surfaces may cause
the unit or cart to overturn orfall.

7 Condensation - Moisture may form on the CD pickup lens
when:

- The unit is moved from a cold spot to a warm spot

- The heating system has just been turned on

- The unit is used in a very humid room

» The unit is cooled by an air conditioner

When this unit has condensation inside, it may not function
normally. Should this occur, leave the unit for a few hours,
then try to operate again.

a Wall or ceiling mounting-The unit should not be mounted
on a wall or ceiling, unless specified in the Operating
instructions.

Electric Power

1 Power sources - Connect this unit only to power sources
specified in the Operating Instructions, and as marked on the
unit.

2 Polarization 7As a safety feature, some units are equipped
with polarized AC power plugs which can only be inserted
one way into a power outlet. If it is difficult or impossible to
insert the AC power plug into an outlet. turn the plug over and
try again. if it still does not easily insert into the outlet, please
call a qualified service technician to service or replace the
outlet. To avoid defeating the safety feature of the polarized
plug, do not lorce it into a power outlet.

3 Ac power cord
~ When disconnecting the AC power cord, pull it out by the

AC power plug. Do not pull the cord itself.

- Never handle the AC power plug with wet hands, as this
could result in fire or shock.

- Powercords should be firmly secured to avoid being severely
bent, pinched. or walked upon. Pay particular attention to
the cord from the unit to the power socket.

- Avoid overloading AC power plugs and extension cords
beyond their capacity, as this could result in fire or shock.

Page 5

2 Connect the left speaker to the main unit.
NSX A72INSX A71 Connect the surround speaker cord to the SURROUND
SPEAKERS L terminal, and speaker cord to the SPEAKERS .

Speakers ~ .
The speaker marked R is the right speaker, and the marked L is '- terminals In the same mannel as 519-P 1- g
me '9" Speaker' 3 Connect the suppilied antennas.

. . . C n eat the FM t nna to the FM 75 9 terminals and the
1 Connect the right speaker to the maln unit. An Smenna to min/j LOOP terminals

(D Connect the surround speaker cordyto the SURROUND
SPEAKERS R terminal.

AM LOOP antenna
FM antenna

The speaker cord with the white stripe should be connected 4 Gonna the AC cord to an AC outlet.

to the 9 terminal and the black cord to the 9 terminal,

3 FM antenna

AM LOOP antenna

1 Right speaker

Speaker cord

Surround speaker cord

ENGLISH 4

Page 12

TAPE PLAYBACK

BASIC OPERATIONS

INSERTING TAPES

TAPE/
DECK 1/2
REV MODE ° ° E
e EJEOT 'eEJEC'r
Deck 1 Deck 2

- On deck 1,, tapes are always played back on both sides.
On deck 2. you can select a reverse mode to play back one or
both sides.

- Use Type 1 (normal), Type II (high/CrOz) or Type IV (metal)
tapes for playback.

Press the TAPE button and press the eiEJECT mark
to open the cassette holder;

A EJECT

Insert a tape with the exposed side down. Push the cassette
holder to close.

To select a reverse mode (deck 2 only)
Each time the REV MODE button is pressed, the reverse mode
changes.

To play one side only, select:

To play from front side to reverse side once only, select I).

To play both sides repeatedly, select (I)

-When tapes are loaded in both decks, Z) on the display
indicates Continuous Play.

13 ENGLISH

PLAYING BACK AVTAPE

I
aEECTIOW
DOLBV NR FRESET
II
« , »
Insert a tape.

1 Press the DOLBY NFl button and turn Dolby NR

on or off to match the playback tape.
unNn

For tapes recorded with DOLBY NFt. turn on DD NR.
For tapes recorded without DOLBY NR, turn off DU NR.

2 Press the <> button to start play.

Playing deck number Playback side indicator

The tape counter indicates
the tape running length. '

D: The front side is being played (forward).
4: The back side is being played (reverse).

When tapes are loaded in both decks
Press the TAPE button first to select a deck.
The selected deck number is displayed.

To stop play, press the I button.

To pause play (deck 2 only), press the II button. To resume
play, press again.

To change the playback side, press the <> DIRECTION/
PHESET button In play or pause mode

To fast torward orvrewlnd, press the « or » button. Then
press the I button to stop thetape.

To start play when the power is off (Direct Play Function)
Press the TAPE button, The power ist'urned on and play of the
inserted tape begins.

To set the tape counter to 0000

Press the I CLEAR button in stop mode.
The counter is also set to 0000 when the cassette holder is

opened.

Page 41

SENSOR MUSICAL

Si hay un espacio sin grabar de 4 segundos o mas entre cada
cancién, Ia bL'quuecla del principio de la cancién que esté siendo
reproducida 0 de la siguiente cancién podré realizarse facilmenie
Pulse el boién 44 0 >> durante la reproducclén observando
el indicador de la cara de reproduccién (4 o >) del visualizador.
Por ejemplo, cuando pulse el boién » mienlras se visualiza
D, empezara a reproducirse Ia siguieme cancién.

La luncién del sensor musical tal vez no pueda pleteciar las

canciones bajo Ias condiciones siguienies:

- Espacios sin grabar de menos de 4 segundos entre Ias
canciones.

- Espacios sin grabar que tengan ruido.

- Pasajes largos con un sonido muy bajo,

- Niveles de grabacmn bajos en general.

REPRODUCCIDN CONTINUA

Después de terminar Ia reproduccién en una platina, Ia cinta de
la otra platina empezaré a reproducirse sin interrupcién.

1 lnserte cintas en las platinas 1 y 2.

2 Pulse el botén TAPE/DECK 1/2 para seleccionar
la platina que vaya a realizar Ia reproduccién en
primer lugar.

3 Pulse el botén REV MODE para seleccionar I).

4 Pulse el botén <> para iniciar la reproduccién.
La reproduccién continuaré hasia que se pulse el botén I.

/
Acerca de las cinlas de casete

- Para eviiar el borrado accidental, rompa con un
desiornillador u oira herramienia pumiaguda [as lengfleias
de pléstico del casete después de grabari


Ranura de
deteccién de LangiJeta

cinta iipo 11 para la cara A

Para volver a grabar en una cinta. tape Ias aberiuras con
cinia adhesiva, etc, (En cinias Iipo Il, leenga cuidado para
no lapar Ia ranura de deteccién de cinta tipo II.)

- Las cintas de 120 minutos o més sorl exiremadamente
finas y se deforman o estropean facilmente. No son
recomendadas.

o Tense la cinta con un Iapicero o herramienta similar antes
de utilizarla. La cinta floja podra romperse o atascarse en
el mecanismo, ,


Sistema DOLBY NR

El sistema de reduccién de ruido Dolby reduce el ruido de
silbido de la cinta. Para obtener unas presiaciones o'plimas
cuando reproduzca una cinta grabada con el sistema
DOLBY NR, active el sistema DOLBY NR.

ESPANOL 14

Page 73

Pour changer le canal audible de In function Multiplex
Seul le son du canal droit peut étre rendu audible par les deux
enceinles.

Quand la function Multiplex est selectionnée, MPX L-ch" est
aftiche pendant lrois secondes puis Iaftichage passe au nom de
la fonction sélectionnée. Une tois que le nom de la lonction
sélectionnéeest affiché, tenir Ia touche KARAOKE enfoncee
jusqua ce que MPX-Ft soit affiché.

Pour revenir au réglage initial, sélectionner MPX-L.

Quand I'alimentation est coupée, MPX-L est sélectionné.

' Les fonctions Karaoke risquent de ne pas fonctionnercorrectement
avec les disques compacts cu cassettes suivants.
- Disques ou cassettes a enregistrement mono
- Disques cu cassettes enregislrés avec de forts échos
- Disques ou cassettes avec la panie vocale enregistree sur
la droite ou la gauche du spectre sonore
' Quand la ioncllon Karaoke est en service, le son est sorti en
monophonic. ,
- Quand la tonction est changée. la lonction Karaoke est annulée.

PROGIRAMME DE KARAOKE

Avant ou pendant Ia lecture de disque compact, on peut réserver
jusqua quinze plages a lire apres la plage courante. Cheque
reservation est eflacee quand sa lecture est terrninée.

Utiliser la télécommandel \
1 Appuyer une to' sur la touche PRGM.

a uwv

2 Appuyer sur la touche DISC DIRECT PLAY, puis
appuyer sur une des touches numériques 1 a 3
dans les trois secondes pour sélectionner un
disque.

Ensuite, programmer une plage a I'aide des
touches numériques et de la touche +10.

Numero de Numéro de
disque reserve plage réservée

3 Répéter Iétape 2 pour réserver dautres plsrgeea.

4 Appuyer sur la touche 4 pour demarrer la
lecture. '
Une fois quune plage est Iue, elle est etfacée du programme.
On peut réserver une autre plage a la place de celle effacée.

Nombre de plages
réservées restantes

Numéro de disque de la
derniere reservation

Numéro de plage Le numéro de la
plage en cours
de lecture clignote

Disque en
cours de lecture de la derniere
, reservation
Pour ajouter une reservation pendant Ia lecture
Repéter I'étape 2 4
Pour contréler les plages réservées
Appuyer sur la touche CD EDIT/CHECK a plusleurs reprises. A
chattu pression sur cette touche, un numéro de disque et un
numéro de plage sont alfichés dens Iordre réservé. -

Pour arréter la lecture
Appuyer sur la touche I. Pour redémarrer la lecture, appuyer
sur la touche db,

Pour sauter une plage en cuurs ole lecture
Appuyer Sul Ia touche ». La plage sautée est effacée du
programme 7 *

Pour effacer toutes les reservations
Appuyer sur la touche » a plusieurs reprises jusqua ce que
K-OO soil affichét

Pour annuler le programme de Karaoke, appuyer une tois de
plus sur cette touche. Latlichage repasse a celui cle la lecture
de disque compact.

- Si le numero ole plage re'servé nexiste pas sur Ie dlsque
sélectionné, l'apparell arréte la lecture el lafliohage clignote.
Dans ce cas, appuyer sur la touche » pour sauter lerreur.
Ensulte. appuyersur Iatouche 4» pour demarrer la lecture a

' la plage réservée suivanlel

-Si on appuie plusieurs fois sur la touche PFtGM a l'étape 1,
PFtGM est affiché el l'appareil passe au mode lecture
programmée de disque compact (voir page 12).

Pour annuler Ia lecture programmée, appuyersur la touche I
CLEAR.

FRANcAIs 20