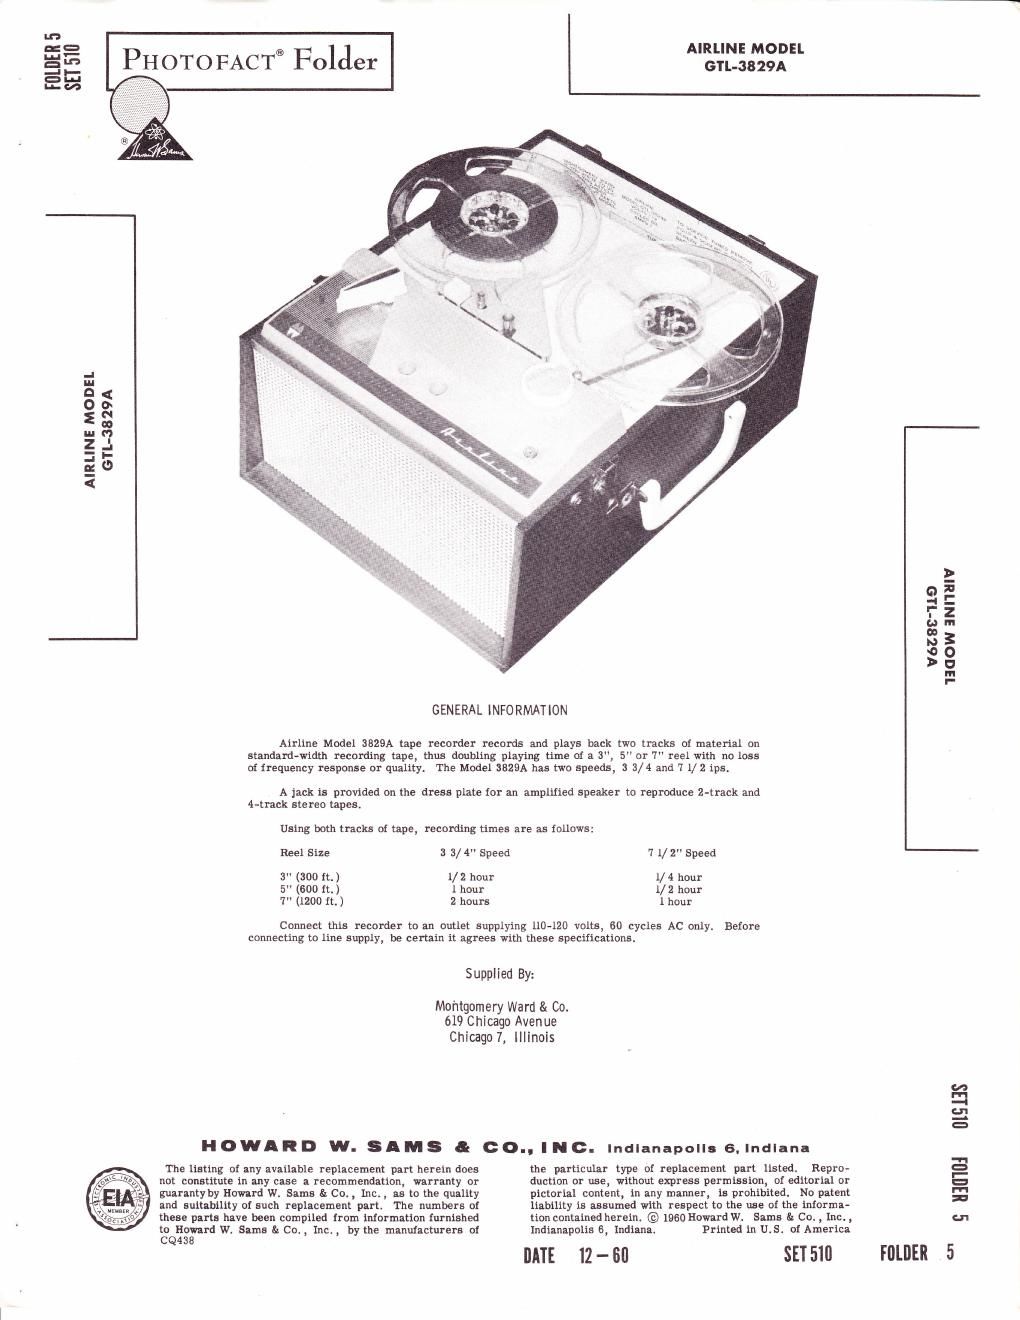
Airline wards GTL 3829A

This is the 12 pages manual for airline wards GTL 3829A.
Read or download the pdf for free. If you want to contribute, please mail your pdfs to info@audioservicemanuals.com.

Page: 1 / 12
left right
airline wards GTL 3829A

Extracted text from airline wards GTL 3829A (Ocr-read)


Page 1

t. Open cover and remove power cord, microphone, empty reel, and reel oftape from storage space at rear of unit. Remove cover by sliding hinges apart. Place unit so that controlg are accesgible and at a convenient height. PREPARING FOR OPERATION FUNCTION OF CONTROLS O PERAT ING INSTRUCT ION S PIug power cord into any ^AC outlet having proper frequency and power requirements. Recorder is now ready for use. Before oper- atlng, the operator should familiarize himself with the function of the controls. 3. 4. 4. Function Control Idle is neutral, or stationary, tape position. Turn knob to the left for Play. To reeord, depress Record button andhold while turning lunction selector knob to the right. IMPORTANT: When recorder is not in use, function selector knob must be in Idle po- sition. Wind-Rewind Control Turn control to the right for fast wind; to the Ieft for fast rewind. Before operating Wind-Rewind knob, function selector knob must be placed in IdIe position. Speed Change Control tot 7 L/ 2 ips, put speed change control in down position; for 3 3/ 4 ips, in up poeition. Do not change speeds unless function selector knob is in Idle posi.tion. Threading Tape l. Pl.ace a reel of tape on t}re left (supply) spindle and anempty reel onthe right (take-up) spindle, making sure the reel slots engage the spindle pins. 2. Unwindapproximately12inches of tape from left (supply) ree1. Ilold a section of tape taut and insert intape slot, making sure dull coated side of tape faces rear of recorder. 3. Insert free end of tape into one of three radial slots in hub of empty reel. Turn reel several turns counterclockwise until tape is secured to reel and atrI slack is taken up between reels. To Record Plug line cord into a convenient wall receptacle and insert microphone into input jack on top of re- corder. Turn On-Off-Volume control clockwise until a cliek is heard and allow sufficient time for unit to warm up. Thread tape as described under"Threading Tape". Turn function selectorknob to Record. Adjust Volume controluntil recording level indicator flashes on high peaks only. To record from radio, phono- graph, or television, follow this same procedure, keeping recorder volume at a normal level. To stop tape, turn function selector knob to the Idle position. To Wind or Rewind Tape l. Turn function selector knob to ldle. 2. To wind tape onto reel, turn Wind-Rewind con- trol to right and hold. Release the control when the desired section of the tape is reached. Page 2 3. To rewind tape, turn Wind-Rewind control to the left. The control need notbe held asit locks into position. To stop rewind, return the Wind- Rewind knob to its center position. To Play a Recorded Tape l. Follow instructions under "Threading Tape". 2. Turn On-Off-Volume control clockwise until a click is heard and allow sulficient time for unit to warm up. 3. Turn function selector knob to Play. 4. Adjust Volume control for desired Iistening Ievel. 5. Turn function selector knob to Idle to stop tape. CAUTI0N: Do not set function selector knob to Record when Play is desired, as previously recorded portion of tape will be automati- cally erased. Erasing Recorded Material Any recording on tape is automatically erased before a new recording is put on tape when it is in Record. To erase a recording without putting anytling on tape, follow normal reeording procedure, but leave Volume control at its extreme counterclockwise po - sition. To Edit and Splice Tape NOTE: Since one track cannot be edited and splieed without affecting the other track, recordings to be edited should be limited

Page 2

w ',t \; F IG. 1 TOP V IEW OF MECHAN ISM W ITH D RESS PLATE REMOVED t 9E lzGt trl 3=90Dcl rllF to one track only. l. Tape may be edited by cutting out unwanted portions or by rejoining selections into another sequency. Announcements may be inserted be- tween selections etc. Unused sections can be spliced for re-use. 2. For best results, cut tape at a slight diagonal, join ends with splicing tape on glossy side, and trim any excess width. Dual-Track Recording One-haU of the tape width is recorded at a time, thereby resulting in two-track recording. This two- track recording is accomplished in the following manner: l. After a reel of tape has been recorded and all tape wound onto the right (takeup) reel, turn function selector knob to Idle. 2. Remove reels from recorderl turn full reel over and place it on left spindle. Place empty reel on right spindle. 3. Properly threadtape and proceedwith reeording. 4. After second track has been recorded, first traek can be played without rewinding by rever- sing reel as described in step 2. D ISASSEMBLY To Remove Recorder f rom Cabinet Remove four screws on bottom of cabinet. Remove four screws (two on each side) on sides of cabinet. Lift up unit and disconnect speakers. 4. Remove unit from cabinet. To Remove Amplif ier From Tape Transport t. Disconnect head leads. 2. Disconnect speaker jack. 3. Disconnect external amplifier jack. 1. 2. 3. O(7rrln l Page 3