Acoustic research ARPR 808 Owners Manual

This is the 6 pages manual for acoustic research ARPR 808 Owners Manual.
Read or download the pdf for free. If you want to contribute, please mail your pdfs to info@audioservicemanuals.com.

Page: 1 / 6
left right
acoustic research ARPR 808 Owners Manual

Extracted text from acoustic research ARPR 808 Owners Manual (Ocr-read)


Page 1

Your Acoustic Research Subwoofer delivers powerful, deep bass sound output for a natural, life-like sonic experience. Please follow the dir\ ec- tions in this manual to achieve the best performance from your system. The hook-up and operation of the Subwoofer is the same for a Home Theater surround sound system or a stereo music system. The Subwoofer has its own built-in amplifier, so it works with any sound system. The Subwoofers own crossover network sends bass-only signals to the Subwoofers built-in amplifier. This lets the Subwoofer add extra bass to the output from your other speakers. For simplicity, we call your Home Theater systems or music systems main speakers the Front speakers. We call your AV receiver, stereo receiver, or integrated amplifier the Receiver. PLACEMENT Your AR subwoofer should be placed on the floor.You should be aware that the closer the subwoofer is placed to the wall,the more pronounced the bass will become,with maximum bass being achieved with the sub- woofer being placed in a corner. To optimize you system's electronic components,try and keep all speaker wire and cables as short as possible. SUBWOOFER CONTROLS & CONNECTIONS POWER CORD Plug the power cord into an AC wall outlet or other AC outlet capable of supplying at least 200 Watts. POWER SWITCH Turns the AC supply com- pletely OFF or sets the Subwoofer to AUTO ON operation. In AUTO ON, the Subwoofer is in standby mode until it detects an audio signal input, then the Subwoofer turns on automati- cally. A few minutes after audio input signals cease, the Subwoofer automatically returns to standby mode. POWER INDICATOR LED Your AR Subwoofer has 2 LED indicators. The Power LED indicator is located on the amplifier on the rear. This LED is unlit when the AC power switch is OFF. It glows red when the Subwoofer is in standby mode and green when the Subwoofer is on. The Signal indicator LED is Blue and is located next to the AR logo on the front of the sub- woofer. This LED is lit when there is an audio signal present. FUSE 250V 3A This fuse protects against internal and external faults. If the POWER switch is ON and the power indicator LED is unlit, unplug the power cord from the AC outlet and check the fuse by unscrewing the center piece from the holder. IMPORTANTIf the fuse is blown, replace it only with a fuse of the same type and current rating. L, R SPEAKER-IN TERMINALS - See Connection Option 1 These terminals are for making connections using speaker wirer. If you use this option, do not use Option 2. L,R INPUT JACKS- See Connection Option 2 These jacks are for input connections using audio cables. If your receiv\ - er has a mono sub out, you may use either input on your new AR sub- woofer. If you use this option, do not use Option 1. LFE INPUT JACK- Allows direct connection from the amplifier/processor with an internal low pass filter. This connection bypasses the subwoofer internal crossover circuitry. Use only with appropriate Surround Sound processor/amplifier. LFE Output Jack This connector is connected internally to the LFE input jack and allows you to loop the LFE input signal out to another LFE inpu\ t on an additional AR powered loudspeaker or subwoofer. LOW PASS FREQUENCY CONTROL Adjusts the upper frequency limit for audio signals going to the Subwoofer amplifier. This control helps you adjust the systems tonal balance. LEVEL CONTROL Balances the loudness of the Subwoofer relative to the Front speakers and compensates for room effects on the Subwoofer\ s output. PHASE SWITCH The Phase Switch controls the phase of the Subwoofers output relative to the front speakers. Listen carefully to the sound quality while playing a CD with low bass. Select the position of the switch that produces the fullest deep bass without boominess. You may need to readjust the Level and Low Pass Frequency controls after setting the Phase Switch. CONNECTING YOU SUBWOOFER IMPORTANT When you make connections. make sure that the power switches of all components, including the Subwoofer, are OFF. AUDIO CABLES If you are connecting the Subwoofer into a system made up of separate components (preamp & power amps), you will need audio cables long enough to reach the Subwoofer from the preamplifier and the power amplifier. SPEAKER WIRE Typical speaker wire has a pair of separate conductors with insulating jackets that are molded together. We recommend that you use 16-gauge speaker wire for hooking your Receiver to your Front speakers. To make connections to the Subwoofer in parallel with the Front speakers easier, the speaker wire connecting the Receiver to the Subwoofer can be smaller (higher gauge number), since the Subwoofer does not draw large amounts of power through these wires. POLARITY All speakers in a system must be connected with the same polarity. Speaker wire is marked for polarity so that you can identify which wire in the pair is which. Polarity is shown by a color strip on \ the insulation, by ridged molded into the insulation, or by the colors of th\ e wires - one copper and one silver. Strip the insulation from speaker wire ends to reveal the bare conductor\ s before connecting to Receiver, Subwoofer or Speaker terminals. IMPORTANT Always connect the red + terminal on the Receiver to the red + terminal on the Subwoofer, and the black - terminal on the Receiver to the black - terminal on the Subwoofer. The same is true for hooking the Receiver outputs to the Front speakers: red + to red +, and black- t\ o black-. IMPORTANT USE OPTION 1 OR OPTION 2, NOT BOTH . OPTION 1 -“ CONNECTION WITH SPEAKER WIRE Connect speaker wires from the Receivers front left and right speaker outputs to the subwoofers left and right Speaker In terminals, as well as the left and right front speakers. SPEAKER LEVEL N LINE IN L PHASE 180° LOW PASS FREQUENCY 0° LFE IN ROUT +-“ 50HZ 150HZ LEVEL MIN MAX RISK OF ELECTRIC SHOCK DO NOT OPEN WARNING SHOCK HAZARD-DO NOT OPEN AVIS RISQUE DE CHOC ELETRIQUE-NE PAS OUVRIRCAUTION ! MODEL: ARPR808 SERIAL NO : FUSE TYPE T2AL 250V AUTO ON OFF CAUTION TO REDUCE THE RISK OF FIRE REPLACE WITH ONLY THE SAME TYPE AND RAT NG OF FUSE ATTENT ON UTILISER UN FUSIBLE DE RECHANGEMEME TYPE DOUBLE INSULAT ON when se vicing use only identical replacement parts POWER 115W 60HZ 300W SUBWOOFER ADJUSTMENT & USE Subwoofer initial control settings - Set the LOW PASS FREQUENCY Control to its center position. - Set the LEVEL Control fully counterclockwise to MIN. Youll reset this control after you make other adjustments. Adjusting the Subwoofer controls - Play a program on your system. For the following adjustments, use the Dolby ProLogic Normal surround mode and select a movie that has a Dolby Surround soundtrack with a lot of music, or play a music CD. Adjust the Receivers volume control for a comfortable sound level from the system speakers. - Increase the Subwoofers LEVEL Control setting clockwise, so that you hear the deep bass. Adjust the control for a natural, musical balance that has plenty of deep bass sound when it is actually present in the music. - Listen carefully to bass voices and, if needed, adjust the LOW PASS FREQUENCY Control so that they sound natural. Setting the frequency too high will make deep voices sound excessively chesty or resonant and will give the upper bass in music a o\ ne- note quality. Setting the frequency too low will make deep voices sound thin and will give music a lack of warmth. - Make fine adjustments until the program has satisfying and natural sound quality on both bass voices and music. Setting the Phase Switch The PHASE switch controls the phase of the Subwoofers output rela- tive to that of the Front speakers. In many installations, it will be di\ f- ficult to tell which switch setting is the correct one. Listen carefully\ to the sound quality while someone else toggles the switch between its two positions. The position that produces the fullest deep bass and the warmest bass and mid-bass sound is the correct one. You may need to readjust the SUBWOOFER OUT LEVEL and SUBWOOFER CROSSOVER FREQUENCY controls after setting this switch. TROUBLESHOOTING Subwoofer POWER Indicator LED does not light - Check that the Subwoofers POWER Switch is in the AUTO ON position. - If the POWER Switch is in the AUTO ON position, check the AC outlet the Subwoofer is plugged into to be sure that it is live. You can use a tester or plug-in a lamp to check it. - If the AC outlet is live, either the power cord or Subwoofer has a problem. Unplug the power cord from the AC outlet and check the fuse by unscrewing the center piece from the holder. If it is blown, replace the fuse only with a fuse of the same type and rating. If this \ doesnt help, take the Subwoofer to your dealer for service -“ THERE ARE NO USER SERVICEABLE PARTS INSIDE. No sound from the Front speakers. - Be sure the Receiver and Subwoofer POWER Switches are in the On positions. - Check the Receivers Volume Control Setting - if it is all the way down, there wont be any sound. - Check that the Receivers Input Selector is set to an active source of audio signals and that a Tape Monitor Loop is not engaged. - Be sure that the Receivers Speaker Selector switch is turned on to the terminals [A or B, 1 or 2] that you have your Front speakers connected to. If the Receiver has a headphone jack, you can use headphones to check the Receiver for output. - Check the wires and connections from the Receivers Front Speaker Output terminals to the Subwoofers SPEAKER-IN terminals. - Try removing the Subwoofer from the system, leaving your Front speakers connected to the Receiver. If there still is no sound, take the Receiver to your dealer for service. No sound from the Subwoofer - First, be sure there is sound from the Front speakers and that the Receiver is working correctly as outlined above. - Check the Subwoofers LEVEL Control. If it is all the way counter clockwise, there may be no sound. - The Subwoofer only reproduces deep bass sound. If the program has no deep bass, the Subwoofer will not make any sound. Play a program with plenty of bass, such as jazz or rock music, or an action movie. - If everything else checks OK, take the Subwoofer to your dealer for service - THERE ARE NO USER SERVICEABLE PARTS INSIDE. SPECIFICATIONS Driver Complement and Enclosure 8 long throw woofer in a down-firing slot-loaded configuration with a front firing 8" passive radiator Frequency Response 28Hz to 150Hz Amplification Power output: 150 Watts RMS, LFE In/Out Total Harmonic Distortion 10% @ 150 Watts output Signal-to-Noise Ratio >85 dB Crossover frequency (-3 dB) 50 Hz @ MIN 150 Hz @ MAX Special Features: 2 pair of 5-way gold binding posts for high level in 1 pair of RCA inputs for low level input RCA LFE input and output jacks Finish: Black ash laminate Dimensions (HxWxD): 13.5" x 10.25" x 13.5", (34.3cm x 26cm x 34.3cm)\ Weight: 26lbs (11.9kgs) LIMITED WARRANTY This warranty remains in effect for five years from date of purchase for\ speaker components, one year on subwoofer amplifiers and electronic com-\ ponents. This warranty protects the original owner providing that the product has\ been purchased from an authorized Acoustic Research dealer in the United\ States. The original bill of sale must be presented whenever warranty s\ erv- ice is required. For warranty service outside the United States, contac\ t the authorized Acoustic Research distributor in the country where the produc\ t was purchased. Except as specified below, this warranty covers all defects in material and workmanship. The following are not covered: Damage caused by accident,\ misuse, abuse, product modification or neglect, damage occurring during shipment, damage from failure to follow instructions contained in the ow\ n- ers manual, damage resulting from the performance of repairs by someone not authorized by Acoustic Research, or any claims based on misrepresen-\ tations by the seller. This warranty does not cover incidental or conse quen- tial damages. It does not cover the cost of removing or reinstalling th\ e unit. This warranty is void if the serial number has been removed or defaced. This warranty gives you specific legal rights. You may also have other rights which vary from state to state. Some states do not allow the exclusion \ or limitation of incidental or consequential damages or limitations on how \ long an implied warranty lasts, so the above may not apply to you. HOW TO OBTAIN SERVICE Please call us at (800) 225-9847 We will promptly advise you of what action to take. We may direct you to an authorized Acoustic Research Service Center or ask you to send your speaker to the factory for repair. You will need to present the original bill of sale to establish the date of purchase. PLEASE DO NOT SHIP YOUR ACOUSTIC RESEARCH PRODUCT FOR REPAIR WITHOUT PRIOR AUTHORIZATION. PLEASE DO NOT RETURN PRODUCT TO THE ABOVE ADDRESS, IT IS NOT A SERVICE LOCATION. You are respon- sible for transporting your product for repair and for payment of any in\ itial shipping charges. However, we will pay the return shipping charges if the repairs are covered under warranty. -TO BLACK TERMINAL (plain or silver) +TO RED TERMINAL (color stripe ridges or cooper) 3/8 (9mm) BARE WIRE ARPR8 8 SUBWOOFER RECEIVER FRONT LEFT SPEAKER FRONT RIGHT SPEAKER

Page 2

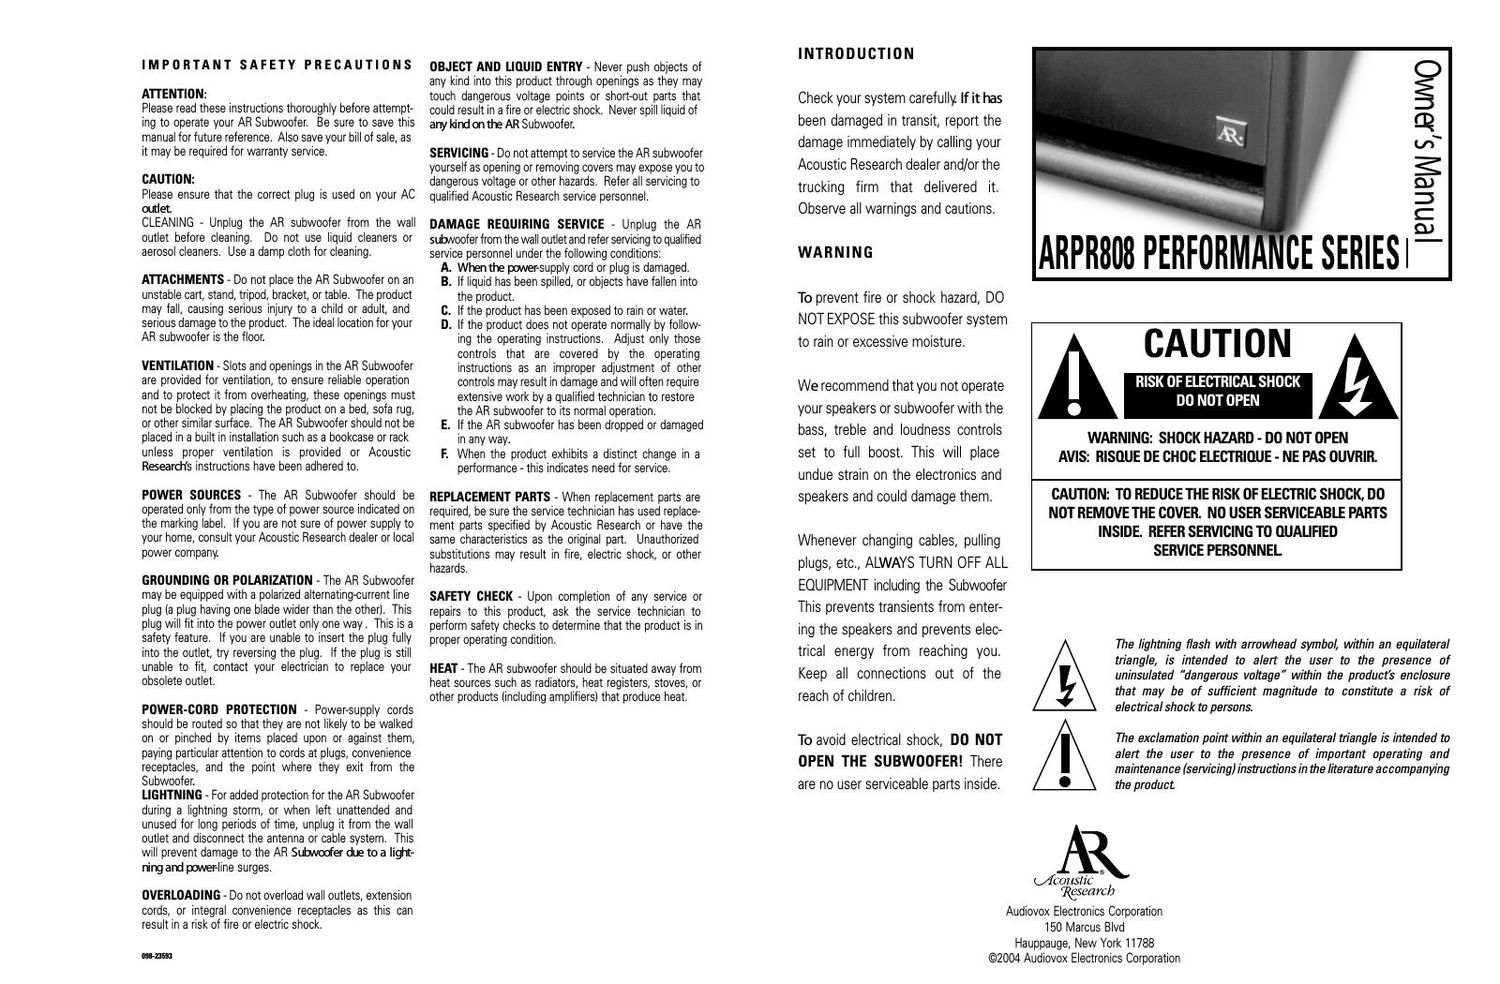
A l'exception des conditions mentionnées ci-après, cette garantie couvre tous les défauts de l'appareil ainsi que sa fabrication. Les cas suivants ne sont pas couverts par la garantie : Dommage causé par accident, mauvaise utilisation, abus, modification ou négligence à l'égard du pro- duit, dommage survenu au cours du transport, dommage issu d'un man- quement au respect des instructions contenues dans le manuel d'utilisa- tion du détenteur, dommage résultant de l'exécution de réparations par une personne non autorisée par Acoustic Research et toutes autres réclamations basées sur des fausses déclarations par le détenteur. Cette garantie ne couvre ni les dommages accessoires ni les dommages indi- rects. Elle ne couvre pas non plus les coûts entraînés par le retrait de composants ou la réinstallation de l'appareil. Cette garantie sera déclarée nulle si le numéro de série a été supprimé ou effacé. Cette garantie vous accorde des droits spécifiques reconnus par la loi. D'autres droits peuvent vous être accordés, car ils peuvent varier d'un état à l'autre. Certains états n'autorisent pas l'exclusion ou la limitation des dommages accessoires ou indirects sur la durée de validité de la garantie tacite. Dans ce cas, les conditions ci-dessus ne s'appliquent pas. COMMENT FAIRE REPARER VOTRE APPAREIL Veuillez nous contacter au (800) 225-9847 Nous vous indiquerons immédiatement les mesures à prendre. Nous pourrons vous diriger vers un centre de service après-vente agréé par Acoustic Research ou vous demander d'expédier votre appareil à l'usine afin qu'il soit réparé. Vous devrez présenter l'original du contrat de vente afin d'établir la date de l'achat. VEUILLEZ NE PAS ENVOYER VOTRE PRO- DUIT ACOUSTIC RESEARCH POUR REPARATION SANS AUTORISATION PREALABLE. VEUILLEZ NE PAS NOUS RETOURNER VOTRE PRODUIT A L'ADRESSE CI-DESSUS, CE N'EST PAS L'ADRESSE D'UN CENTRE DE SERVICE APRES-VENTE. Vous êtes responsable du transport du produit au centre de réparations et du paiement de tous les frais initiaux d'ex- pédition. Toutefois, nous prendrons à notre charge les frais d'expédition de votre produit après réparation, dans le cas où les réparations effec- tuées seraient couvertes par la garantie. MESURES IMPORTANTES DE SECURITE ATTENTION : Veuillez lire attentivement les présentes instructions avant de tenter de réparer votre caisson de basse AR. Assurez-vous de conserver le présent manuel dans un lieu sûr afin de pouvoir vous y référer ultérieurement. Conservez également votre contrat de vente car il pourra vous être demandé par le service de garantie. MISE EN GARDE :Veuillez vous assurer qu'une fiche adaptée est utilisée sur votre prise de courant alternatif. NETTOYAGE - Débranchez le caisson de basse AR de la prise murale avant de procéder à son nettoyage. N'utilisez pas d'agents nettoyants liquides ni sous forme d'aérosols. Utilisez un chiffon humide pour le nettoyage. ACCESSOIRES -Ne placez pas le caisson de basse AR sur un char- iot, un support, un trépied, une console ou une table instable. Le produit pourrait tomber, causant ainsi des blessures graves à un enfant ou à un adulte ainsi que des dommages au produit. L'emplacement idéal pour votre caisson de basse AR est à même le sol. VENTILATION - Les fentes et les ouvertures du caisson de basse AR sont destinées à la ventilation et permettent de garantir un fonction- nement fiable. Pour le protéger d'une surchauffe éventuelle, ces ouver- tures ne doivent pas être obstruées en plaçant le produit sur un lit, un plaid de canapé ou une surface similaire. Le caisson de basse AR ne doit pas être placé dans une installation construite telle qu'une bibliothèque ou une étagère à moins qu'une ventilation adaptée ne soit fournie ou que les instructions indiquées par Acoustic Research1 ne l'autorisent. SOURCES D'ALIMENTATION -Le caisson de basse AR doit être utilisé uniquement ave le type de source d'alimentation indiqué sur l'étiquette de l'appareil. Si vous n'êtes pas sûr(e) du type d'alimentation électrique installée à votre domicile, consultez votre revendeur Acoustic Research ou la compagnie d'électricité locale. CONNEXION DE MISE A LA TERRE OU POLARISA- TION -Le caisson de basse AR peut être équipé d'une fiche bipolaire irréversible à courant alternatif polarisé (fiche dotée d'une broche plus large que l'autre). Cette fiche s'adaptera dans la prise de courant unique- ment dans un seul sens. Ceci est une mesure de sécurité. Si vous êtes dans l'impossibilité d'insérer complètement la fiche dans la prise, essayez d'inverser la fiche. Si vous ne parvenez toujours pas à l'insérer, contactez votre électricien afin qu'il remplace votre prise qui est proba- blement obsolète. PROTECTION DU CORDON D'ALIMENTATION -Les cor- dons d'alimentation doivent être installés de manière à ce que personne ne puisse marcher dessus ou gêner les objets placés dessus. Vous porterez une attention particulière aux cordons des fiches, des pris- es de courant et du point où ils partent du caisson de basse. ECLAIRAGE -Pour une meilleure protection du caisson de basse AR pendant un orage ou lorsque vous laissez votre appareil sans surveil- lance ou inutilisé pendant de longues périodes de temps, débranchez-le de la prise murale et débranchez l'antenne ou le système de câblage. Ceci évitera d'endommager votre caisson de basse AR avec la surinten- sité causée par un orage ou des lignes électriques. SURCHARGE - Ne surchargez pas les prises murales, les rallonges ou les prises de courant intégrales car ceci pourrait entraîner un risque d'incendie ou de choc électrique. PENETRATION D'OBJETS OU DE LIQUIDE -Ne placez jamais des objets de quelconque nature dans ce produit par les ouver- tures car ils peuvent entrer en contact avec des points de tension dan- gereux ou sectionner des pièces internes susceptible d'entraîner un incendie ou un choc électrique. Ne versez jamais de liquide de quel- conque nature dans le caisson de basse AR. REPARATIONS - Ne tentez pas de réparer vous-même le caisson de basse AR en l'ouvrant ou en retirant les boîtiers car vous seriez exposé(e) à une tension dangereuse ou autres risques. Adressez-vous plutôt au personnel d'entretien qualifié d'Acoustic Research pour toutes vos répa- rations. DOMMAGE NECESSITANT UNE REPARATION - Débranchez le caisson de base AR de la prise murale et contacter le per- sonnel d'entretien qualifié dans les cas suivants : A.Lorsque le cordon d'alimentation ou la fiche sont endommagés. B.Si du liquide a été versé dans l'appareil ou que des objets sont tombés dans le produit. C.Si le produit a été exposé à la pluie ou à l'eau. D.Si le produit ne fonctionne pas normalement alors que vous avez respecté les instructions d'utilisation. Effectuez uniquement les réglages indiqués dans les instructions d'utilisation car d'autres réglages inadaptés peuvent endommager l'appareil et néces siteront souvent une intervention approfondie par un technicien qualifié pour faire revenir le caisson de basse AR à son mode nor mal de fonctionnement the AR subwoofer to its normal operation. E.Si vous avez fait tomber le caisson de basse AR ou que vous l'avez endommagé de quelque manière que ce soit. F.Lorsque le produit montre un changement manifeste de perform ance - ceci indique un besoin de mesures d'entretien. PIECES DE RECHANGE -Si des pièces de rechange s'avèrent nécessaires, assurez-vous que le technicien de maintenance a utilisé des pièces de rechange agréées par Acoustic Research ou possédant les mêmes caractéristiques que les pièces d'origine. Les remplacements réalisés sans autorisation peuvent entraîner des incendies, des chocs électriques ou autre dangers. CONTRÃ-LE DE SECURITE -Lorsque le technicien aura terminé l'entretien ou les réparations de votre produit, demandez-lui de procéder aux contrôles de sécurité afin de garantir que le produit se trouve dans un état correct de fonctionnement. CHALEUR - Le caisson de basse AR doit être placé loin des sources de chaleur telles que radiateurs, registres de chaleur, cuisinières ou autres produits (y compris les amplificateurs) produisant de la chaleur. INTRODUCTION Vérifiez minutieusement votre sys- tème. S'il a été endommagé lors du transport, informez-en immédiate- ment votre revendeur Acoustic Research et/ou le transporteur qui s'est chargé de la livraison. Il est impératif que vous respectiez tous les avertissements et les mises en garde. AVERTISSEMENT Pour éviter tout danger d'incendie ou de choc, N'EXPOSEZ PAS le cais- son de basse à la pluie ou à une humidité excessive. Nous vous recommandons de ne pas utiliser vos haut-parleurs ou votre caisson de basse avec les comman- des de réglage des graves, des aigus et du volume sonore position- nées au maximum. Ceci pourrait entraîner une tension excessive du système électronique et des haut- parleurs et ces derniers pourraient être endommagés. Lorsque vous changez les câbles ou que vous retirez les prises, etc., ETEIGNEZ TOUJOURS L'APPAREIL y compris le caisson de basse. Ceci évitera les personnes de passage à être obligées de pénétrer dans les haut-parleurs et d'entrer en contact avec l'alimentation électrique. Conservez tous les branchements hors de la portée des enfants. Afin d'éviter tout choc électrique, NE TENTEZ PAS D'OUVRIR LE CAIS- SON DE BASSE ! Aucune pièce util- isable ne se trouve à l'intérieur. CAUTION MISE EN GARDE RISQUE DE CHOC ELECTRIQUE NE PAS OUVRIR AVERTISSEMENT : DANGER DE CHOC - NE PAS OUVRIR AVIS : RISQUE DE CHOC ELECTRIQUE - NE PAS OUVRIR. MISE EN GARDE : AFIN DE REDUIRE LE RISQUE DE CHOC ELECTRIQUE, NE RETIREZ PAS LE BOÃŽTIER DE L'APPAREIL. AUCUNE PIECE UTILISABLE NE SE TROUVE A L'INTERIEUR DE L'APPAREIL. ADRESSEZ-VOUS A DU PER- SONNEL DE MAINTENANCE QUALIFIE POUR TOUTES REPARATIONS. Le dessin de l'éclair avec un symbole fléché placé dans un triangle équilatéral est destiné à alerter l'utilisateur de la présence d'une tension2 dangereuse non isolée3 dans le boîtier de l'appareil1 et dont la magnitude peut être suffisante pour représenter un risque de choc électrique pour tout individu. Le point d'exclamation placé dans un triangle équilatéral est destiné à alerter l'utilisateur sur la présence d'une quantité importante d'in- structions d'utilisation et de maintenance (entretien) dans la docu- mentation fournie avec l'appareil. Manuel de l'utilisateur ARPR808 PERFORMANCE SERIES