Acoustic research ar owners manual

This is the 14 pages manual for acoustic research ar owners manual.
Read or download the pdf for free. If you want to contribute, please mail your pdfs to info@audioservicemanuals.com.

Page: 1 / 14
left right
acoustic research ar owners manual

Extracted text from acoustic research ar owners manual (Ocr-read)


Page 1

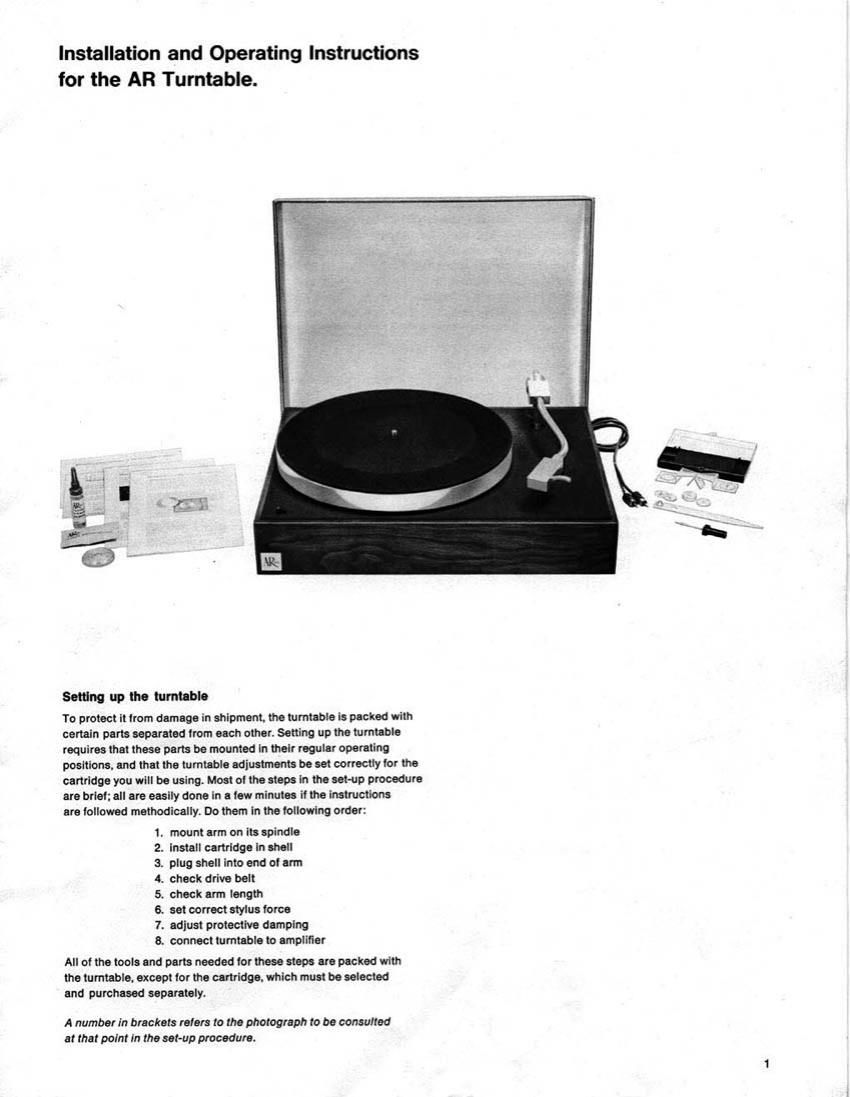
Installation and Operating Instructions
for the AR Turntable.

Setting up the turntable

To protect it irom damage in shipment. the turntable is packed with
certain parts eepereted trom each other. Setting up the turntable
requires that these parts be mounted in their regular operating
positions. and that the turntable adjustments be set correctly for the
cartridge you will be using. Meet at the steps in the sebup procedure
are brlei; all are easily done in a tew minutee it the instructions

are tollowed methodically be them in the tollowtng order:

. mount arm on Its spindle

. Install cartridge In shell

. plug shell into end at errn

. check drive belt

. check arm length

. set correct stylus lorce

t adjust protective damping

3. connect tumteble to amplifier

NOOIHN-fi

All of the tools and parts needed let these steps are packed with
the tumteble. except tor the cartridge. which must be selected
end purchased separately.

A number in brackets relers to the photograph to be consulted
at that point in the set~up procedure.

Page 2

Mounting the arm on its spindle

The turntable is packed with the tone arm separated from its spindle
to protect these parts item damage in shipment. When they ere
assembled, the wire el the beck ol the em must not be pulled. Belore
doing this step. read the instructions all the way through: then

do it ceretully. taking your time end checking the photographs.

Do not remove the spindle irom its well: there is a smell
steel ball in the well which Is an important pert oi the tumteble end
must not be lost.

(1) At the top at the spindle are e tosrn mbber spring and plutlc
washer coated with oil: do not wipe all the oil. Clean ewey any bits oi
pecking materiel or cardboard which may be sticking to the

spring and washer. (2) There Is a threeded hole in the arm pivot
assembly that is the seine size as the top at the spindle. Adjust the
pivot assembly so that the hole is straight up. Looking down

into the hole, slide the piece with the hole In it sideways so thet the
slot you can see through the hole ls centered. Be very cerelul

In the next step to put no strain on lhe wire.

Lilt the am just high enough to set It on top oi the spindle with the
threaded hole resting on the top oi the spindle. Point the arm

toward yourself. and tilt it up so that you can look at the pivot
assembly. (3) Check this carelully: the part with the threaded hole in it
should be centered over the press part inside it as shown In the
photographs. New start turning the spindle to screw It into the
threaded hate it will normefly be somewhat herd to turn at first. but ii
it gets stuck alter only a turn or two. slop. unscrew it end stsrt

over. (4) When the spindle is screwed into the arm as much es ls
shown in the photograph It will get tight. Stop tumlng the spindle end
let go oi it: the srrn should stay in the position in which you have

left it. Next. slowly unscrew the spindle lust until the em tells been on
its counterweight. then snap the arm into the arm rest.

in picture 3e. too much oi
the bill: pan Inside the
pivol II showing on the I."
side. This is incorrect;
both sides muet be even
es in picture 3.