Akai GX 77 Service Manual 3
This is the 71 pages manual for Akai GX 77 Service Manual 3.
Read or download the pdf for free.
If you want to contribute, please mail your pdfs to info@audioservicemanuals.com.

Extracted text from Akai GX 77 Service Manual 3 (Ocr-read)
Page 1
RTV servis Horvat
Keéinci, 31402 Semeljci
031-856-139
031-856-637
098-78 8-319
rtv-servis-horvm@ostelhr
Croatia
§E
i mg m
THE QUALITY OF
THIS MANUAL IS
THE BEST THAT
IS AVAILABLE
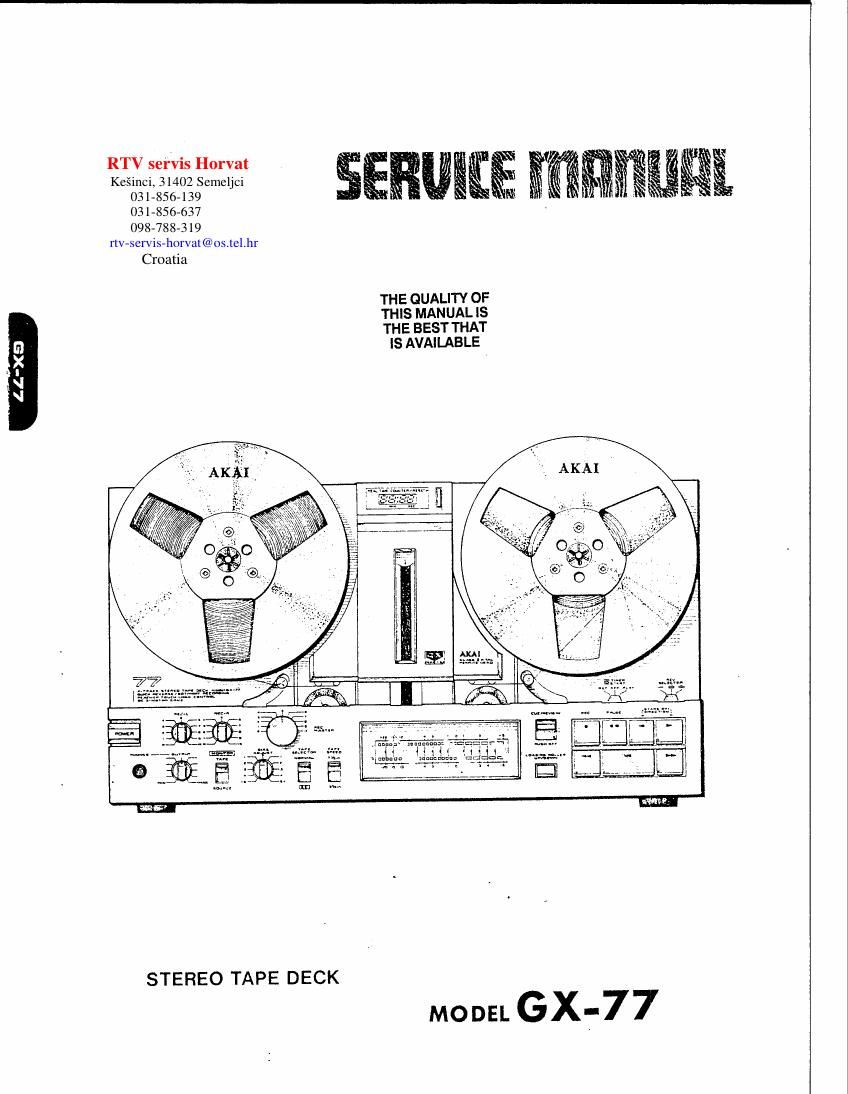
STEREO TAPE DECK
MODEL ij-77
Page 2
m
SAFETY INSTRUCTIONS
SAFETY CHECK AFTER SERVICING
Confirm the specified insulation resistance between power cord plug prongs and externally cxposctl parts ol'lhe set is
greater than IO Mohms. but for equipment with external antenna terminals (tuner. receiver. etc.) and is intended for
or I. specified insulation resistance should be more than 2.2 Mohms (ground terminals. microphone jacks.
headphone jacks. line-in-outjaeks etc.)
PRECAUTIONS DURING SERVICING
1. Parts identified by the A symbol parts are critical for safety.
Replace only with parts number specified.
in addition to safety, other parts and assemblies are specified for conformance with such regulations as those
applying to spurious radiation, These must also be replaced only with specified replacements.
Examples: RF converters. tuner units, antenna selector switches. RF cables. noise blocking capacitors. noisc
blocking fillers. etc.
3. Use specified internal wiring. Note especially:
1) Wires covered with PVC tubing
2) Double insulated wires
3) High voltage leads
4. Use specified insulating materials for hazardous live parts. Note especially:
1) insulation Tape
2) PVC tubing
3) Spacers (Insulating Barriers)
4) insulation sheets for transistors
5. When replacing AC primary side components (transformers. power cords, noise blocking capacitors. etc). wrap
ends of wires securely about the terminals before soldering.
Io
Q Q
Observe that wires do not contact heat producing parts (heatsinks. oxide metal lilm resistors. fusible resistors. ete.).
Check that replaced wires do not contact sharp edged or pointed parts.
Also check areas surrounding repaired locations.
9. Use care that foreign objects (screws. solder droplets. etc.) do not remain inside the set.
0°39
Page 12
l. TIMING CHART OF EACH MODE
1) Loading, Unloading Mode (Refer to Fig. 7)
LOADING and UNLOADING do not work during
FWD, HID/REC, REV, REV/REC, FF and RWD
and during loading or unloading.
The loader PLG can be pulled many times by
turning the operation loader ON while SW905
(loader) is ON (ICl 33 will be H).
If the loader SW is pressed, @ will be H for
about 0.2 sec. and then, TR35, 36 ON and the
loader PLG, SWQOS ON and the gear of the
capstan flywheel will be engaged with the loading
gear, and the loading arm is lifted by the rotating
lC'I
power of the loading gear, i.e., the rotating move-
ment is changed into the linear movement. After
loading, 'the loading gear makes one turn to return
to the original position and the link-up with the
flywheel will be off,
2) Timer Start Off (no tape) SW904 (tension off)
(Refer to Fig. 8)
If the operation loader key or FWD, REV, FF or
RWD is turned ON, 1C1 @ becomes H" t
pull the loader PLG and then, the loader gear is
rotated, SW903 (motor SW) ON, and the right and
left reel motors are rotated.
. LOADER our
l<-ABOUT 1.5m ->I:
a. 5v
TR 24 25 I~--------I-
at 3-in I
I 0- 25a: i
UNLOADED MODE l:2'0m m :l I x
l WANG IEXXEESI
OPERATION ON"
LOAOER sw .,
..o~"
Fig. 7
lFWD LEOIION" SW904 (LIOADER)
I ,.on' sweoqnorr
l FWD LED FLASH ' I lLOADINGl l I
l 4TIMES (UNLOADED MODE) I LOADING IIFINISH I IUNLOADWG I UNLOADEO x
l
l ' I I
POWER IIQN' Fwo,,o~" l I I
' I
I I I I |
I ' l l l
I
counren I oo: 00 I I I I I I
| +1 o-Zsec K- I ->l OIZSee I<- |
l l l
I H I H I
LOAOER .I I I I
_L I
I I
or
® I -I 7 I . | I
I IIZSrn sec I.5Vp p I I
l l I
1
FW
0 @I I Bl-1----I
REV @I I- -l-
I ' 5 I
I I I I
REEL MOTEn R I ALL L l I
@I I I
I I I I I I
I | ABOUT Isec at 7-2- in I I l
REEL MOTER L®I ALL L I I I II
I I IAeour ZseIc I IIABOgT 2seIc I
I +I 333-ln r | "PI 33in 6 l
I I sweo3 ' I I
on" I I
TR 22,223 I- I .. I __.I__.___
' I l I
' l l I |
I
sw 903
' ' .,o~" ' l '
I
l I
l I
l I
I l
I I
I
TRZI l ALL ONIuIso BIZ} l
| l
(AUTO-STOP)
Fig. 8