Akai GX 636 Owners Manual
This is the 13 pages manual for Akai GX 636 Owners Manual.
Read or download the pdf for free.
If you want to contribute, please mail your pdfs to info@audioservicemanuals.com.

Extracted text from Akai GX 636 Owners Manual (Ocr-read)
Page 1
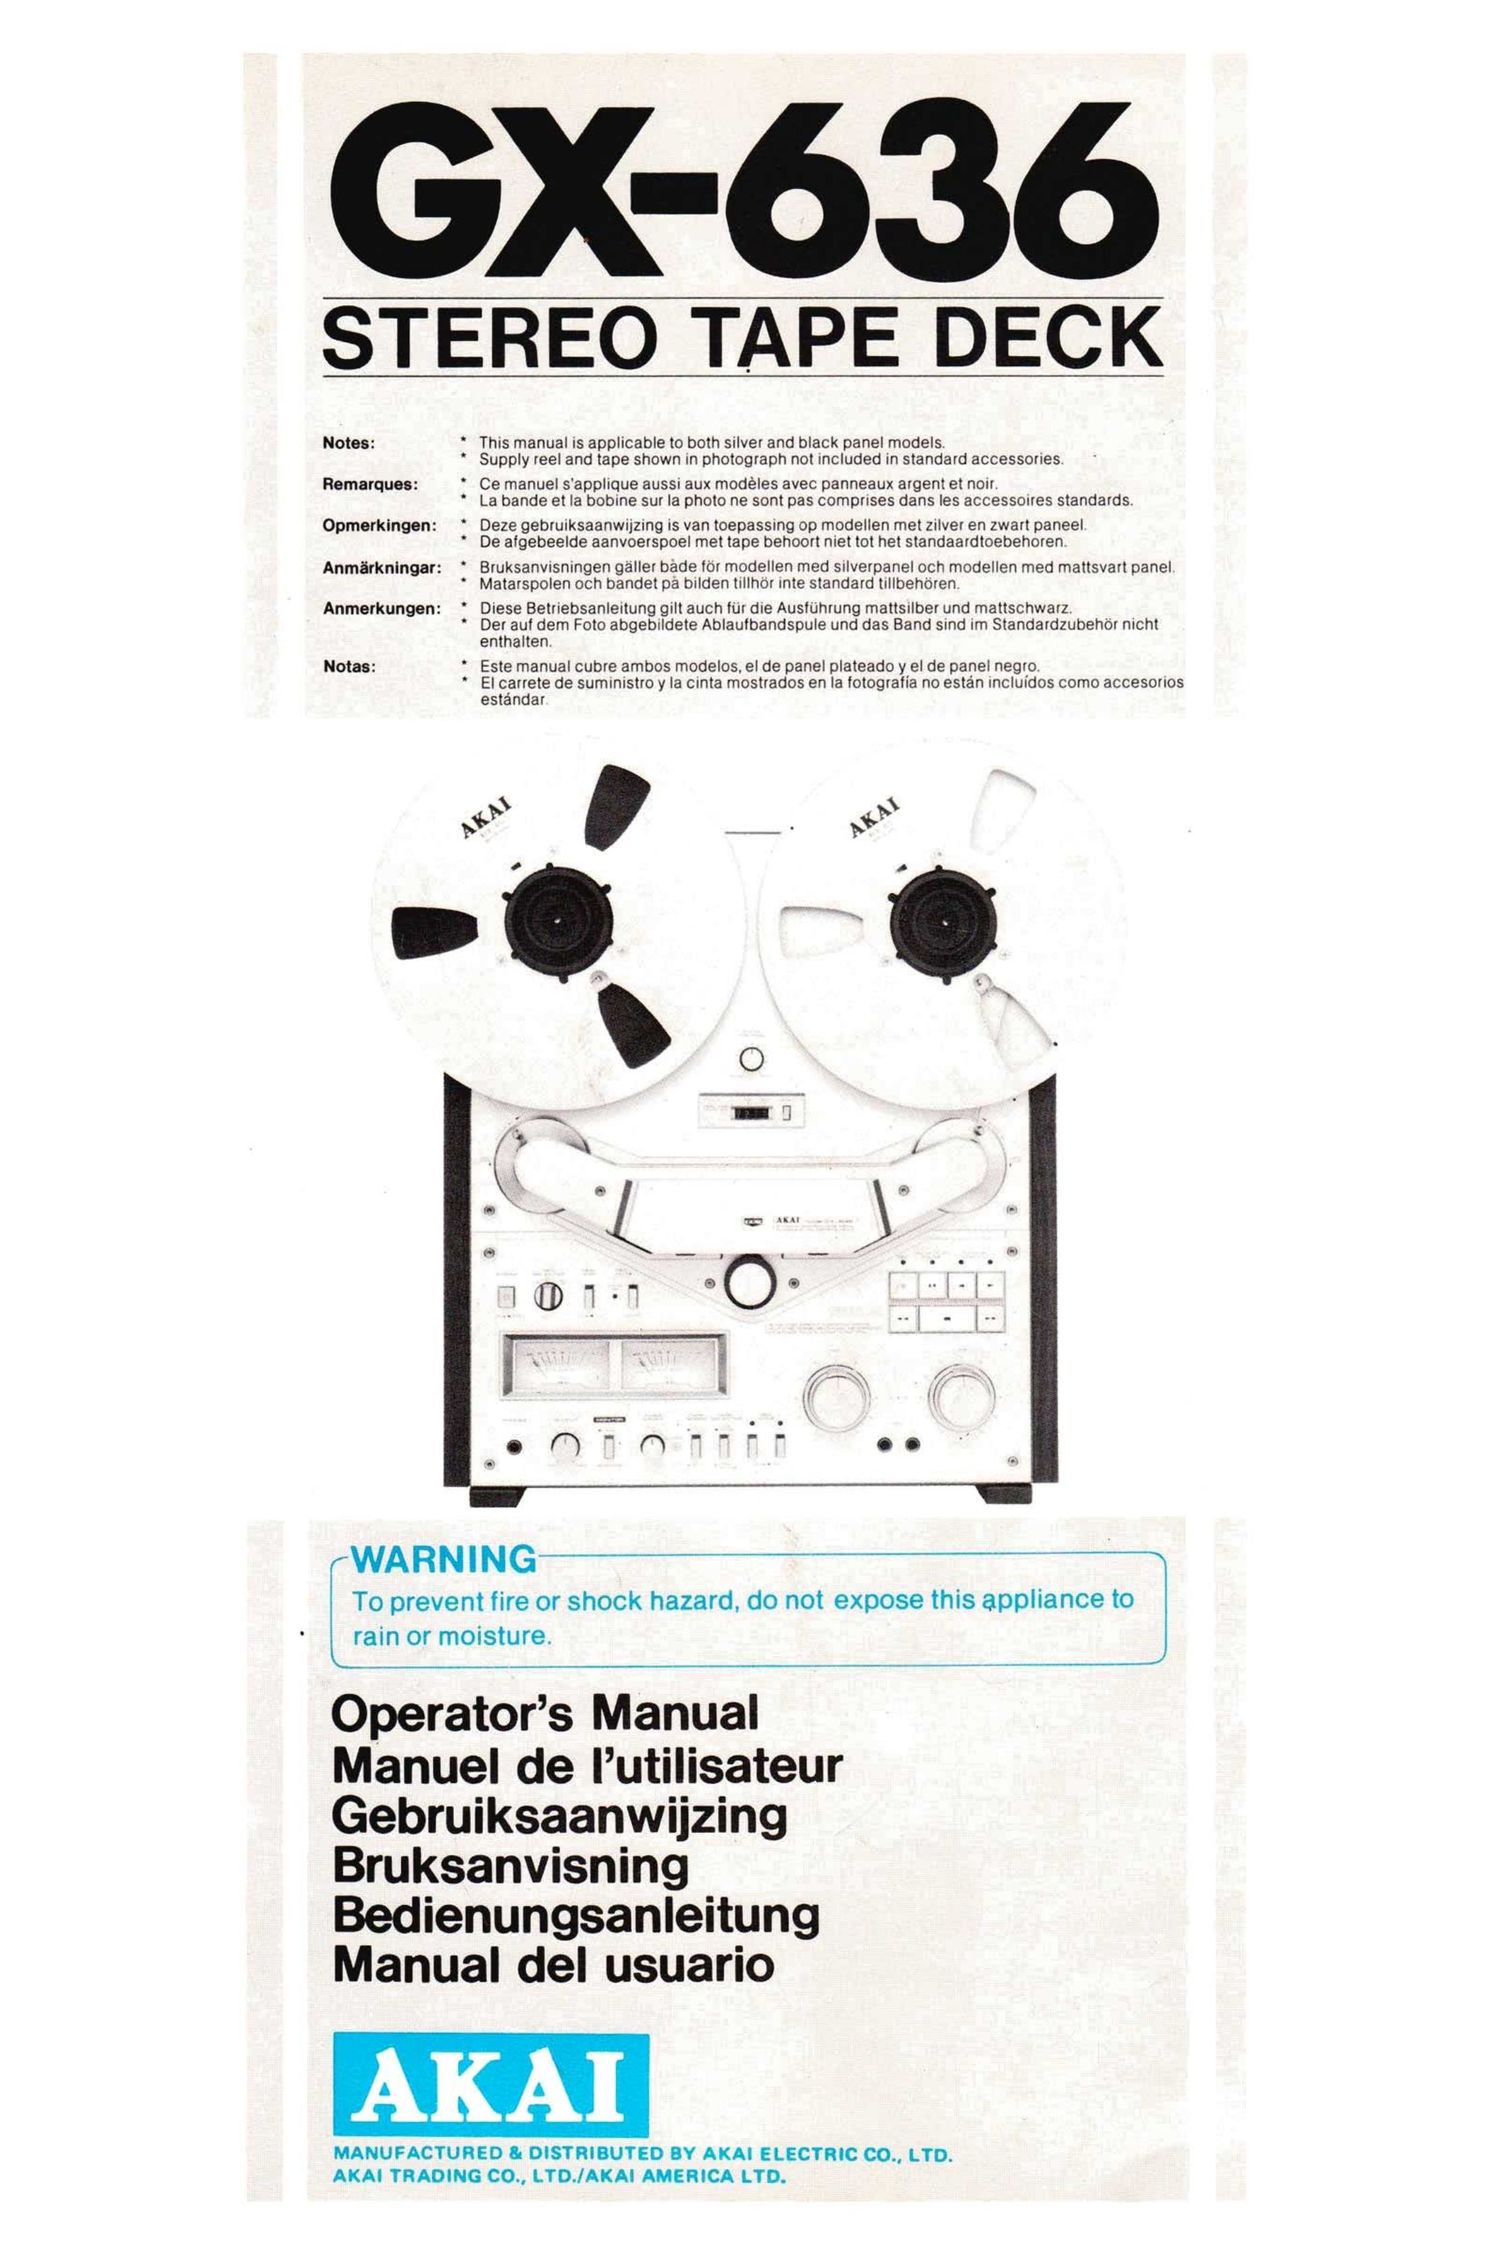
X-663
STEREO TAPE DECK
Notes:
Remarques:
Opmerkingen:
Anmarknlngar:
Anmerkungen:
Notas:
WARNING
I
\
y.
)1»
This manual is applicable to both silver and black panel models.
Supply reel and tape shown in photograph not included in standard accessories.
Ce manuel s'applique aussi aux modeles avec panneaux argent et non,
La bande et la bobine sur la photo ne sont pas comprrses dans les accessorres standards.
Deze gebruiksaanwijzing is van toepassing op modellen met zilver en zwart paneel
De algebeelde aanvoerspoel met tape behoort niet tot het standaardtoebehoren.
Bruksanvrsningen galler bade tOr modellen med srlverpanel och modellen med mattsvart panel
Matarspolen och bandet pa bilden tillhor rnte standard tillbehdrenv
Diese Betriebsanleitung gilt auch tUr die AustUhrung mattsilber und mattschwarz.
Der aul dem Foto abgebildete Ablautbandspule und das Band sind im Standardzubehdr nicht
enthalten.
Este manual cubre ambos modelos. el de panel plateado y el de panel negro
El carrete de suministro y la crnta mostrados en la totogratia no estan inclurdos como accesorios
estandar
\
s
,1»
I
To prevent fire or shock hazard, do not expose this appliance to
' rain or moisture.
Operators Manual
Manuel de Iutilisateur
Gebruiksaanwijzing
Bruksanvisning
Bedienungsanleitung
Manual del usuario
AKA
MANUFACTURED Ii DISTRIBUTED IY AKA! ELECTRIC CO., LTD.
AKAI TRADING CO., LTD./AKAI AMERICA LTD.
Page 8
OPERATIONS
RECORDING - E _.
® @698
Confirm the following before attempting recording operation:
Components are properly connected. Refer to CONNECTIONS
FORRECORDING AND PLAYBACK on page 5.
The TIMER START switch is at the PULL position.
The Power Cord is properly connected.
The REEL SIZE selector is set to the proper position. Refer to
CONTROLS No. 8 on page 3.
0 The PITCH CONTROL is set to the center click position.
saw
11.
.Depress the Recording
. Turn on all the external components and depress the POWER
switch to turn on the deck.
Load the tape. Refer to TAPE LOADING on page 7.
Set the TAPE SPEED selector to the desired speed. Refer to
TAPE RECORDING TIME on page 6.
Set the TAPE SELECTOR. Refer to STANDARD REFERENCE
AND RECOMMENDED TAPES on page 6.
For stereo recording: Depress both the REC MODE switches.
For monaural recording: Depress the left (L) REC MODE switch
only for monaural recording on tracks 1-4.
Refer to 4-TRACK STEREO RECORDING AND PLAYBACK
SYSTEM and 4-TRACK MONAURAL RECORDING AND PLAY-
BACK SYSTEM on page 7.
Set the MONITOR selector to SOURCE.
Depress the RESET button and reset the REAL TIME COUNTER
to 0000".
Set the Reverse (REV) SELECTOR. Refer to REVERSE SELEC-
TOR on page 10.
Depress the Pause ( II) button.
( 0 ) and Forward (>) buttons
simultaneously for forward recording and the Recording (0)
and Reverse (4) buttons simultaneously for reverse recording.
While observing the VU Meters. adjust the MIC or LINE Record-
ing Level controls. Adjust so that the VU levels exceeds only by
little the O VU. Refer to CONTROLS Nos. 20 and 21.
12.
13.
14.
15.
®®
When the optimum recording levels have been determined,
depress the PAUSE (II) button to begin recording.
The just recorded signals can be compared with the source sig-
nals by switching the MONITOR selector to and from TAPE and
SOURCE. When monitoring through speakers. the amplifier's
Tape Monitor switch must be set to TAPE.
For accurate monitoring, match the line output level of the deck
with the playback level of the external amplifier. Refer to HOW
TO USE OUTPUT CONTROL DURING RECORDING AND PLAY-
BACK on page 11.
Depress the REC MUTE switch for tape editing. Refer to CON-
TROLS No. 7.
Set the MONITOR selector to SOURCE first.
To release recording mode. depress the Stop (I) button.
Monaural recording: Depress the right (R) REC MODE switch
only for recording on track 3 _. 2.
* Confirm that the left (L) REC MODE switch is undepressed.
Repeat steps 6 to 14.
To change the direction of tape travel, depress the direction
button (Forward or Reverse) opposite to the direction in which
the tape is now traveling.
To momentarily suspend tape travel. depress the Pause (II)
button. The Pause (II) button does not function during fast
forward or rewind.
Depress the Rewind (44) button to rewind the tape in the
direction of arrow.
Depress the Fast Forward (bb ) button to fast forward the tape
in the direction of arrow.
To stop tape travel. depress the Stop (I) button.
Automatic stop will be effected at the end of the tape.