Akai GX 255 Owners Manual
This is the 18 pages manual for Akai GX 255 Owners Manual.
Read or download the pdf for free.
If you want to contribute, please mail your pdfs to info@audioservicemanuals.com.

Extracted text from Akai GX 255 Owners Manual (Ocr-read)
Page 1
Stereo Tape Deck
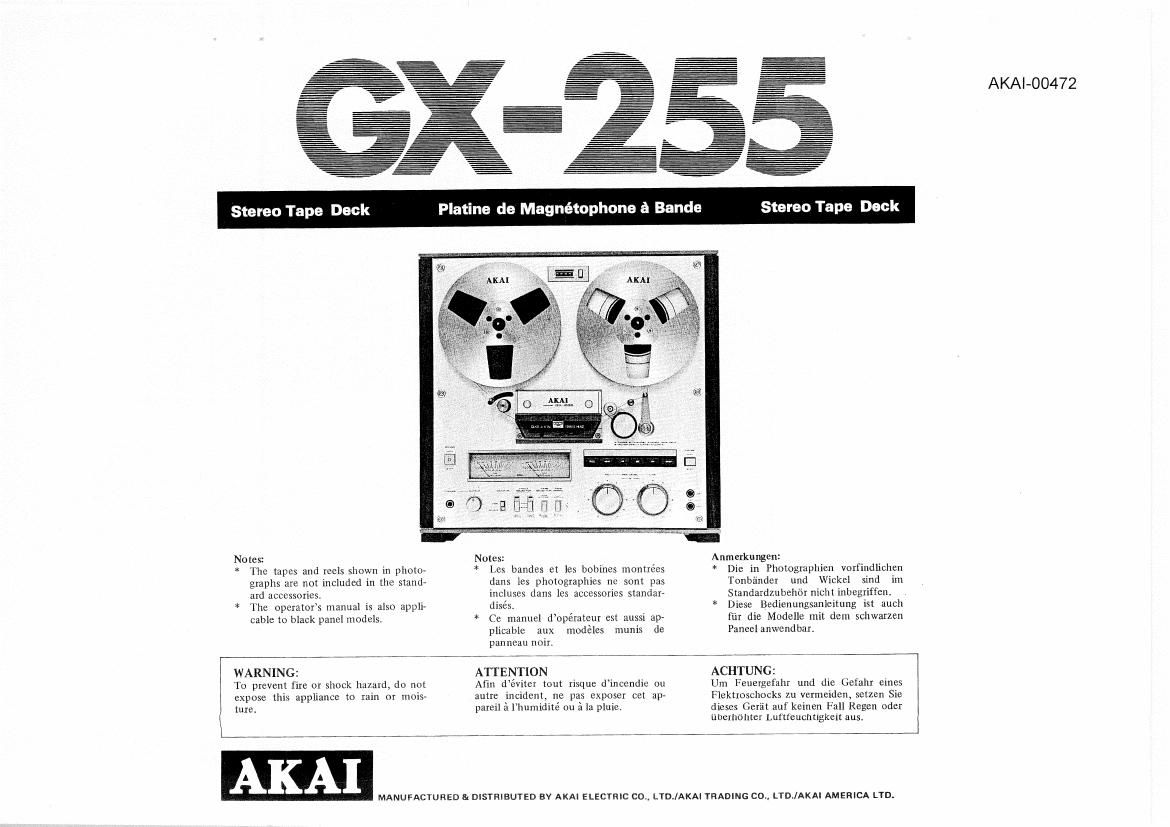
Notes:
* The tapes and reels shown in photo-
graphs are not included in the standr
and accessories.
* The operators manual is also appli-
cable to black panel models.
WARNIN
To prevent fire or shack hazard, do not
expose this appliance to rain or mois-
lure.
l
Platine de Magnétophone a Bande
Notes:
* Les lmndes et les bobmes montrées
dans les photograplrics ne 50m pas
incluscs dans les necessaries standarr
disés.
* Ce manuel d'opémtcur est aussi np»
plicable aux modéles munis de
panneauuoir.
ATTENTION
Afin dévlter [out risque dmcendie on
autre incident, ne pas exposer eat ap-
pareil {1 lhumidité on :31 la pluicr
Stereo Tape Dock
Anmerkungen:
* Die in Photographien vorflndlichcn
'lonbémder und Wickcl sind in!
Standardzubelldr nieht inbegriffen.
* Diesu Bedienungsanleitung ist auch
fijr die Modelle mil Clem schwarzen
Panecl anwend bar.
ACHTUNG:
Um Feueygefahr und LIIC Gefallr emes
Fleklroscllocks 7,u vermeiden, sctzen Sie
dieses Germ aul kelnen lall Regen oder
uhelhohler Luflfcucmigkeil nus.
AKA]
MANUFACYURED & DISTRIBUTED BY AKAI ELECTRIC CO , LTDJAKAI TRADING CO., LTDJAKAI AMERICA LTD.
AKAI-OO472
Page 2
WARNING
Voltage Selection
Power requirements for electrical equipment differ from
area to area. Please ensure that your machine meets the power
requirements in your area. If in doubt, consult a qualified
electrician. '
120V. so H7. for USA and Canada
220/240V, 50 Hz for Europe, UK and Australia
110/120V/220V/240V, 50/60 Hz internally switchable for
other countries.
Power Cord
If your machine comes with a detachable power cord, please
insert into the AC power inlet on the rear panel of your
machine. If you want to use any other type of power cord,
please use one of a similar kind and consult a qualified elec-
trician. »
FOR CUSTOMERS IN THE UK AND AUSTRALIA
The wires in this mains lead are coloured in accordance with
the following code:
Blue: Neutral, Brown: Live
As the colours of the wires in the mains lead of this apparatus
may not correspond with the coloured markings identifying
the terminals in your plug, proceed as follows:
The wire which is coloured blue must be connected to the
terminal which is marked with the letter N or coloured black.
The wire which i: coloured brown must be connected to the
terminal which is marked with the letter L or coloured red.
* When wiring a plug, ensure that all terminals are securely
tightened and that no loose strands of wire exist.
AVERTISSEMENT
Choix do In Tension
Lalimentation de léquipement électrique varie selon les end-
roits. Veuillez-vous assurer que la tension de la région oi:
vous habitez oonvient d lappareil. Si vous avez un doute,
consultez an electrician.
120v, so Hz pour lei USA et le Canada
220/240V, 50 Hz pour lEurope, la GrandeBretagne et 1-
Australie
110/120V/220Vl240V. 50/60 Hz oommutable intérieurement
pour les autres pays.
Cordon dAlimentntion
Si lappareil est muni dun cordon indépendant, brancher ce
cordon a la prise CA sur le panneau arriere de lappareil. Si
lon veut utiliser un autre type do cordon dalimentation, en
prendre un de meme genre et eonsulter un electrician quali-
ACHTUNG
Wahl der Netzspannung
Die Stromversorgung ilir elektrische Apparate ist von Land zu
versehieden. Es empfielt sich daher, sich vorher zu vergewis-
sem, ob ihr Geriit den lockalen Verhiiltnissen entspricht. lm
Zweifelsfalle lohnt es sich, einen qualiflzierten Elektriker zu
konsultieren.
120V, 60 Hz fiir Amerika und Kanada
220/240V, 50 Hz {in Europa, Grofibritannien und Australian
110/120V/220V/240V. 50/60 Hz international umschaltbar
fur andere Under.
Netzlmbel
Erhalten Sie 1hr Gerit mit einem abnehmbaren Netzkabel, so
mull es in die Strom-Buchse auf der Riickseite Ihres Geriites
eingesteckt werden. Sollten Sie irgend ein anderes Netzkabel
verwenden, empfielt es sich, ein a'lrnliches Modell zu gebrau-
Chen und einen qualifizierten Elektriker zu konsnltieren.
VOLTAGE AND CYCLE CONVERSION
(or AC Inlet). If it wad! 120V, 60 Hz the Voltage is fixed. If
it reads zzavmov, so Hz the voltage may be changed with
the voltage selector switch, located on the rear panel. if it
voltage selector loo-ted on the inside of your machine. Also
your iii-china will show the voirago n: which it was preset in
the factory. It the latter applies to your machine please refer
the following voltage and cycle conversions to a qualified
Service Repair Shop or profenlonul service personnel.
(1) DISCONNECI' POWER CORD Ind remove resr panel.
(2) Remove the Voltage Selector Plug and reinsefl so that
proper area voltage shows through the plug cut-out.
(3) Change in» to correspond with voltage (Refer to {use
instructions for proper fuse).
To maintain optimum performance and prolong the life
or your machine, it is important that the line voltage be
held Within 10% of standard are: Voltage.
CYCLE
As the unit is equipped with C.P.G. AC Servo Motor.
cycle clung: for capstan drive motor is not necessary.
Following instruction is just for readjusting reel motors
torques according to cycles.
(1) DIS/CONNECT POWER CORD.
(2) Remove rear panel.
(3) Cycle Grange Switch is located on the System Control
EC. Board. Set to 50 Hz or 60 Hz position recording to
are. power mnrni.
Please look at the voltage chart located near the power cord _
reads 110V/110V/220V/240V 50/50 Hz, there is a universal '
fié.
50 Hz Cycle Change Switch
Commutateur :i changement dc cycle
_ Zykluswechsel-Schalter
V
60 Hz
VOLTAGE ET CONVERSION DE CYCLE
Regarder 1e tablenu dc voltage située Iu voisinge du cordon
d'Ilimentition (Du l'erltrée du oollrant alternatif). Si 1: tableau
indique 110V, 60 Hz, 16 Voltage est fixe'. S'il mantle 220V/
240V, 50 Hz, le voltage peut etre changé par l'intennédiaire de
linterrupteur sélecteur dc voltage Iitué sur le panneau arriere.
S'il indique llOV/llOV/ZlDV/HOV, 50/60 Hz. i] on rémloe
qu'il y a un sélécteur unlversel de voltage situé i l'interieur de
l'appareil. Egalement, cet appareil mentors 1e voltage prefixé
i ludne. Si ca voltageci est appliquz ivotre appareil, nous
vous prions de vous en réfirer in Service de Répnrntion on i
un prolessionnel qualifie' lie on Service du voltage et de in con-
version de cycle suivants.
(l) DETACHER LE FIL DALIMENTATION el enlever le
Pmneau intern.
(2) Enlevel 1e lichvsélecteur dc voltage at remettre ds marli-
ére que le chime du voltage voulu se voie par lentlille
. de fiche.
(3) Change! le fudble do fawn quil corresponde nu voltage.
(Se rapporter i l'inltruction de fusibles pour chercher le
fusible propre.)
Pour garder la performanbe optimum de lappureil et iaire
rés-ister a un long usage, il est hnportant que lo ligne dc
voltage soit a In porlée excédante de 10% plus que le
voltage éulonné.
CYCLE
Ce bloc éunt equipé du ORG. Servo-Motel" a coilth
altemstit, le chengernent de cycle on moteur entminhnt le
cabestan nest pas nécessaire. Linstmntion suivante re
prépare justemenl i in rectification de torques des mo-
teurs i dévidoir selon des cycles.
(1) DETACHER LE FIL D'ALlMENTA'l'lON.
(2) Enlévement de In panneru miere.
(3) Le oommunteur i changement dc cycles se trouve rm 1:
panneau de la corn-nude dc systéme.
Mettre le commutateur i 1: position .de 50 Hz ou 60 Hz
man la limit: do In souroe dalimentrtinn.
Voltage Selector Plug
Fichevsélecteur de voltage
Spannungswahler-Stecker
UMSTELLUNG DER SPANNUNG UND DES
ZYKLUS
Sehen Sie, bitte, if: Netzsplnnungstnbelle an, die neben dem
Netzkabel (0d. Stmln-Buchse) aufgewigt int. Falls at ouf
120 V, 60 Hz deutet, ist die Spannung bereits bestimrnt. Im
Fall von 220V/240V, 50 Hz kann dle Spmnun; mit dem
Spannungswohl-Schnlter gewechselt warden, der Inf der
Rickseite des Corals befirldlicll int. Ffir den Fall von 0",
IZOV/ZZDV/ZAOOV 50/60 HZ Versieht rich mit :ineln univer-
salon Spannungrwfihler, der innerhalb des Guitar vorzufinden
ist. lhr Geriit kann auch moglicherweise diejenige Spinnung
zelgon, die in der Fahrik voruus einseslellt wurde. Bel mlchem
Fall ompfiehlt or rich. einen qualifizierten Elektriker oder
eine Serviwkeparamrwerkstatt fiber die folgenden Spannungs
und Zyklusumschnltungen zu befrsgen.
(l) yETZKABEL AUSKUYPELN und Hinter-Paneel ent-
emen.
(2) Spannungsvrihler-Stecker wegnehmen und wleder cin-
stecken, so daB die richtige Gebietesspmnung zu when
in.
(3) Schmelzsicherung' entsprechend der Spannung wechseln.
(Siehe Anweisung fiber Schmellsidluung)
Zum Erhslten der optirnnlen Auffuhrungen und zum
Vulangerh do: Dsuzrhsftigkeil lhres Gerits is! es uner~
liifilich, an: die LlNE-Spannung innerhrlh von 10% der
Stmdsrd-Gebietuphnnung glehalten wild.
ZYLKUS
DA du Gem mit C.P.G. AC Servo-Motor :usgeriirtet ist, in
der Zykluswechsel [iir den Antriebsmotnr nidlt natig. Die
folgende Anleitung gilt nur fur Wicdereinrtellung Von Spulen-
motorstorque semi! der Zyklus.
(l) NETZKABEL AUSKUPPELN.
(1) Hinter-Psneel entfemen.
(3) Der Zykluswechsel-Schalter is! auf dem System-Kenneth
EC. Brett befindlich. Au! die Position 50 Hz 011. 60 H1
je nnoh der Splnnungsquelle einstellen.
Page 13
SOUND MONITORING
For private headphone listening, connect stereo head»
phones and set the Monitor Switch to TAPE position.
For more precise recording level adjustment, set
Monitor Switch to SOURCE position and monitor
signals through headpnoncs while adjusting input level
controls.
Dual monitoring for a more professional recording can
also be accomplished by switching the Monitor Switch
to and from TAPE, and SOURCE to compare the just
recorded signals with the input source.
* Set Monitor Switch to TAPE position for playback through
a speaker system.
When using the DIN .iaclr, monitoring through an amplifier
system during recording cannot he accomplished. (If
monitoring during reiording is desired when using the DIN
Jack connection, utilize the Tape Deck Headphone Jack).
e
CONNECTIONS
FOR PLAYBACK
STEREO lNTFGRA'IED AMPLII
AMPLIFlCATFUR STFFEO lNTLGRE
M O N ITORING
Pour lécoute individuelle, brancher lc casque stereo et
positionner 1e commutateur de monitoring sur TAPF,
(Bands).
Pourun réglage plus précis du niveau denregistrement,
positionner le commutateur de monitoring sur SOURCE
et en écoutant les signanx a l'aide du casque, effectuer
ie monitoring en réglant les commandes de niveau
dentrée.
Pour un enregistrement de professionnel, on peut
réaliser un double monitoring an faisant passer alter-
nativeinerit le commutateur de la position TAPE
(Bande) a la position SOURCE de maniere a comparer
les sons enregistrés avec ceux de la source dentrée,
* Regier le commutateur the monitoring sur TAPE pour la
lecture avec systéme d'enceinte. .
Lnrsque lon utilise la prise DlN, i1 nest pas possible
d'effectuer 1e monitoring denregistremeht au inoyen dun
:nnpii extericur (si lon desire proceder au monitoring
denregistrement en utilisant une prise DIN tuiliscr pour
cola la prise tic casquc dc la platinc).
RACCORDEMENTS
POUR LA LECTURE
DIN LINE 0|"
l_-I
©©
RIGHT LEFT
PIA YBACK
Maize necessary connections as shown in CONNEC-
TIONS FOR PLAYBACK and load a prerecorded tape,
STEREO PLAYBACK
. Connect power cord and turn on Power Switch
. Select tape speeds ,
. Depress both left and right track selector switches.
Set Monitor Swmh in l APE position,
Amw-
C j SPEAKER
p lletiLZNTE
iii \_J LAUTSPRECIIFR
LECTI IRE
REaiiser ies raceordements nécessaires comme indiqué
sur le schéma de RACCORDEMEN'I'S POUR LA
LECTURE et charger une baiide pré-enregistrée.
LECTURE STEREO
i. Brancher 1e cordon dalimentatlon et encleneher le
cornmutaieur daliinentation.
2. Réizler 1e sclecteur tle hohine en function de la
AUFNAHMEUBERWACH UNG
Wenn Sie wiedergeben wollen, ohnc anderc Pcrsoncn
zu storen, schljeBen Sic bei PHONE ein Paar Kopfliorer
an und stellen den Monitorschalter (MONITOR) auf
TAPE.
Zur genaueren Einstellung dos Aufnahmepegels stellen
Sie den Schalter auf SOURCE; walirend Sie nun die
Originalsignale fiber Kopfhorcr abhoren, konnen Sie
den Eingangspegel besser regeln.
Zur Erzielung professionaller Aufnahmen konnen Sie
aucll wahrend iles Aufnahmevorgangs von TAPE auf
SOURCE und umgekehrt schalten und die soeben auf~
gezeichneten Signale mit den Originalsignalen ver-
gleichen (dual monitoring).
* Fin Wiedergahe fiber Lautsnrecher stellen sie den Monitor
schaltcr auf TAPE.
Bei AnschluG dos Tape deck an cinen Verstiirker mittels
eines DlN-Kabels ist die Ilinterbandkontrolle iiber den
Verstéirker nicht moglicli. Wenn Sie die Aufnalimc uberr
wachen wollcn, rnfissen Sie die Kopfiiorer am Tape deck
anschlieBen.
A_I_\ISCHLIESSEN
FUR WIEDERGABE
e
The Din Jack provided on some modc|s can be used instead of the
Line Input/Output Jacks for connection with an external amplifier.
This enables recording and playback with a single Din Connection
Cord.
Lu Prise DIN pourvue sur quelques modeles peut étre utilisée a In
place dos prises tie sortie/d'entrée pour le raccordcmcnt avec iin
umpli extcrric. (Zola permet deffectuer in lecture ou lenregistrement
avee le seul cordon DlN.
Anstelle der Ein- und Ausgénge LINE INPUT und OUTPUT korinen
Sie mm AnschlufS ties Tape deck an eincn Verstarker auch die hei
einigon Modellen eingerichteten DlNrBuchse (REC/PB) vcrwendcn.
Mit 'cineiii DIN-Kobe! ist sowohl Aufnnhme als auch Wiedergabe
miigljcll.
WlEDERGA BE
Ffihren Sie die Zur Wiedergabe eriorderlichen An-
schliisse durch (siehe Anschlhsse fur Wiedergahe),
und legen Sic ein bespieltes Tonband eini
STEREO-WIEDERGABE
1. Netzkabel an cine Steckdose anschlieiien und Geriit
einschalten.
2. Bandlaufsgeschwindigkeit auswiihlen.