Akai AP 206 206C Owners Manual
This is the 10 pages manual for Akai AP 206 206C Owners Manual.
Read or download the pdf for free.
If you want to contribute, please mail your pdfs to info@audioservicemanuals.com.

Extracted text from Akai AP 206 206C Owners Manual (Ocr-read)
Page 1
i.
" II
Operator '3 Man ual
- - __
=' ' -- L-
_- -
= =
1
||||||||||ll|T " ||||l||
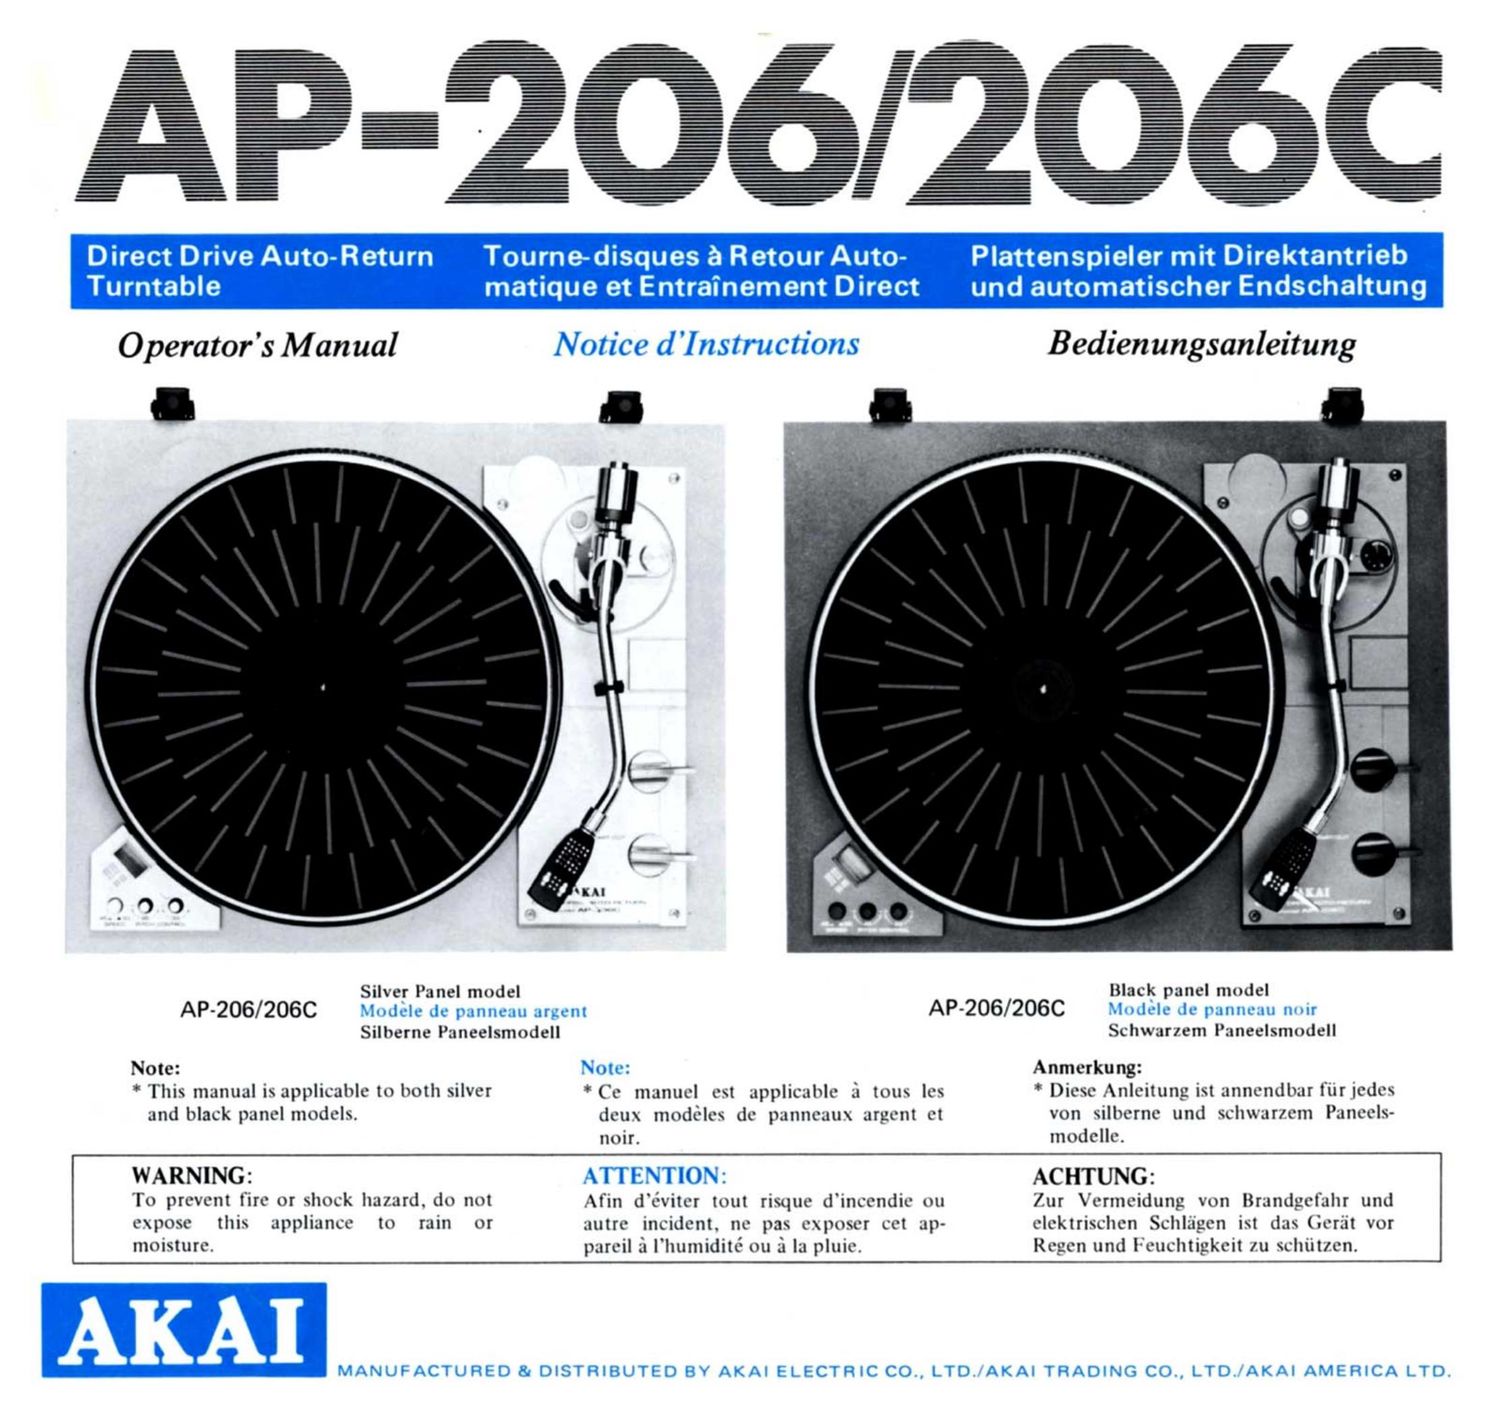
Silver lanel model
AP-206/ 206C
Silherne Paneelsmudell
Note:
* This manual is applicable to both silver
and black panel mudels.
II "IIIIIIIIIIIII
Ill
ll
-
- - -_
- - -
- _ -
- - -
_- - -
- - -
_ - _
- - _
- - --
_ -
_ -
- - - - - _-
- - - - -, -_
- - - _ - -_
- _ - - - --
- - - - -~--
- - - -
- - - .-
- - -
_ - -_ -
- _ -_ -
_ _ -_ _ -
- - - - -
- _ -_ -
- _ - -
_ _ - -
- - - -
- - - _-
- - --
_ _ --
- - --
- - 4- -
-- -
t -_
- -
r -
-
- -
- - -
-
- -
Bedienungsanleitung
Black panel model
AP-206/206C
*(e manuel est applicable 5. tous les
deu\ mmlelex de panneain urgent el
noir.
Schwar/em l'aneelsmndell
Anmerkung:
* Diese Anleitung is! annemlhar l'iir iedex
von silherne und s'eliwar/em laneels-
muddle.
To prevent fire or shock hazard. do not
e\pose this appliance In rain or
moisture.
Afin d'eviler tout risque d'ineendie nu
autre incident. ne pas" e\puser eel ap-
pareil a I'liuniidite on 5. la pluie.
AC HTUNG:
lur Vermeidung Y0" Brandgelahr und
eleklriselien Sehliigen ist das (ieriit vor
Regen und leuehtigkeit Iu x'ehiiuen.
Page 2
INDEX INDEX REGISTER
Turntable Assembly .......................... 1 Misc en Place du Plateau et de la lnstallierung des Plattentellers
Controls ................................... 2 Courroie d'Entrainement ...................... l und Antriebsriemens .......................... 1
Preparation of Tone Arm ...................... 3 Commandes ................................ 2 Bedienungselemente .......................... 2
Stylus Pressure Adjustment .................... 4 Preparation du Bras Acoustique ................. 3 Einstellung des Tonarms ....................... 3
Overhang Adjustment ......................... S Réglage de la Pression de la Einstellung der Auflagekraft des
How to Attach the Dust Cover .................. S Pointe de Lecture sur le Sillon .................. 4 Abtaststifts . . . :. ............................. 4
Connections ................................ 6 Ajustement de la Suspension ................... 5 Einstellung des Uberhangs ...................... 5
Cycle Setting ............................... 6 Fixation du Couvercle de Protection ............. 5 Montage der Staubschutzhaube .................. 5
Record Playback ............................. 7 Connexions ................................. 6 Anschliisse ................................. 6
Notes ...................................... 8 Réglage de la Rotation ........................ 6 Frequenzeinstellung .......................... 6
Technical Data .............................. 9 Reproduction de Disques ...................... 7 Aufnahmenwiedergabe ........................ 7
Standard Accessories ......................... 9 Remarques ................................. 8 Anmerkungen ............................... 8
Specifications Techniques ...................... 9 Technische Daten ........................... 9
Accessoires Standards lnclus .................... 9 Standardzubehor; ............................ 9
TURNTABLE ASSEMBLY MlSE EN PLACE DU PLATEAU ET DE LA INSTALLIERUNG DES PLATTENTELLERS
COURROIE D'ENTRAINEMENT UND ANTRIEBSRIEMENS
/
1. Install turntable on spindle as shown in the figure. I. Installer le plateau sur son axe comme indiqué l. Installieren Sie den Plattenteller wie es auf der
2. Place rubber mat on turntable with grooved side dansle figure. Abbildung zeigt.
upward, 2. Placer sur le plateau le tapis de caoutchouc le caté 2. Legen Sie nun die Gummimatte mit der gerippten
strié vers le haut. Seite nach oben auf den Plattenteller.
Page 3
CONTROLS
ll 12
13
ll
COMMANDES
6 7 8 9 .10
BEDIENUNGSELEMENTE
1 Hinge
2 Spindle
3 Tone Arm
4 Tone Arm Rest
Tone Arm Lifter
Main Weight
45 rpm Adapter Holder
8 Hinge
Stylus Pressure Scale Ring
10 Anti-skating Adjuster
11 Built-in Strobe Light
12 45/33-1/3 rpm Speed Selector
( .l 33 A 45)
~)O1ul
1C
Charniere
Axe
Bras acoustique
Appui de bras acoustique
Leve-bras acoustique
Poids principal
7 Support d'adaptateur de 45 tours
8 Charniére
9 Bague dechelle de pression de
pointe de lecture
11 Re'glage anti-derapant
:1 Lumiere de strobage incorporee
12 Se'lecteur de vitesse de 45/33
I/3 tourst l 33 -. 45)
13 Commande de hauteur de son
(45 tours)
L. are--
01
1 Scharnier
2 Achse
3 Tonarm
4 Tonarmstiitze
5 Tonarm-Aufheber
6 Hauptgewicht
7 Adaptorhalter (fur 45U-Min.
-Platten)
s Scharnier
9 Auflagedruck-Skalenring
11:) Anti-Rutsch-Einstellung
11 Eingebaute Stroboskoplampe
12 Drehzahlwabler ( 45/33-1/3U/
Min.)( 1 33 .- 45)
13 Pitch Control (45 rpm)
H Pitch Control (33-1/3 rpm)
15 Turntable Platter
16 Strobe Markings
17 Rubber Mat
18 Cartridge Shell
19 Cartridge Shell Finger Lever
20 Locking Nut
21 START/CUT LEVER
22 Tone Arm Lifter LEVER
( Y to Lower V to Lift)
H (ommande de hauteur de son
t33-l/3 tours)
13 Plateau de tourne-disques
16 Reperes de strobage
1. Plaque de caoutchouc
18 Enveloppe de cartouche
19 Levier au doigt de lenveloppe
de cartouche
20 Contre-e'crou
21 Levier arrét/marche
(START/CUT)
22 Levier de léve-bras acou-
stique ( Y pour ahaisser '
pour lever)
13 Drehzahl-KontrolleHSUrrMin.)
H Drehzabl-Kontrolle (33-1/3U-
Min.)
15 Plattenteller-Unterlage
16 Stroboskop-Markierungen
1. Gummischeibe
1s Tonabnehmer-Gehause
19 Tonabnehmer-Fingerhaken
211 Feststellschraube
21 Start/Stop-Hebel
22 Tonarmheber-Kontrolle
(Y Senken V Heben)
U