Hitachi AX C15 EBS Owners Manual

This is the 40 pages manual for Hitachi AX C15 EBS Owners Manual.
Read or download the pdf for free. If you want to contribute, please upload pdfs to audioservicemanuals.wetransfer.com.

Page: 1 / 40
Hitachi AX C15 EBS Owners Manual

Extracted text from Hitachi AX C15 EBS Owners Manual (Ocr-read)


Page 1

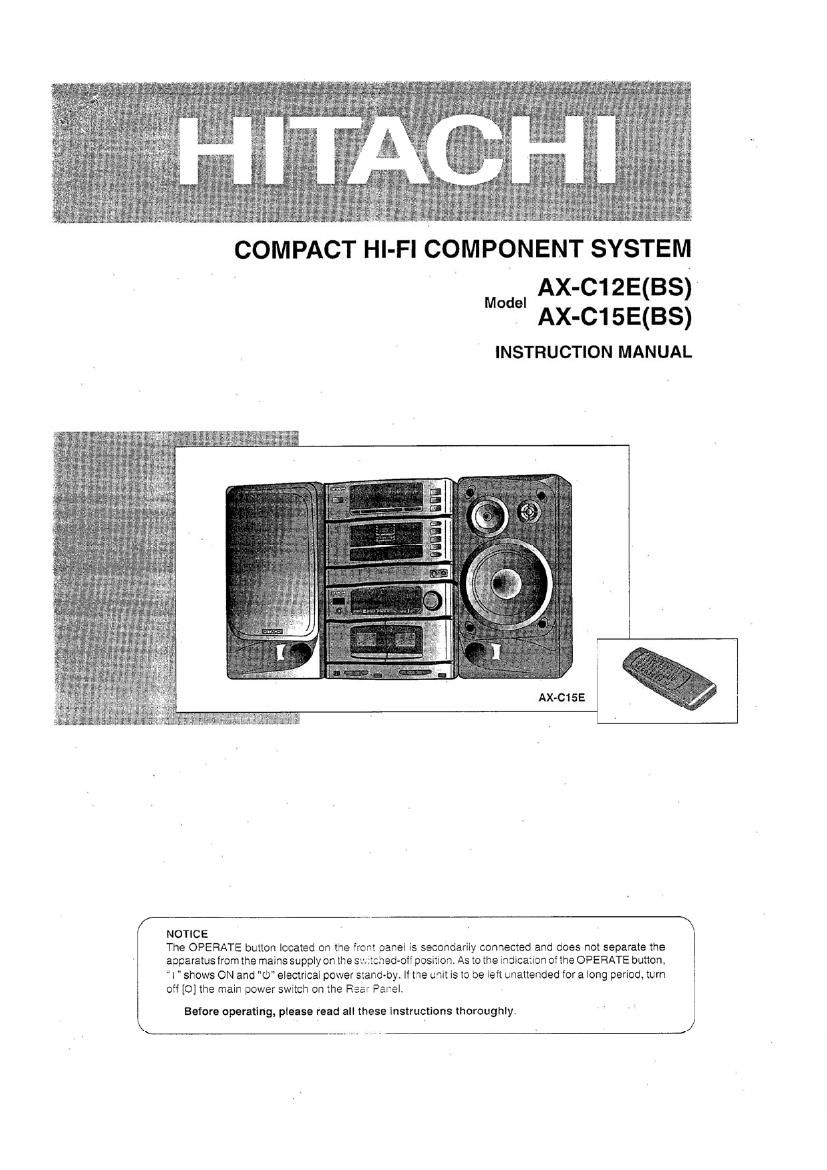
COMPACT HI-FI COMPONENT SYSTEM

AX-C12E(BS)
AX-C15E(BS)
INSTRUCTION MANUAL

del

AX-CISE

NOTICE

The OPERATE button located on the front panel is secondarily connected and does not separate the
asparatue from the mains supply on the e whee-elf position. As to the indtcazion of the OPERATE button.
I shows ON and 0" electncal power stand-by. If he unit is to be left unattended for a long period, turn
oh [0] the main power switch on the Rear Pavel.

Before operatlng. please read all these lnstructlons thoroughly.

Page 2

SOME DO'S AND DONTS ON THE
SAFE USE OF EQUIPMENT (WU-K)

This equipment has been designed and manufactured to meet international salety standards but. like any electrical
equipment, care must be taken if you are to obtain the best results and safety is to be assured.

*ktitkitirkk

DO read the operating instructions before you attempt to use equipment.

DO ensure that all electrical connections (including the mains plug, extension leads and interconnections between
pieces of equipment) are properly made and in accordance with the manufacturer's instructions. Switch oft
and withdraw the mains plug when making or changing connections.

DO consult your dealer if you are ever in doubt about the installation, operation or safety of your equipment.
DO be careful with glass panels or doors on equipment. '

*i*********

DONT continue to operate the equipment it you are in any doubt about it working normally. or if it is damaged
in any way - switch off, withdraw the mains plug and consult your dealer.

DONT remove any fixed cover as this may expose dangerous voltages.

DONT leave equipment switched on when it is unattended unless it is specifically stated that it is designed
for unattended operation or has a standby mode. Switch off using the switch on the equipment and make
sure that your family know how to do this. Special arrangements may need to be made for infirm or handicapped
people.

DON'T use equipment such as personal stereos or radios so that you are distracted from the requirements
of traffic safety. It is illegal to watch television whilst driving a vehicle.

DONT listen to headphones at high volume, as such use can permanently damage your hearing.

DON'T obstmct the ventilation of the equipment. for example with curtains or soft furnishings. Overheating
will cause damage and shorten the life of the equipment.

DONT use makeshift stands and NEVER fix legs with wood screws - to ensure complete safety always fit
the manufacturers approved stand or legs with the fixings provided according to the instructions.

DONT allow electrical equipment to be exposed to rain or moisture.

ABOVE ALL
- NEVER let anyone especially children push anything into holes, slots or any other
opening in the case - this could result in a fatal electrical shock:
- NEVER guess or take chances with electrical equipment of any kind. it is better
to be safe than sorry!

*titktkktkt

THIS LABEL IS FIXED

TO THE HEAR OF THE PLAYER CAUTION

This product contains a low-power laser
device. To ensure continued safety do
CLASS 1 . not remove any covers or attempt to gain
LASER PRODUCT ' access to the inside of the products.

I Refer all servicing to qualified personnel.

Page 33

his function automatically arranges CD tracks to be recorded matching to yourtape length. And the auto spacing
:nctlon inserts a 4-second unrecorded interval between songs. You do not have to worry about the playing time
hen recording from CDs.

oading a tape in TAPE 2

NOTE: Set the tape running direction to b.

electing the source disc

1. Repeatedly press [DISC] on the remote control or on the front panel to select the desired disc in the CD

tray or Disc Magazine.

electing the playing time of your tape

2-a.With the set in CD stop mode. repeatedly press [A. EDm on the remotecontrol to get the playing time of
your tape in the display. For example, if you use a 60-minute tape, select 0-60.

2-b. When using atape otherthan C-46, 0-60 or 0-90 (for example 0-54), get "C---" in the display first and enter
its playing time 54" by pressing the number buttons of the remote control.

3. Then the set will show you the track numbers to be recorded and a remainder time of the tape (G ) as

"A FlLE" (for the side A of the tape), then b FILE (for the side B of the tape). Lastly, the unit will indicate
the last track number (®) and the total number of tracks to be recorded (6)). .

NOTE: To cancel the Auto Edit recording, press the CD stop button [I ] on the remote control or [ I STOP/
CLEAR] on the front panel.

a start recording

4. Press [CD DIR] on the remote control . Then the tape deck will start recording after automatically rewinding

the tape to its beginning and/or skipping its leader tape.

NOTE: The tape deck will erase the tape remainder of side A before starting to record "b FILE onto the side
B of the tape.

ontlnuous Edit recording

ou can record from more than one disc onto one tape.

S-a. When the last track of the disc has been recorded in the Auto Edit recording, both the CD player and tape
deck stop and the Continuous Edit indicator CONT" (@) appears in the display.

Replace the disc with another one. Then the unit arranges tracks to be recorded onto the remainder of the
tape. Then press [>l II] on the remote control or [>PLAY/ II PAUSE] on thetront panel to start Continuous
Edit recording.

NOTE: Pressing [cm] or [O/lI REC/PAUSE] cannot start Continuous Recording.

5-b. When the tape remainder is not enough for recording any track of the disc. no Fl LE" appears in the display.
In this case. try a differentdisc, or pressthe cassette deck stop button [ I ] on the remote control or[ I STOP]
on the front panel to cancel the Continuous Edit recording.

3 stop Auto Edit recording

6. Press the cassette deck stop button [I ] on the remote control or [ISTOP] on the front panel.

NOTE: When you press the CD player stop button [ I ] on the remote control or[ I STOP/CLEAR] on the front
panel, the Auto Edit recording is cancelled, but the tape deck becomes recording stand-by status after
having inserted 4-second unrecorded interval. Press the cassette deck stop button [ I ] on the remote
control or [ ISTOP] on the front panel if you want to cancel the recording stand-by status.

DTES ABOUT AUTO EDIT RECORDING:

- if a disc has more than 16 tracks, the Auto Edit recording function accepts only from the first track to 16m

track.

33